|
Curso de Paint Shop Pro
(PSP)
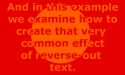
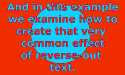
16 Texto Invertido
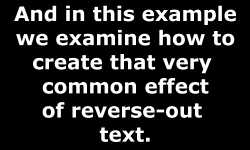
Step 1 Create a new image (500 x 300, White on
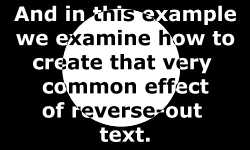
Black). Add some text. Step 2 Create a new layer. Select the Selection
tool and set it to circle, anti-aliased. Draw a selected circle in the
new layer. Switch to the Fill tool, fill the selection with white. Your
single layer should look like this (the green shading is transparent).
Note: You can draw shapes, rather than select them, but the anti-aliasing
gives the circle a smoother edge, with no 'jaggies'. Step 3 To finish off, set the circle layer to merge
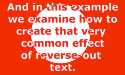
in 'Difference Mode', rather than Normal. Step 4 OK so far, but what about if you want the
text to be coloured? Create a new layer at the top. Fill the layer with
the colour of your choice. Then, either adjust the layer transparency.
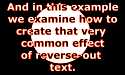
And/Or, adjust the merge mode to 'Darken' (the example above). But
please fiddle with merge modes, as they give quite different effects.
Espero que les sirva de algo
la ayudita
|
|
|