 |
|
|
|
|
|
|
|
|
|
|
|
|
|
|
|
|
|
|
|
|
|
|
|
|
|
|
|
|
|
|
|
|
|
|
|
|
|
|
|
| page 10 |
|
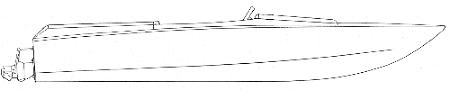
DYNO JET |
|
|
|
|
|
 |
|
|
|
1 |
2 |
3 |
4 |
5 |
6 |
7 |
8 |
9 |
10 |
11 |
12 |
13 |
14 |
15 |
16 |
17 |
18 |
19 |
20 |
21 |
22 |
23 |
|
|
Page |
|
|
|
|
|
With the Holidays season, I didn't get much time to work on the boat. I was fortunate enough to find a nice dry and warm place to work on it over the winter - The best part - no charge! Thank you Steve!!!!!
I also recieved a couple of emails from folks thinking about building a Dyno-Jet and watching this site. Thank you for the kind comments!
Back to Boat Building -
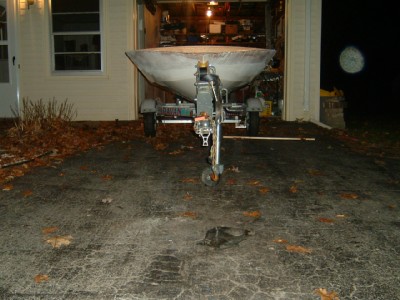
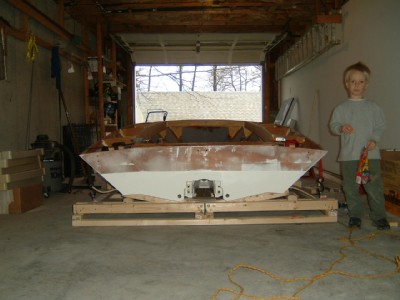
Here is a front view of the boat on the trailer. The great news is the bottom hull is DONE!. |
|
|
 |
|
|
|
 |
|
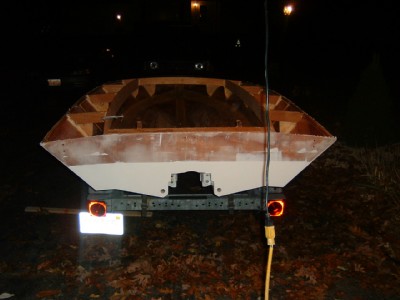
| A rear view - You can see that the trailer is not supporting the boat properly in this picture and the hull is twisted. It had been my plan to complete the build on the trailer. |
|
|
|
|
|
 |
|
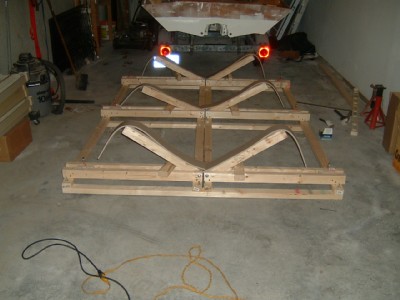
| Concerned that the trailer won't hold the boat straight, I built a cradle out of 2x3's for it to sit on - Cost me about $25.00, but I feel much better that the boat will be properly supported, especially when we start to get weight in it. It would have been easier to build the cradle on the boat while it was upside down - |
|
|
|
|
Here is the boat on the cradle, as you can see - Everything is straight as can be - It is interesting to note the amount of flex still in the hull. The hull actually has over 1 inch of flex in it. With all the glue, epoxy, plywood and fiberglass cloth, I thought it would be very rigid.
I was also able to snap a picture of my helper - He was getting a quick fix of sugar in this picture. |
|
 |
|
|
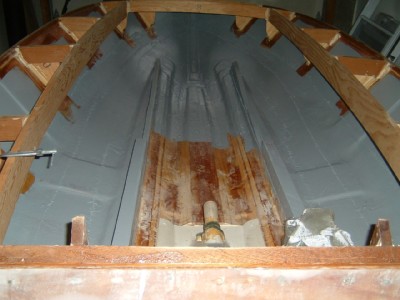
| Here is a picture of the inside, painted. After researching some boat building forums, the interior paint of choice is Epoxy garage floor paint. This is unique stuff, in that it takes a week to fully cure and Actually the paint in the bucket took over two weeks to cure. The paint on the hull dried tack free in just a couple of hours. Looks like it should work fine. The unpainted spot is where I need to add an additional keel batten - hopefully we will get that in next week. |
|
|
 |
|
|
|
|
Previous |
|
Next |
|