
Software
PSU or Power Supply Unit is available in two categories. Ordinary PSU is popular among average users while True Power PSU is meant for above average or enthusiast users. The significant difference between these two categories are their continuous power output rate. An ordinary PSU with 500W label neither produces the same power as True Power PSU concurrently nor continuously. Of course, True Power PSU is much more expensive and power hungry.
Install the PSU into the PSU bay in the chassis. Perform internal wiring by connecting:
Click to enlarge
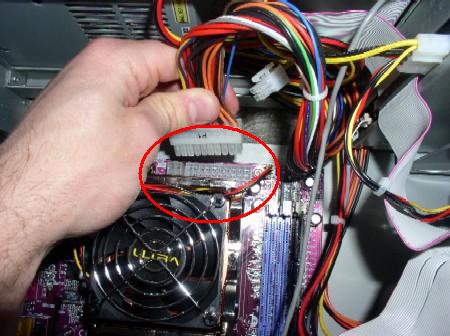
Step 1
ATX 20-pin/24-pin to Main Board
Click to enlarge
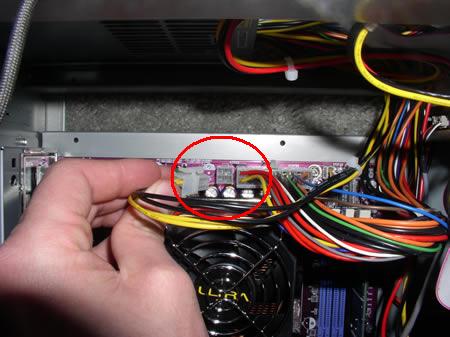
Step 2
ATX CPU to Main Board
Click to enlarge
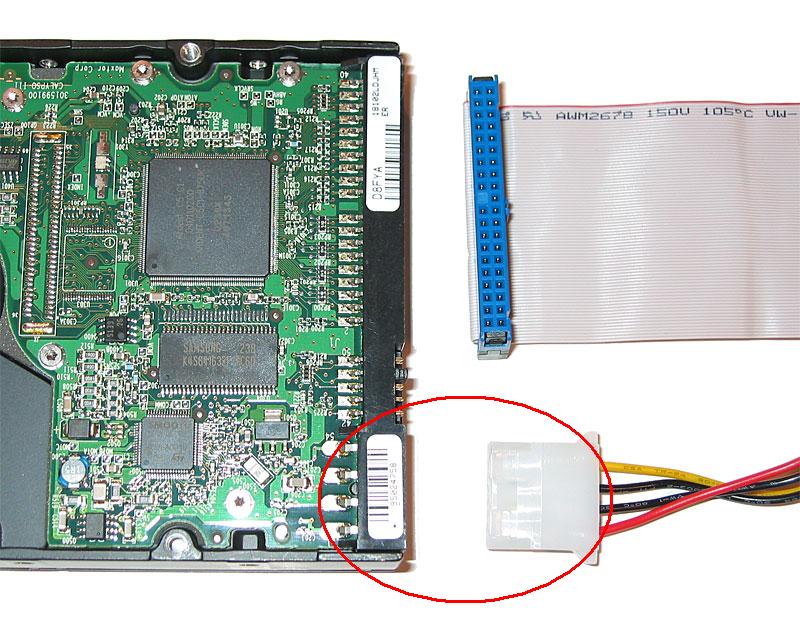
Step 3
Molex to Hard Drive and Optical Drive
Click to enlarge
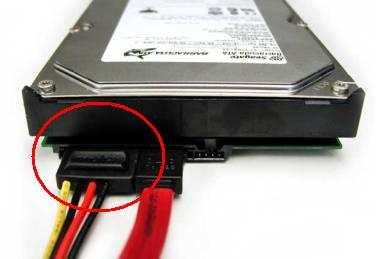
Step 4
SATA Connector to SATA Hard Drive
Click to enlarge
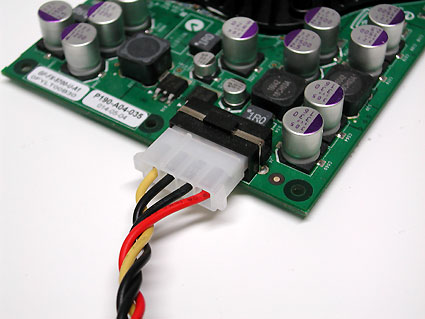
Step 5a
Molex to Graphics Card External Power Supply
Click to enlarge
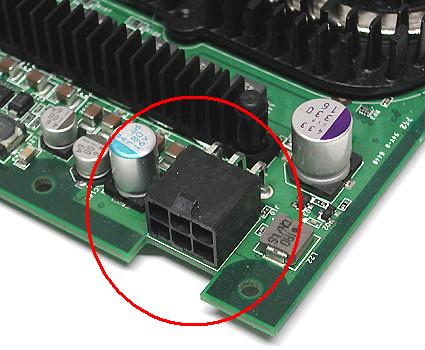
Step 5b
PCI Express Connector to Graphics Card External Power Supply
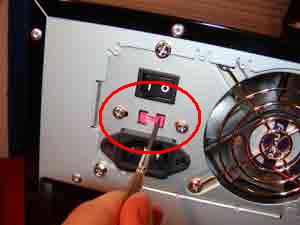
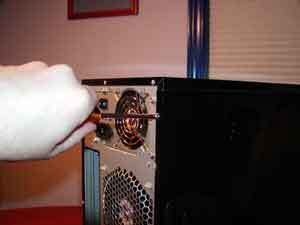
Everything is pretty simple once the internal wiring is done. Adjust the PSU Voltage accordingly. Do not mess with the voltage control or you might accidentally fry the PSU. Replace the side panels and connect the PSU to the power source.
Click to enlarge
Step 6
Click to enlarge
Step 7
Hardware installation is completed. The system is now ready to be powered up.
©2006 CHC Team