I had hoped to start the walls once the main furniture was sorted, but it is doubtful whether we can fit square furniture into the angled walls, so the walls need to get done first.
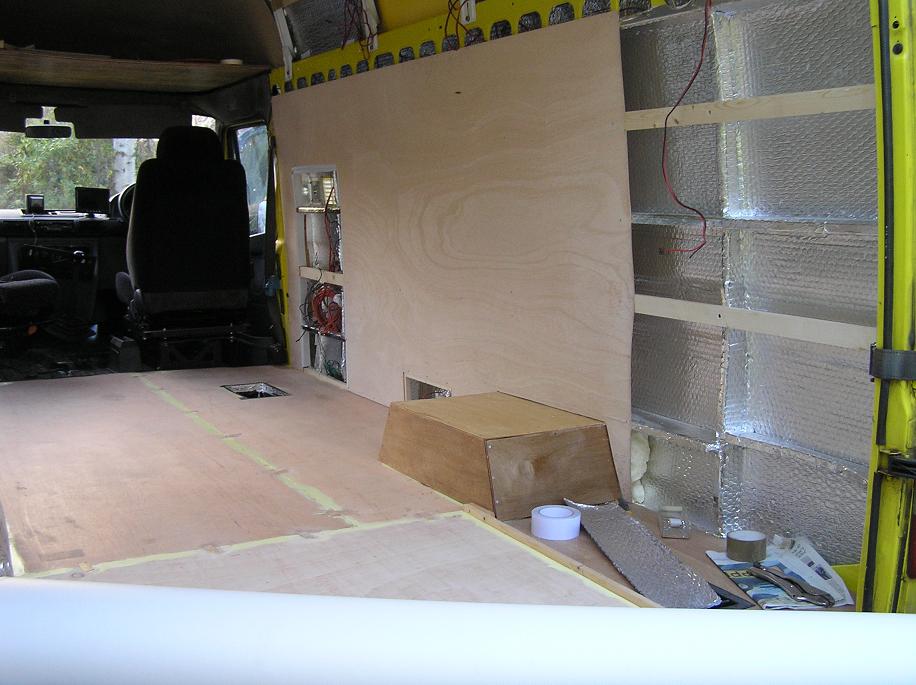
One wall is to be 'decorated' with 3 holes, so cutting these was a good start. Then the bubble insulation, but to sort out the cladding, I need to also sort out the ceiling, so the roof comes into play.
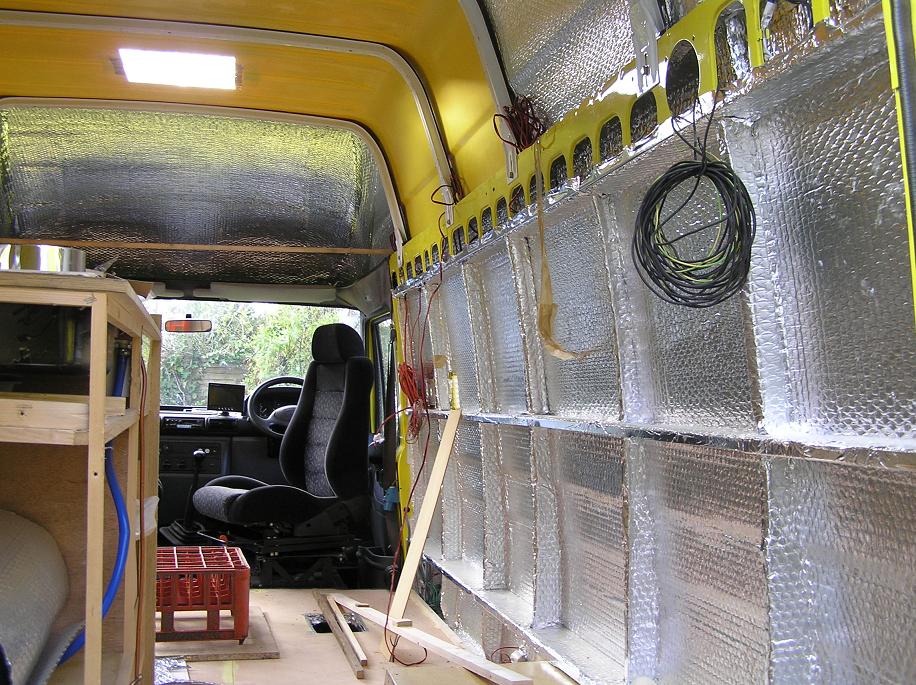
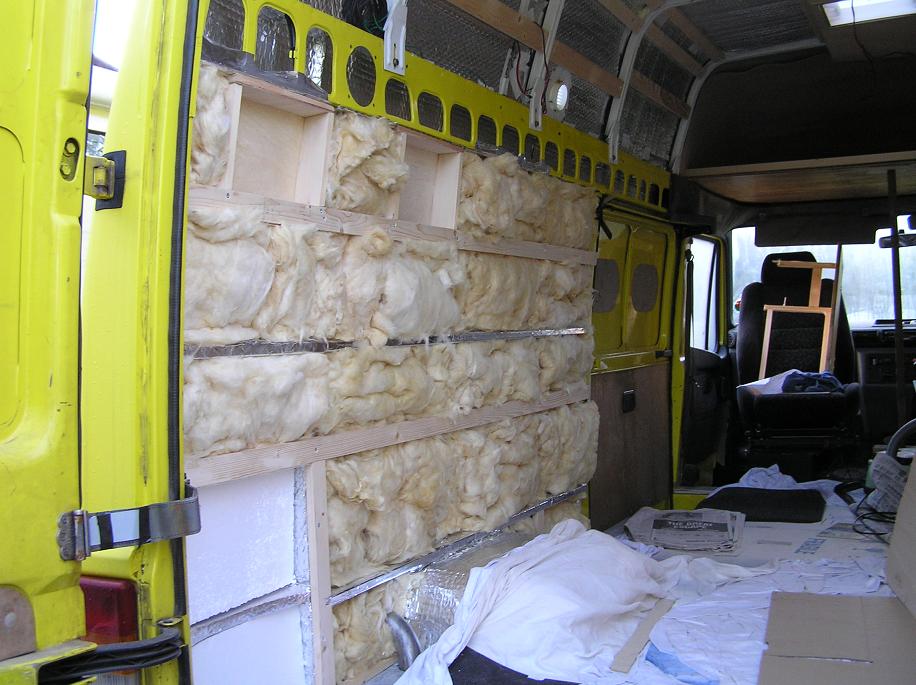
Glueing the silver insulation to the walls and roof took several days. Each piece had to be cut to fit, then my hand ached from squeezing out the darned glue and so on and so on. I had used some brush on glue, but it wasn't up to the job, so I ended up with a dozen expensive cartridges of the charmingly named "sticks like sh*t". This certainly did the job, but was very expensive and a lot of work.
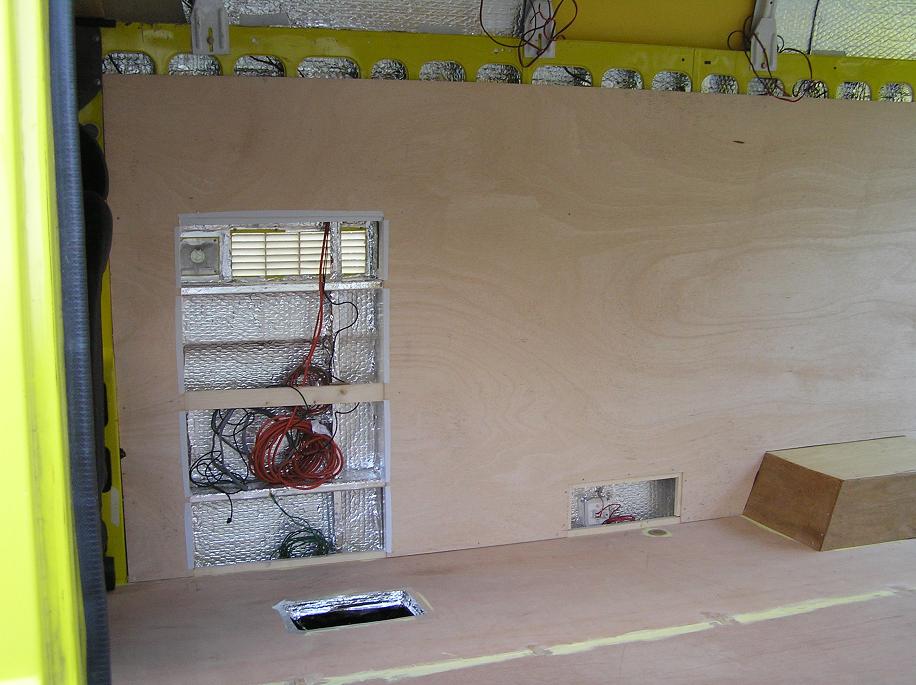
Cutting the holes in the walls was even more exciting than cutting holes in the floor. For a start the jigsaw and eyeline are not right above the guide line, but even more important, the paintwork that is being cut into is beautiful clean expanses of yellow that will be visible after the job is completed. So any mistakes are a bit of a snag.
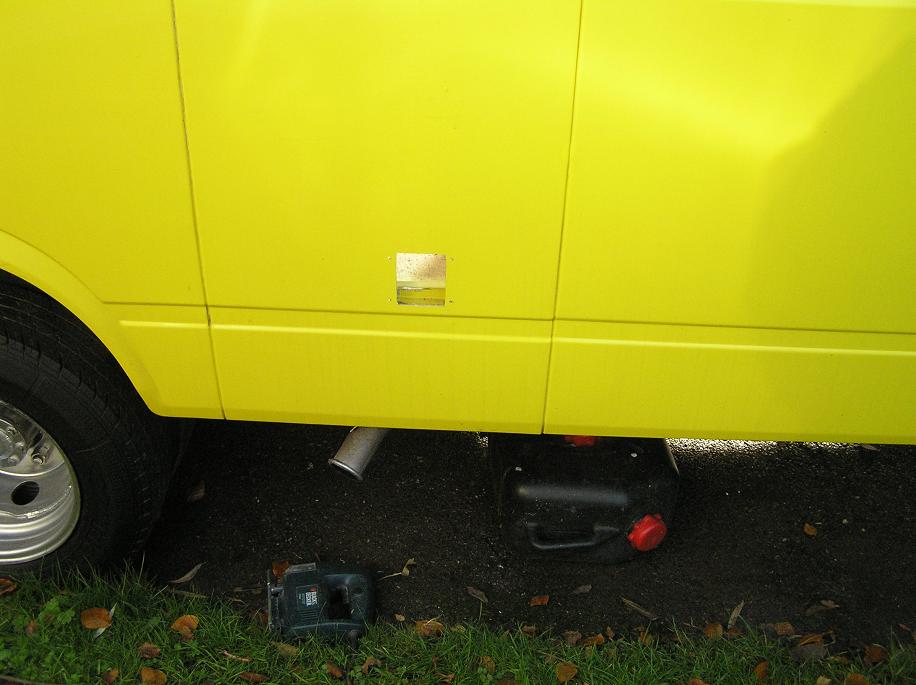
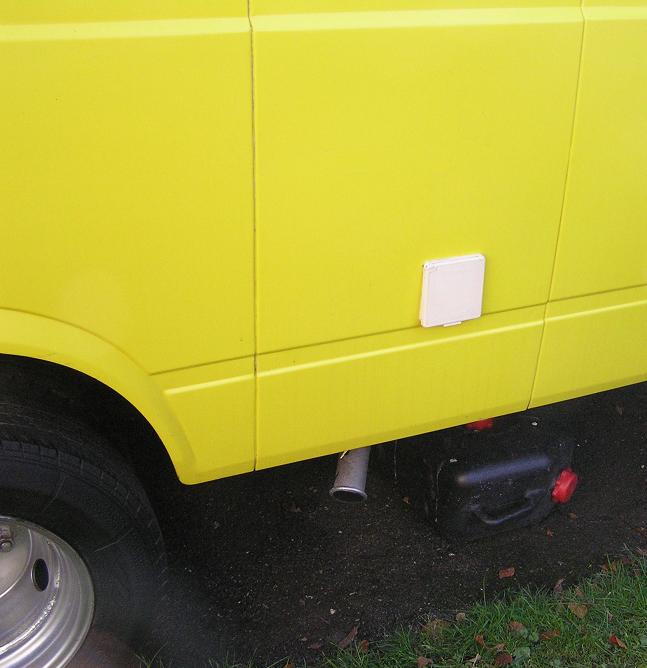
The water inlet came first - a smallish rectangle maybe 8 x 6cm, plus bolt holes to hold the cover. The metal moves around massively under the saw and the noise is horrible, as was pointed out to me somewhat forcibly by my lady: a) she'd been rudely awakened by the noise, b) it was far too early to be making such a racket, and c) didn't I realise it was Sunday? (No, I hadn't, oops) Prudent retreat for breakfast ...
I use a hacksaw blade in my jigsaw, because I find I break the jigsaw blades pretty often, so buying endless new ones gets expensive, but taking an old broken hacksaw blade and grinding a section to fit the jigsaw is easy and free. But this meant that it was hard to turn corners. This hole being lower, nearer the support of the floor and smaller was a good one to start with.
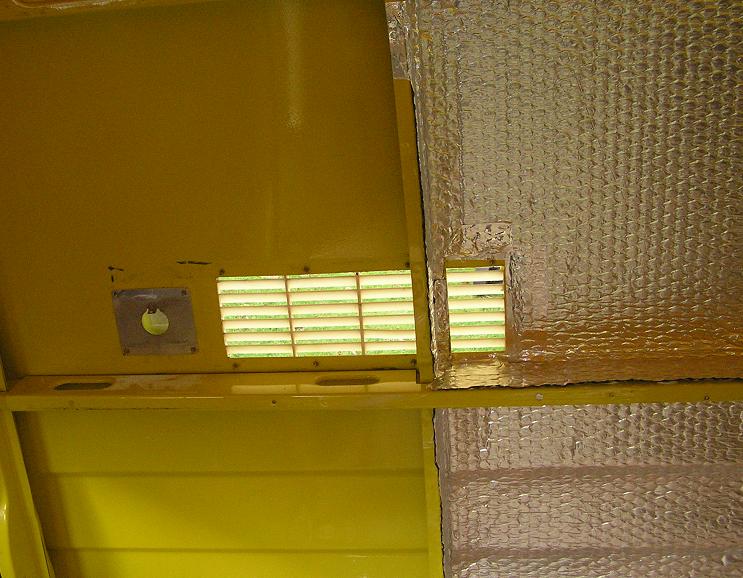
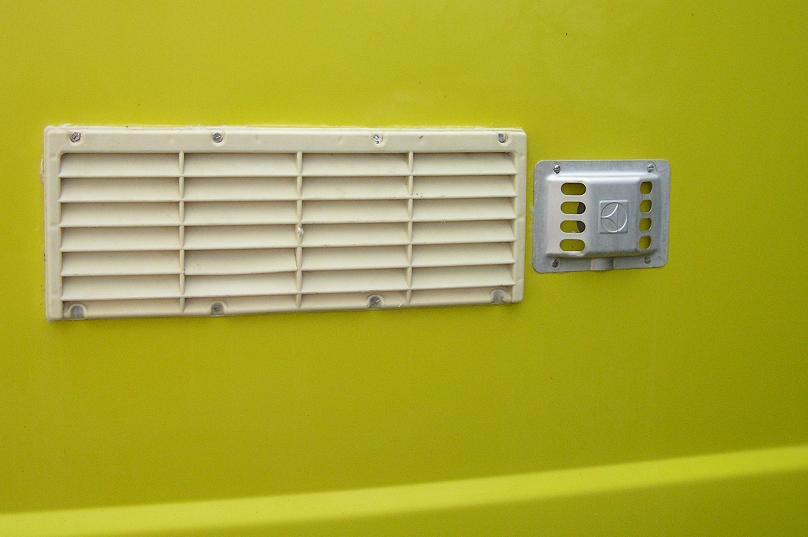
Next came the huge rectangle for the fridge vent. This was about 30 x 10cm, maybe a little more. Even though I taped over all the cut pieces as I did the work, the movement of the panel and the cut section was hard to control. I find I need to hold the jigsaw off the surface of the panel to avoid scratching the paintwork, but this is hard with a juddering jigsaw, and tiring. I was now drilling starting holes in each side of the rectangle so that I only had straight lines to cut. But life was made more difficult by the fact that a vertical metal support comes up the centre of the hole and hence cutting by hand required. Eventually it was done and primed but not until 2pm, so by the time I could paint the edges it was getting dark. As I couldn't fit the cover, I just slapped some paint on and hoped for a dry night. In vain. When the rain finally stopped the next day and I had mopped everything up, I could fit the cover.
And last the chimney vent. This is a round hole (so my notes above about how difficult it is to cut curves came to haunt me) and needed to be a bit bigger than the chimney pipe. Actually I doubt that the pipe gets very hot anyway and it is all metal connecting to metal, but what the heck, I reckon it'll be OK but maybe I'll keep an eye on how hot it all gets when the fridge is in place and running. Because the actual van wall is a few inches back from the interior wall, I needed a new, longer bit of pipe, salvaged from the leg of an ironing board!