The plan was to have a nice big cupboard over the two front seats. This entailed fitting a large piece of ply as the cab roof aka cupboard floor, which meant that I had to remove part of the roof support. It is very hard to shape a piece of ply when it is so heavy to lift into place and so confined a space. But eventually I had this bit ready.
In fact the only reason I am doing this now is because I found myself in a spiral of jobs:
I am trying to finish the floor, but ....
To finish the floor I need to lay the vinyl
To lay the vinyl I need to cut it
To cut it, I need to know the right width
To work out the width I need to know where the fridge and cooker will come
To know where the fridge/cooker come, I need to know where the wall cladding will go
To fit the wall cladding I need to insulate the walls, and fit the battens
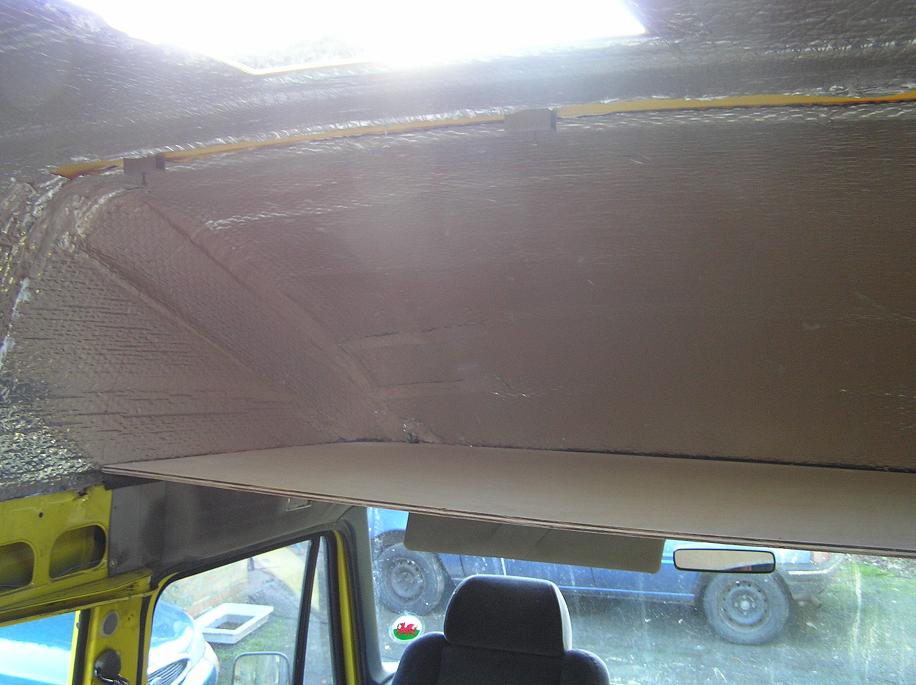
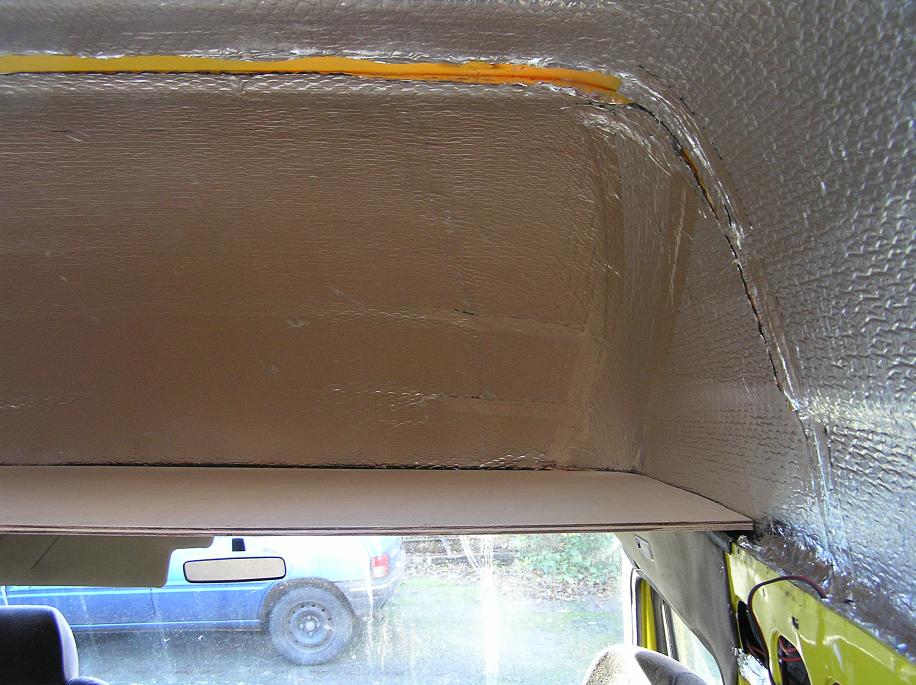
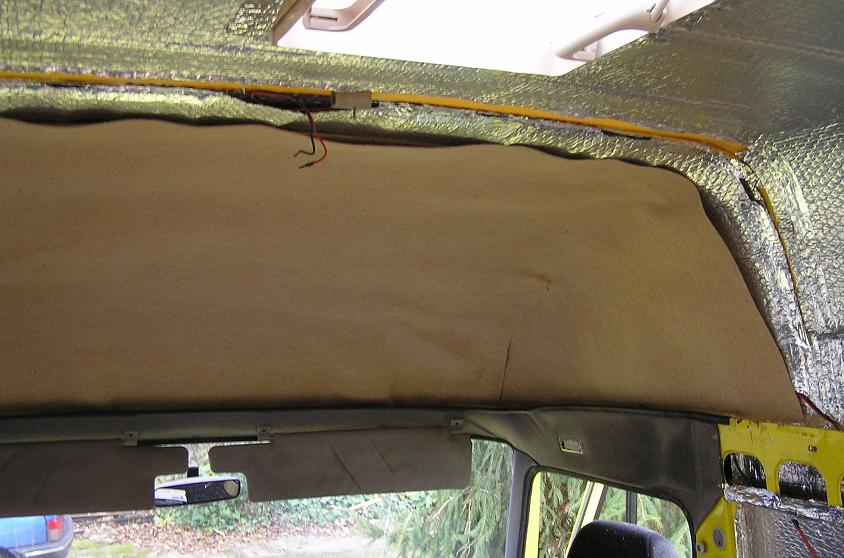
To fit the battens for the cladding I need to roll up from the walls to the roof area
To sort out the roof area, I need to cut the hole for the roof window and insulate and know how it will join the front cab area
To know about the front cab area, I need to fit the base of the cab cupboard
To fit the base, I need to remove a roof support
Before I put it back I need the cab floor finished
So I need to fit the vinyl for the inside of the cupboard floor and the carpet that will line the roof area
To fit these bits of 'carpet' I need to buy them
So here I am in mid December, trying to finish the floor by visiting carpet showrooms for remnants to fit the roof section as far away from the floor as I can get!
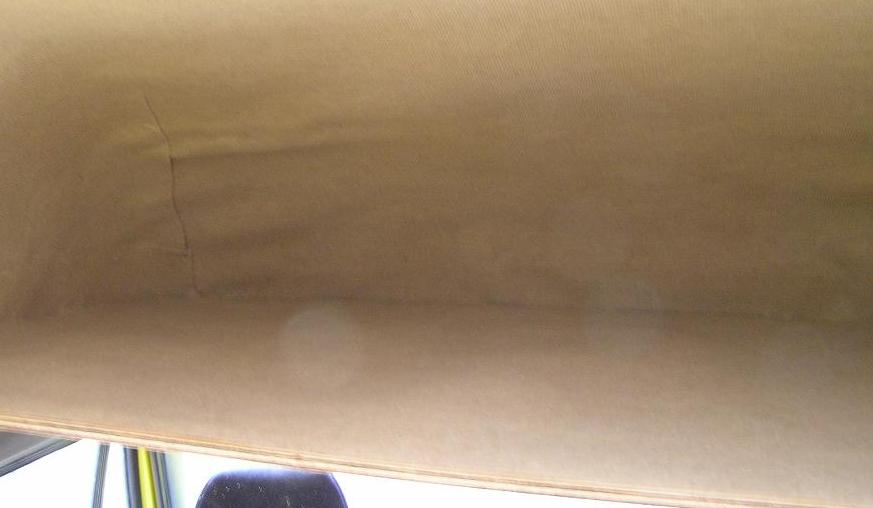
Having got the carpet, it was a heck of a job to fit it to the roof. It just fell away from double sided tape. so I made some plywood hoops and stapled the carpet to these. Bending the plywood with a paint stripper hot air gun and garden sprayer to get the steam was 'interesting', but it worked OK after a lot of effort and was at least warmer than working elsewhere in the freezing cold of December. Good practice for bending the plywood cladding and I only broke one.
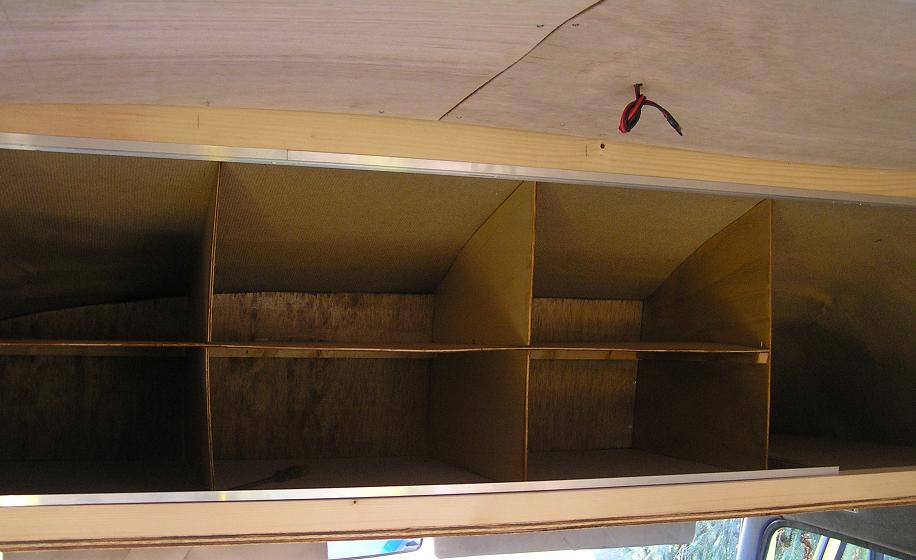
Two months later, having reshaped and mounted one of the kitchen wall cupboards, which would also serve as part of the frontage of the overcab storage, we got back to this. Dedicating it mostly to clothing, we first decided for practicality to block off the space beyond arm's reach (aagh, are we really giving up storage space???!) Even then, we had a more room than previous wardrobe shelving, so we divided it into 4 sections - one clear space on the right behind the cupboard for light stuff like spare bedding, and 3 with a shelf: 'his' and 'hers' sections in the middle, and Morris kit to the left, behind the facing matched to the other end. Where to put the shelf exactly? Well, this is a bespoke van after all, so the shelf height just had to be defined by ensuring safe accommodation of our Morris hats - just enough room if that section of shelf were extended and angled for access!!
To finish the front, a 2x1 length of timber, reinforced with angled aluminium, was fitted to strengthen the span. We then opted for 3 sliding doors, each on their own runner so we could get maximum access. Sourcing triple runners proved tricky so we made our own by combining 'E' and 'L' shaped aluminium lengths - expensive, but effective. Runners and door edges sprayed with silicone for smooth running, finger holes drilled in the doors and some pretty trim fitted - job done.