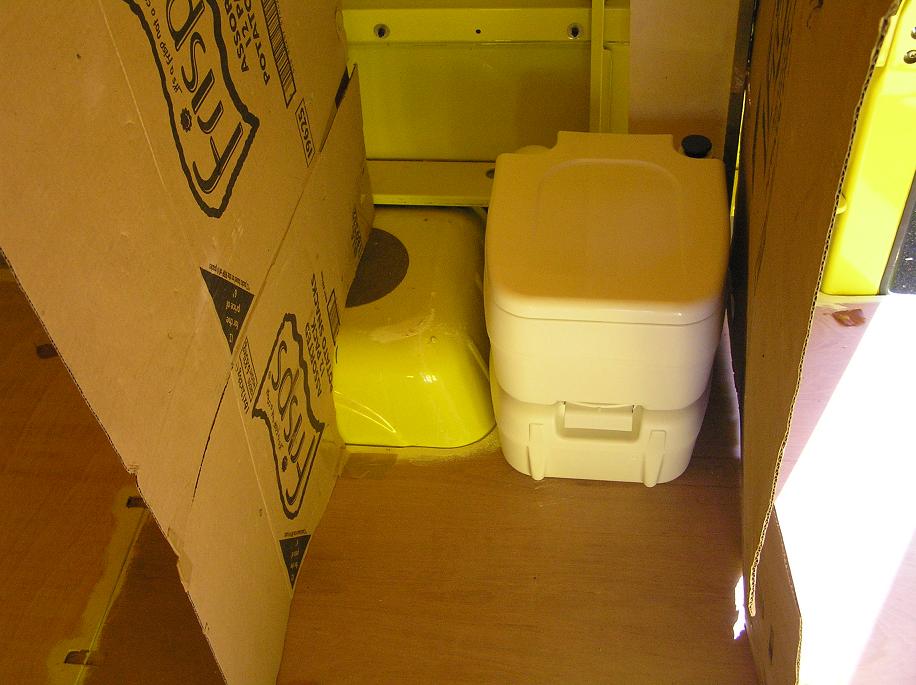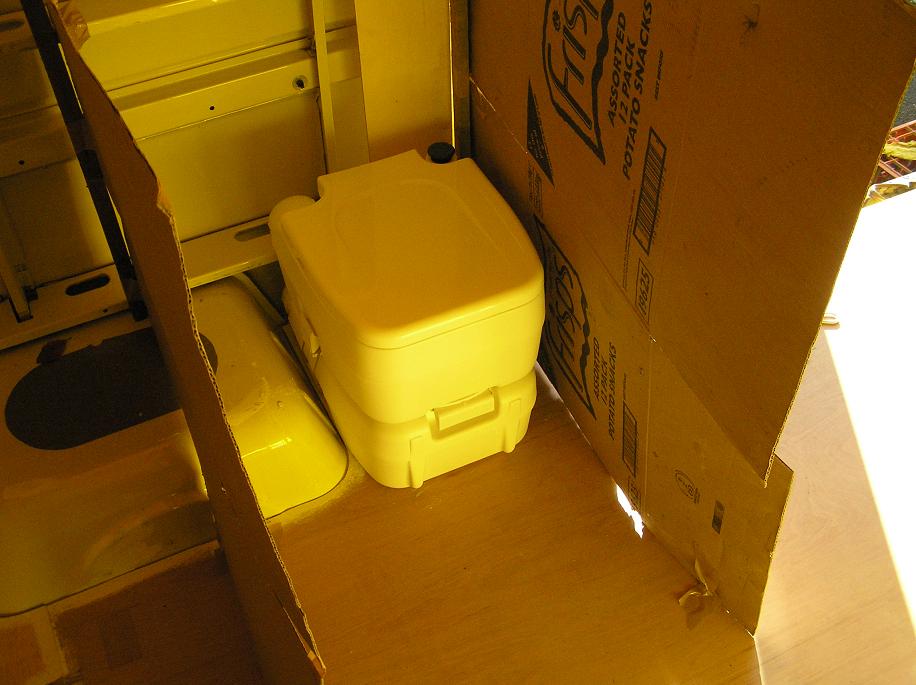
As we completed the floor, we needed to think about the wheel arches, in case the cladding of these required adjustment to the flooring. To think about these meant that we needed to sort out the toilet compartment. So back to the mockup stage, trying out our new Fiamma loo for size.
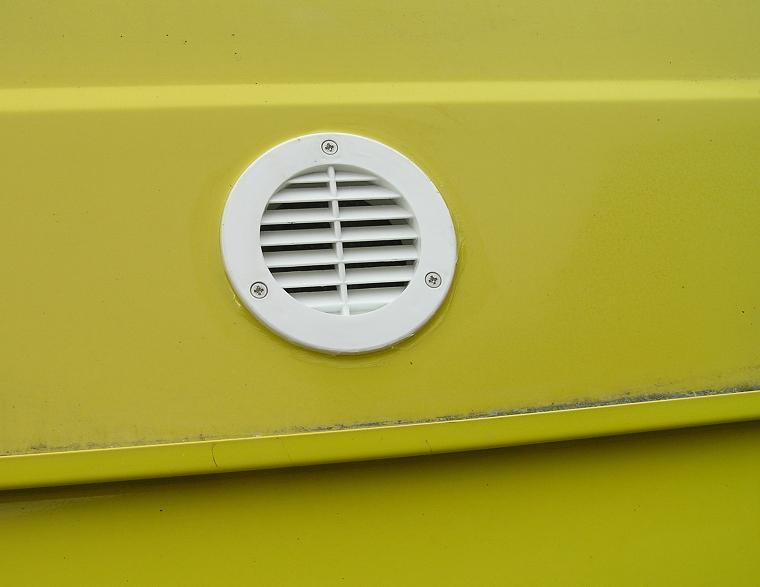
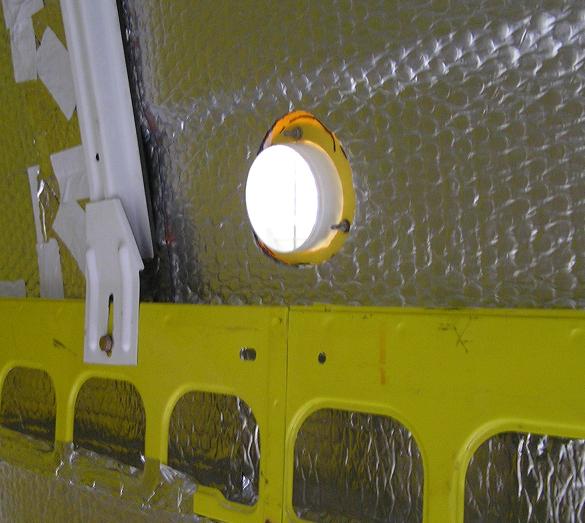
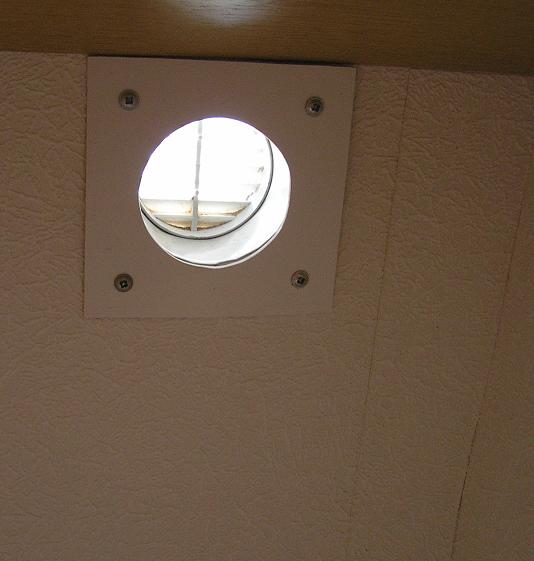
Still with no firm design sorted, but with the ideas and sizes getting clearer, we had to finish the roof insulation and cladding in order to progress and this meant cutting the loo vent. Bit of a gamble if we have it in the perfect place, but it is impossible to do everything at the same time. I can only keep so much in my head!
Eventually in February, I reached the stage of making the bed and hence could make two walls from 6mm plywood. Naturally they took forever to shape to fit the curved van side.
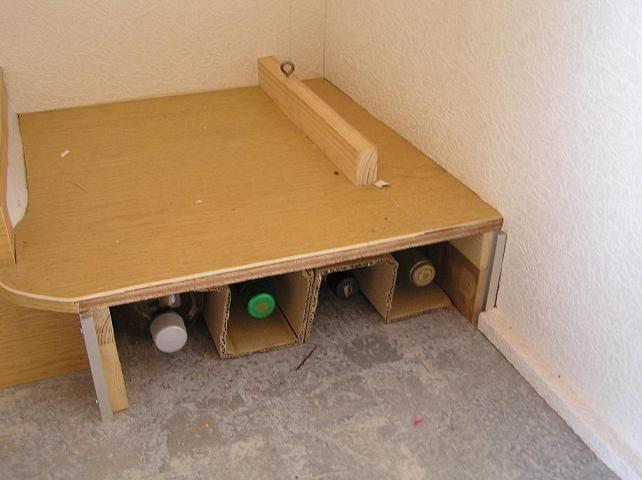
Then they had to fit the wheel arch cover which is the last bit of the floor to be made and this in turn has to fit the platform for the loo. I made a sliding door, cum support to keep the loo in place, over a space beneath the platform, but how usable this little bit of room will prove to be is debatable ... but not for long - within a week a brainwave - the perfect size for 4 wine bottles on their sides and no room to roll!
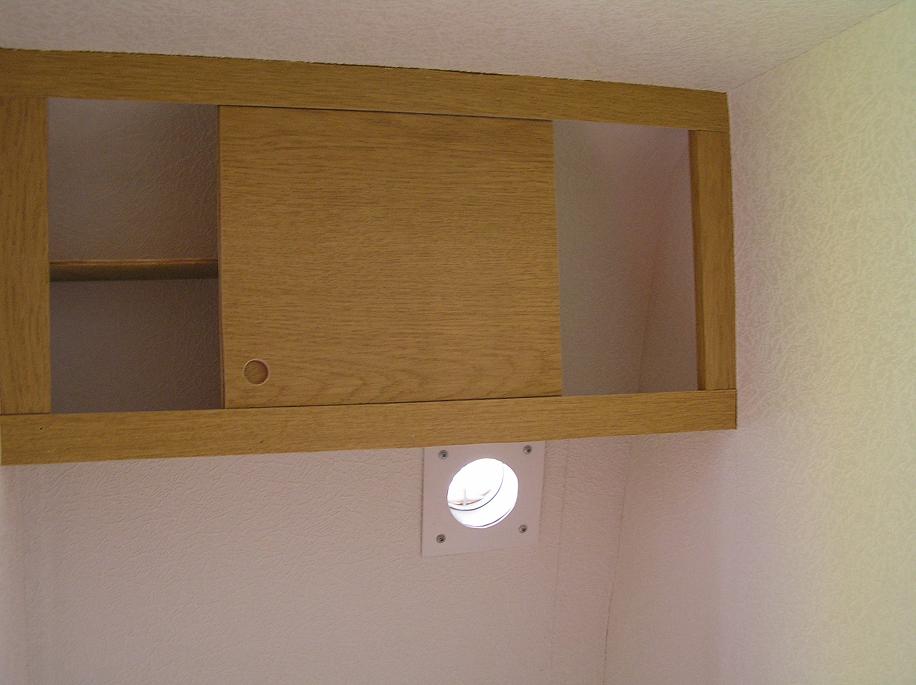
The front side of the loo is the Wardrobe and once this was done and the sides made pretty with veneer, it all pretty much looked as though it fitted in.
Still to do is the folding door.