Van conversion - Floor
|
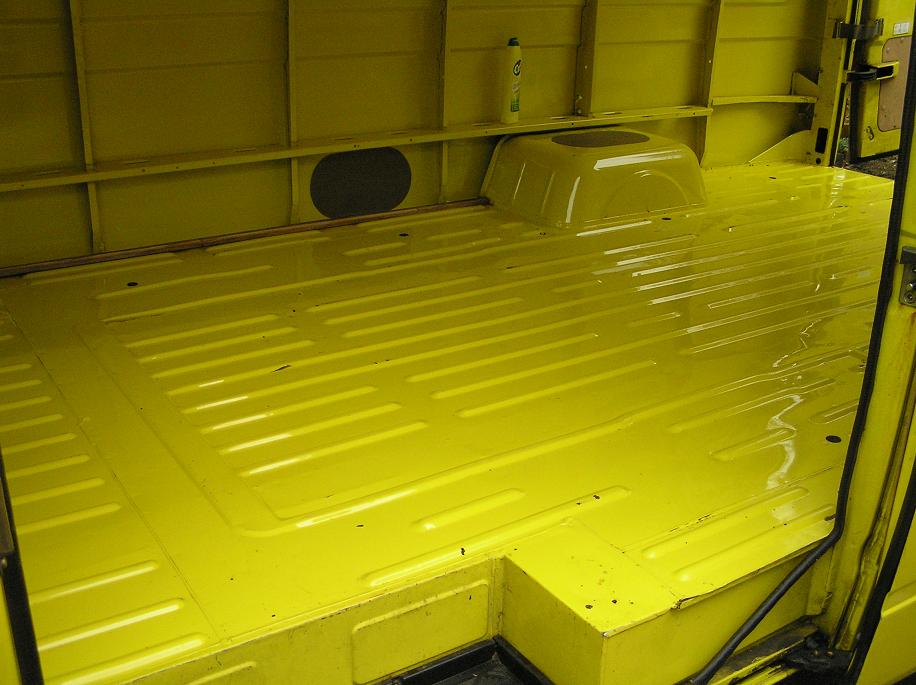
5th November, Guy Fawkes night was a good time to strip out the last bits of timber that formed the floor of the old cladding - if we'd had a bonfire to put it on. Naturally it was all very dirty underneath and needed endless kneeling scrubbing and cleaning. But eventually it looked OK.

There's a nice shiny floor!
|
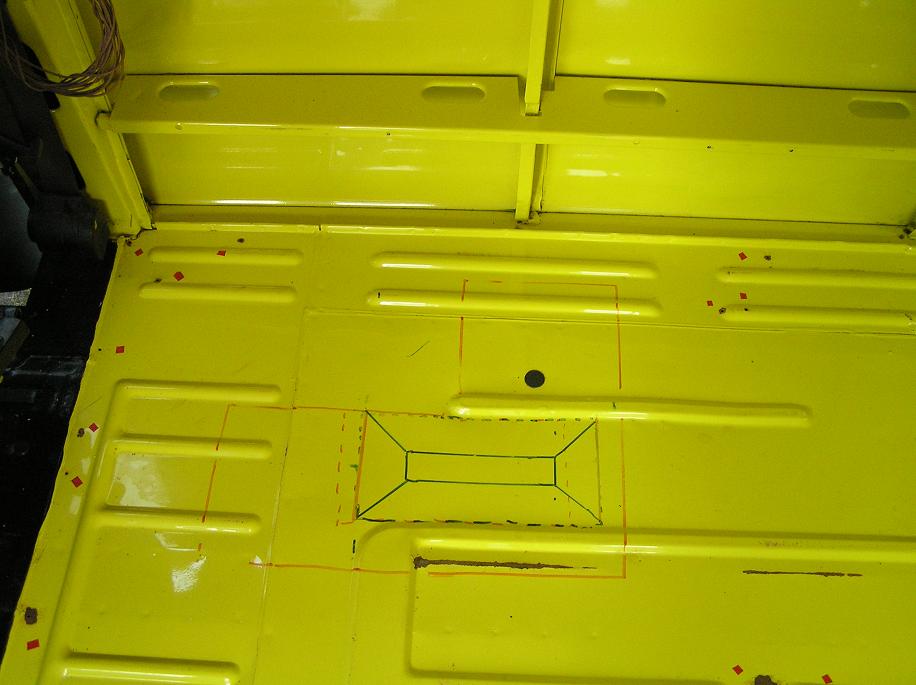
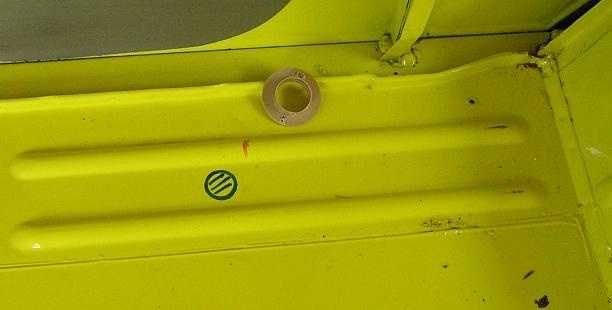
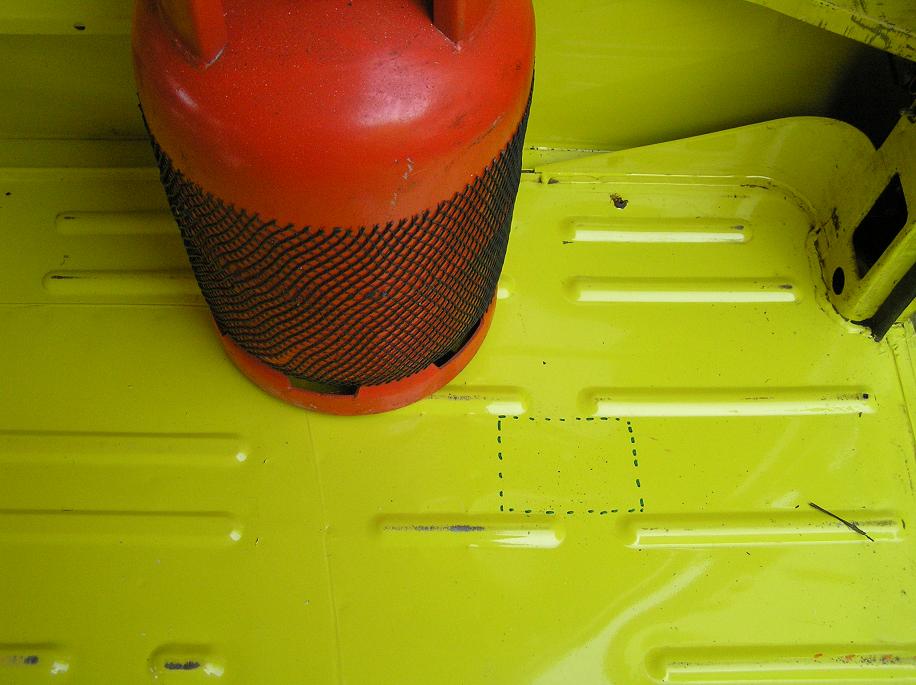
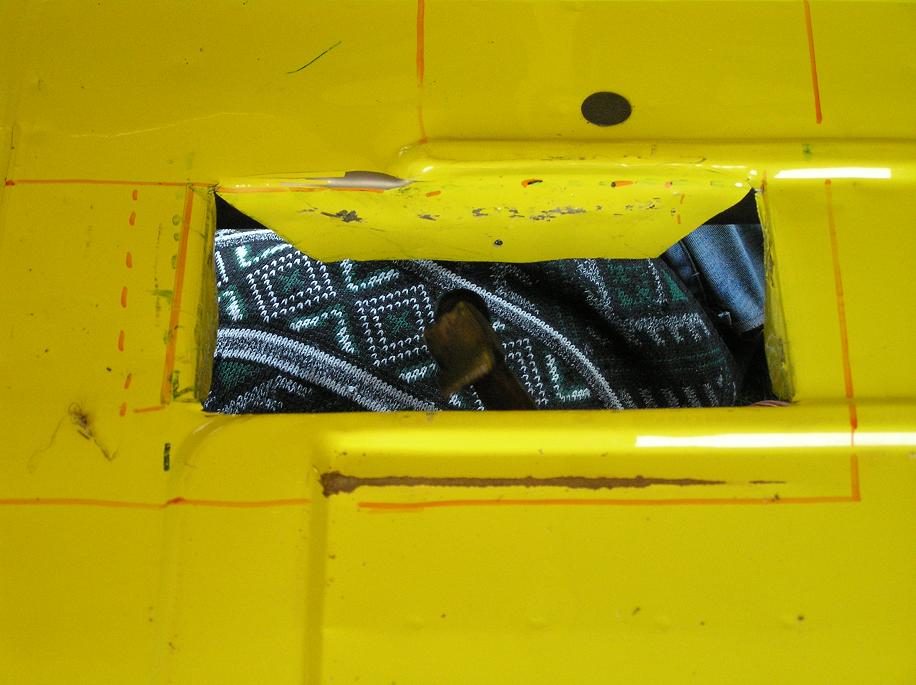
We then marked up the vent hole for the fridge, the drain for the sink and the vent for the gas cylinder cupboard. It was easy enough to mark where I wanted them, but difficult to relate the top view with the underneath view, to get the holes avoiding any bits of chassis. We ended up calling to each other ... "You see the three little raised bits and the longer one a bit further back?" to get a reply "Which way is 'back'?"
Marking up the fridge (and other) vent positions (by 'the three little raised bits and the longer one a bit further back')
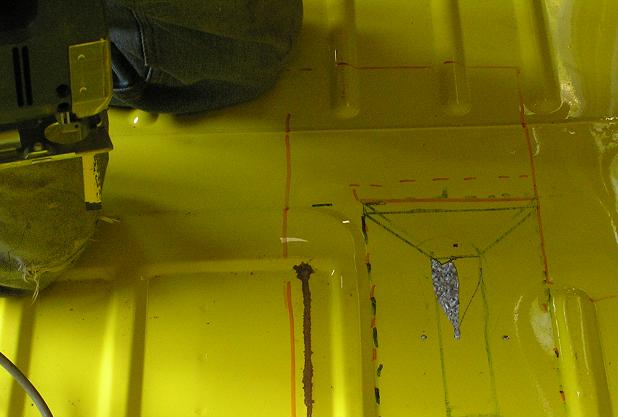
Scary first big cut ...
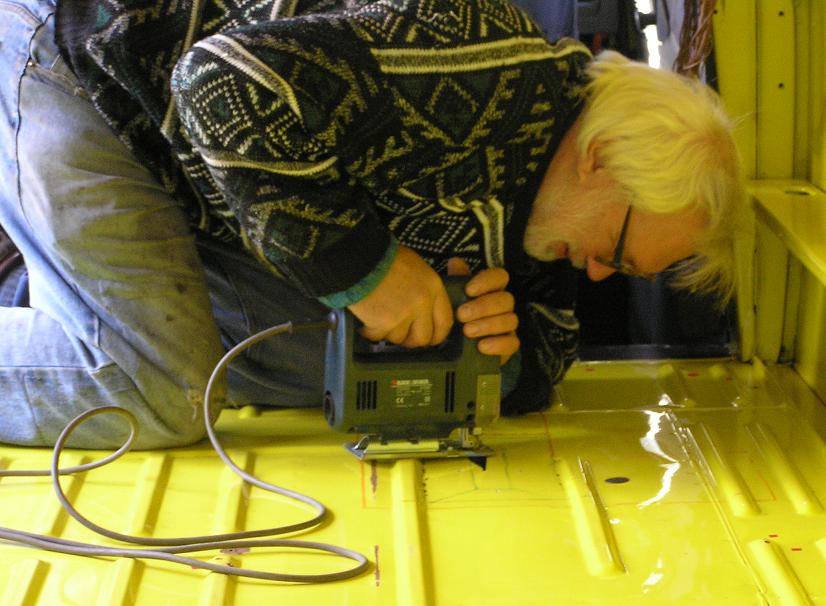
Cutting the first (and large) fridge vent hole was kind of exciting, but in the end went OK. I 'gently tapped' the sides down (with a damn great hammer) and fitted an extra lowering shaft and grid to stop birds flying in. The idea is that it takes the air entrance slightly further from any exhaust fumes.
Ooh, that's our tarmac down there ...
'Gentle tapping' time ...
Then came the shaping and fitting of the floor. A huge and heavy and unwieldy sheet of 8x4 plywood suddenly looks small when placed in the van. It took a day to get the first two pieces to have the right shape and neatly butt up against each other. The edges were painted to help seal against any water, and I cut some small joining pieces which will be glued in place to try and better keep the join together. Mind you it is a tight fit anyway and the join is deliberately on one of the raised bits of the floor.
In fact it seemed to take ages getting all the bits of wood to fit and making the vents and getting it all ready for the insulation and final fitting. On 15th November it was all more or less done, but before doing the floor, I needed to cut the cladding for the two wheel arches, in case I needed to do things to the flooring to fit them. To do one arch, I needed to sort out how the cooker/sink unit will work and so had to spend an age getting this opened up, cleaned, cut and so on. And to do the other arch, I had to get the loo sorted as it may have to be partly positioned on top of the arch.
But eventually the timber was OK, and then I glued endless strips of insulation and added another layer over the lot, and we were ready to go. Except that it was pointed out by 'the boss' that floor covering was needed, not just timber ... time out to find and buy a vinyl remnant, and then take the plywood back out of the van to use as a pattern for cutting it (the vinyl). Just as well the sitting room floor was large enough!
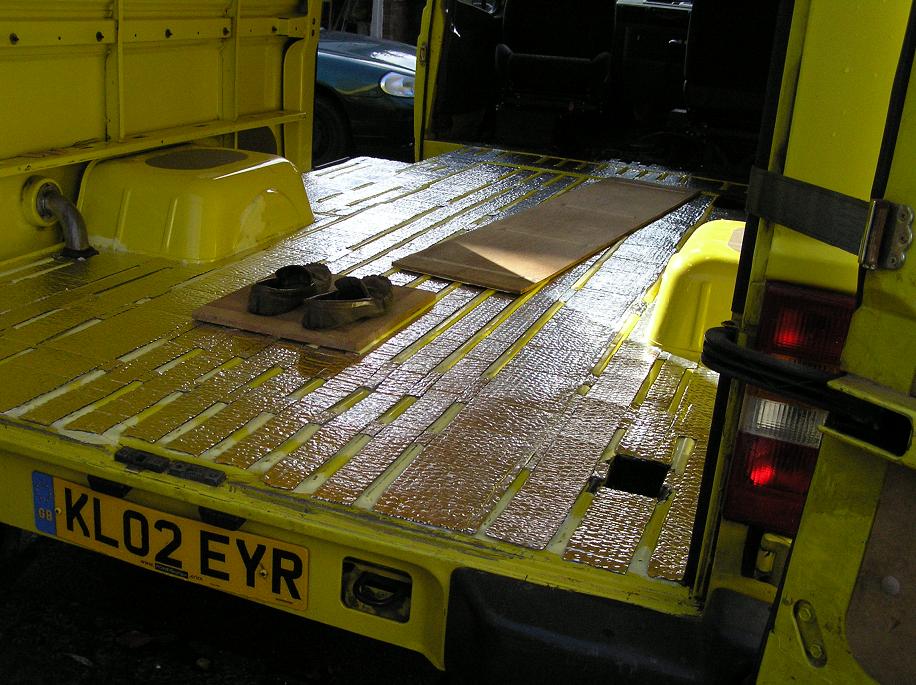
First strips of insulation, filling the gaps between the 'raised bits' (boards to walk on to avoid denting the insulation too much) ...

... and from the rear doors (with gas vent hole in right foreground)
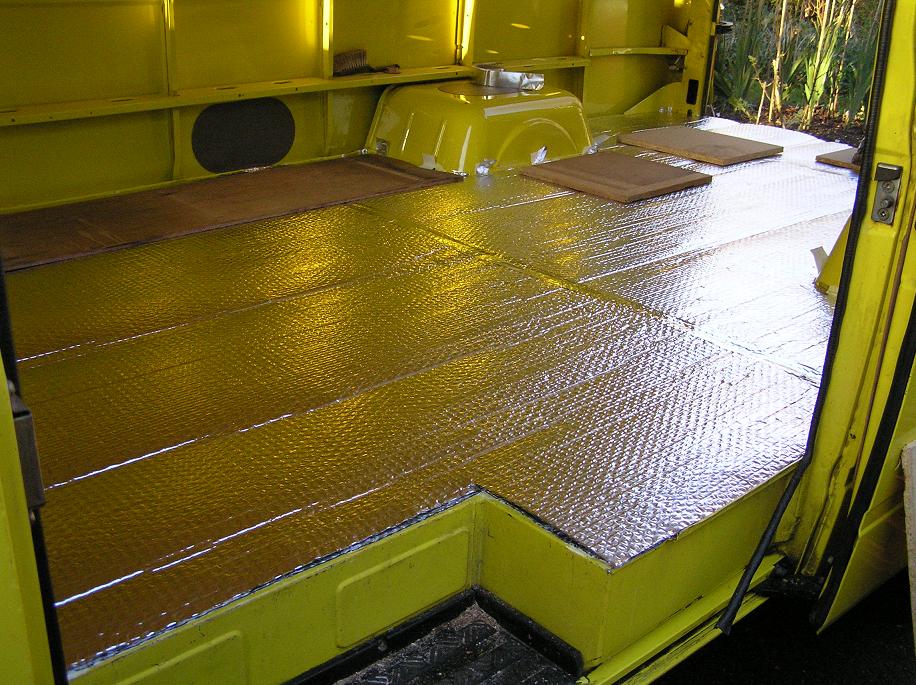
Second layer on top ... (boards now helping to flatten the insulation after being rolled up so long!)
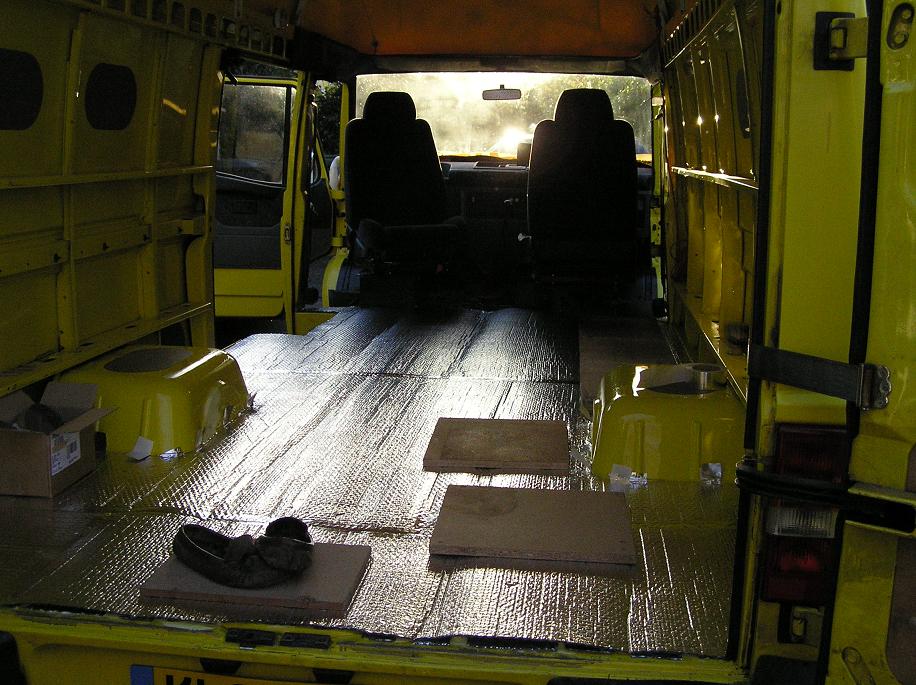
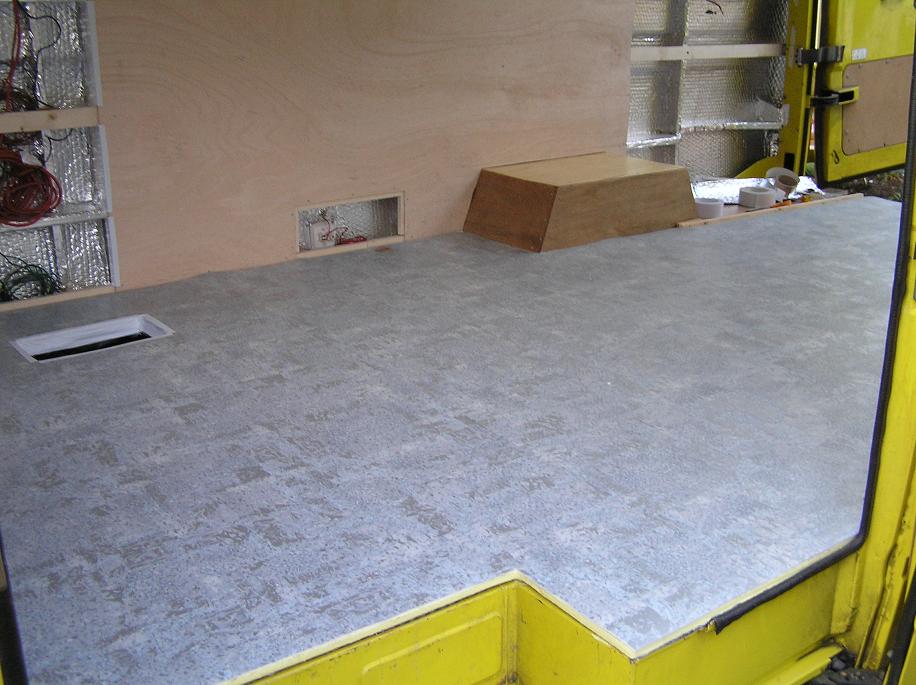
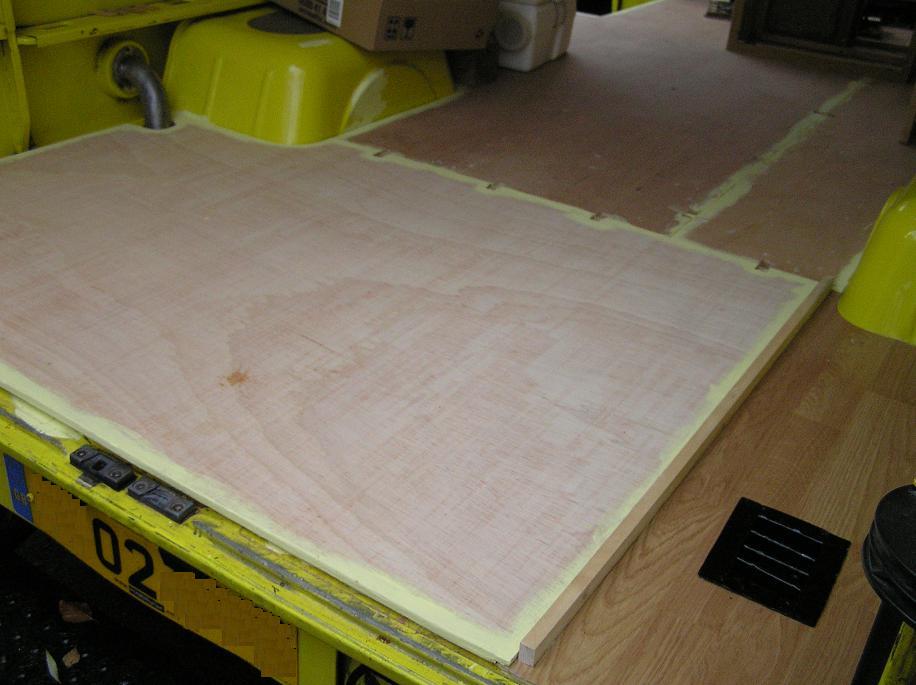
Full plywood floor down in place (embryo gas cupboard right foreground with formica floor and fitted black vent)
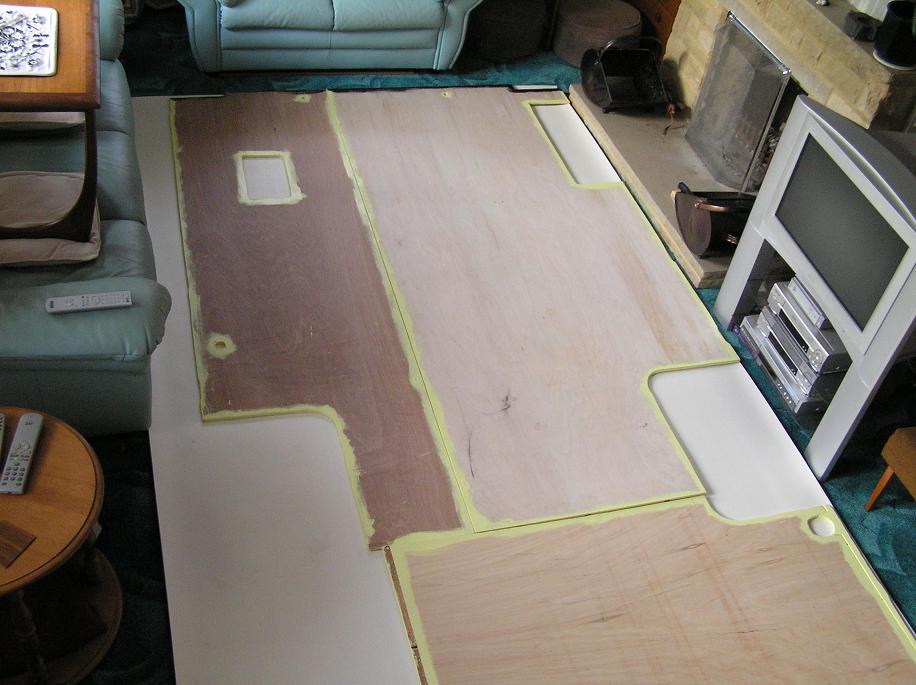
Plywood removed from van and reversed, laid onto back of floor vinyl to draw out the shape needed
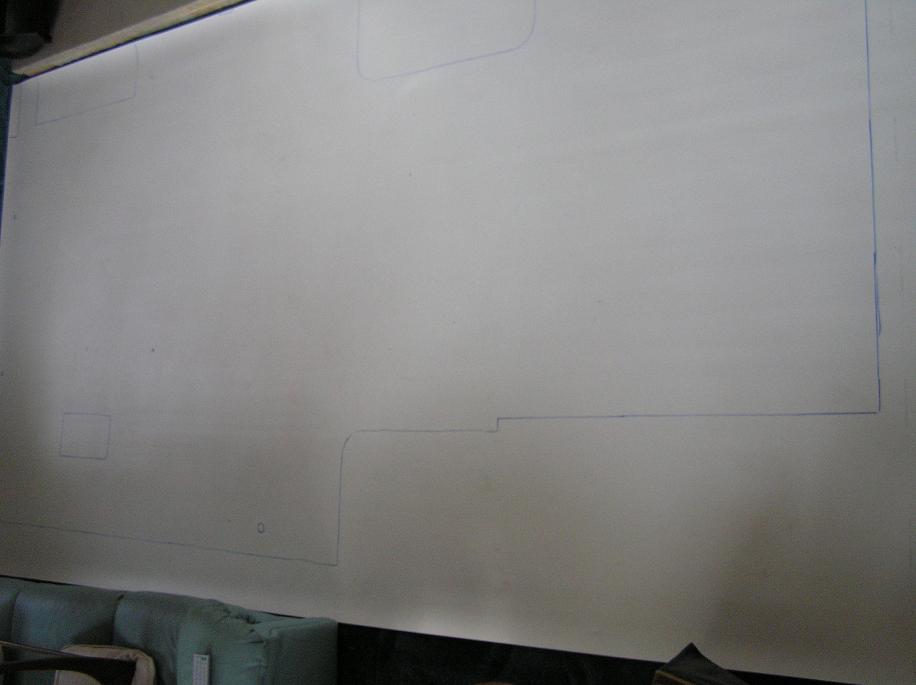
Cutting lines drawn
At this point we realised that we might scrimp on the vinyl under the kitchen units to gain a wider spare strip which could be used on the walls above the kitchen units ... master builder reverts to unit building to determine exact positions of the units.