The cooker from our caravan and associated sink were just what we wanted, we reckoned. So we took then out (through the large front window of the caravan) and had a look.
They were all a bit dirty in places we hadn't been able to reach and some of the wood was rotting where the idiots making it had used non stainles steel screws. But all usable, probably. I'll need to make an extra side, and it is designed to fit over a wheel arch, so a panel is blocked in, but what the heck.
We decided on the second fitting to cut back the depth to the minimum, which conveniently removes the rotten bit. So a bit over two inches was sawn off the top and side. Then, when the floor was up, I worked out where to put the drain hole.
When the floor woodwork was ready, I needed to decide on how to clad the wheel arches in case adjustments were needed to the floor for fittings. One arch intrudes under the cooker/sink unit, so suddenly I had to work on this.
I stripped out the cooker and cleaned it all up and likewise the sink. A new drawer to the right size and depth was needed, but the old front would work OK. The main problem was to rejig the right hand side to suit our new streamlined layout. The original unit had had an extra bit sticking out (in line with the deeper table storage unit alongside), which when stripped back, meant the front had to be reworked and refitted.
For the sink, the plan was to have no taps at all. We always found that they leaked and dripped our precious water down the drain, requiring more trips back to the site supply and tugging the heavy waterroll back, not to mention waking us up as the pump clicked in. So we resorted to turning the water pump on and off each time, which was OK but a long stretch between sink and switch on opposite sides of the caravan.
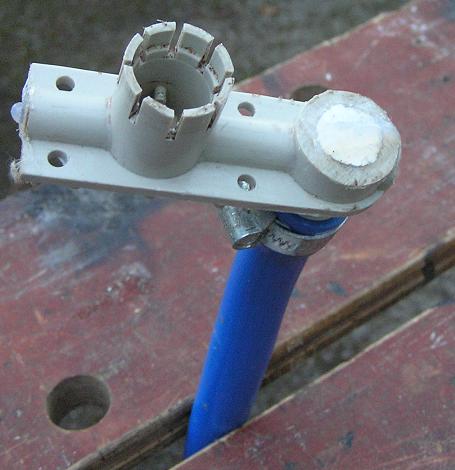
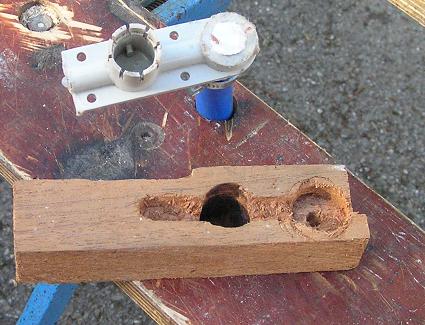
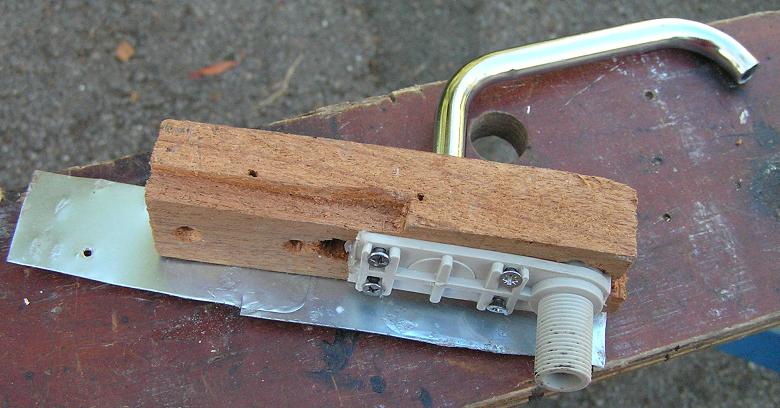
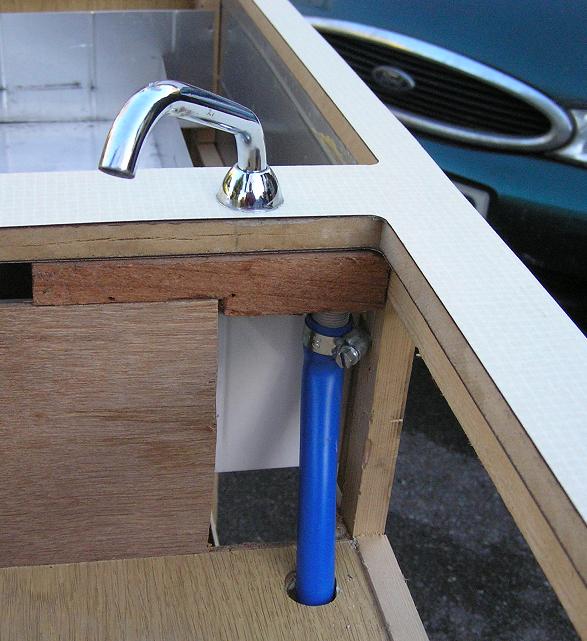
So in our new setup, we will have a single water spout, with a single switch nearby. All salvaged from the caravan, but the tap needed a lot of rework, as you can see from the pictures.
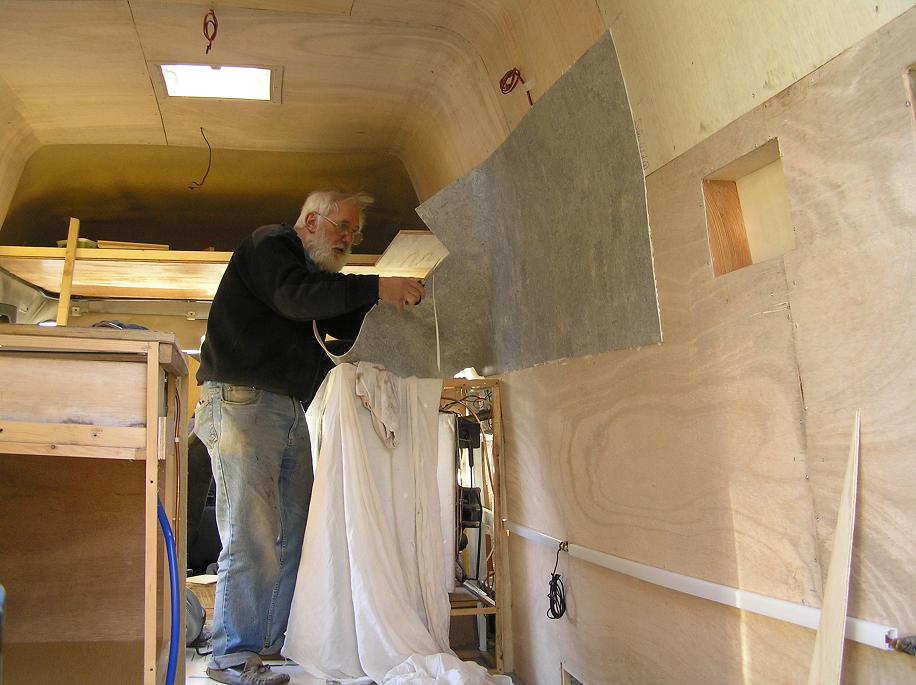
Eventually the floor and walls of the van were completed, the holes in the walls and floor cut for the water inlet and outlet (see Walls and Floor) and we could line the wall behind the cooker with vinyl and install the unit.
I used some new gas pipe, in conduit and endlessly added washing up liquid to the joints to check for leaks. I found that at first glance they were fine, but in two cases, after some while, suddenly there were bubbles, so I learnt patience. I then bought a sniffer pen to retest all the joints and this showed that all was still OK.
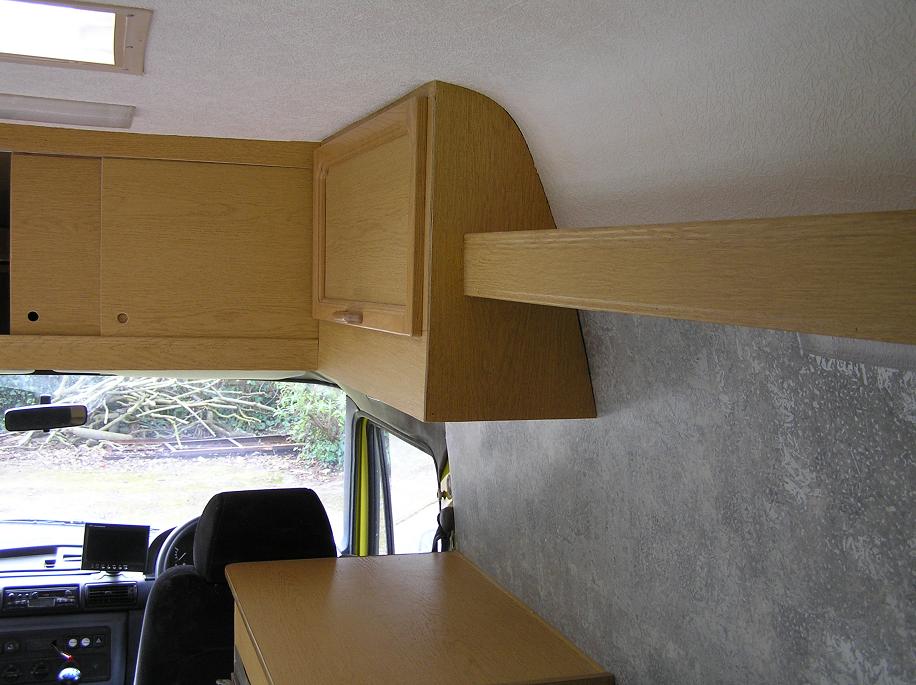
Over the fridge and cooker, we built 2 cupboards and a shelf, and then added a back panel and windshield around the cooker. (see pictures below)