| Instructions for the Conversion |
| This page provides a list of the major steps to complete the conversion. Links are provided for each of the major steps with more detail and pictures. There are a number of great website where you can find some really good detailed information. If you have not already found one I would start with Mercedesshop.com. They have a great diesel forum for finding information or asking questions.
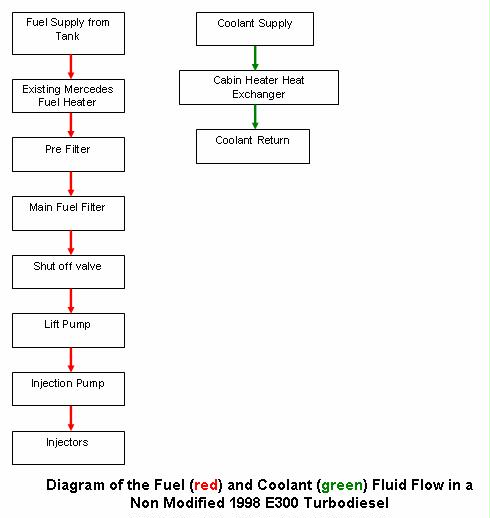
Tips 1. Put all screws and small parts in bags and label them. Tape components and bags to the parts they go with if possible. 2. Make sure to keep it all clean especially any of the fuel components after the filter. Cover exposed fuel system components with tape an put parts in bags to keep clean. Clean any components before assembly. Vacuum and clean anything before removal. Don�t let anything fall into the engine through the injector holes, or glow plug hole. Also don�t let anything fall into the intake pipe . 3. Make sure any fittings used in the conversion use the appropriate sealant to prevent any air from getting into the system. There is a recomdended sealent on the extra parts page. Be sure to look for bubbles in the fuel line before and after the conversion. One of the lines bleads back when the car is off. All other lines should not have bubbles. 4. Here are some diagrams to better understand the fluid flow. Try to trace the lines and learn the components. Original After the Elsbett Conversion Torque Conversions 20 NM = 14.7 lb / ft = 177 lb / inch 30 NM = 22.1 lb / ft = 265 lb / inch 40 NM = 29.5 lb / ft = 354 lb / inch Conversion Steps Click on the blue underlined words to get more detail. 1. Remove all of the under the car covers so you can have full access. There should be three covers to remove. 2. Remove the black plastic cover over the injectors 3. Remove Intake Manifold. 4. Remove glow plugs and install new ones. 5. Remove and install injectors and braided fuel return hose. 6. Do any additional fuel system work you feel needs to be done. This will be based on any leaks you already have which you need to resolve. 7. Install Heat Exchanger- The heat exchanger is mounted on the EGR bracket which is directly underneath the air intake manifold 8. Start Coolant Work- This includes cutting into the existing lines and inserting tees to route coolant to the heat exchanger. 9. Start Fuel Work- This step requires replacing the fuel line from the tank to the existing heat exchanger located on the top of your engine prior to the fuel filters. 10. Change Out Both Fuel Filters and Install the Electric Band Heater. 11. Reinstall the Intake Manifold - Check all the hoses for clearance and rubbing before IM goes back on the engine. Make sure everything is tightened to the proper specs and the hoses are routed the way you like. This reinstallation is easier with two people. It�s hard to handle and align alone but can be done. 12. Restart the car on straight diesel since the electrical work is not done. This will also make sure everything is fine before adding the veggie oil. It may take a long time to bleed all the air in the lines from replacing the injector and filters. You may need a second car so you can use jumper cables when the battery dies. Make sure to regularly check coolant level for the first few drives. Bring some with you in case you need it when driving. The car may sputter, make weird noises and smoke until you drive it a little. There is a lot of carbon that gets knocked loose when you take things apart. This will take a few miles to eliminate. 13. Electrical - The electrical system is simple to wire but take a little while to crimp on all the components. Verify the electric heater is turning on when the ingnition it turned on. |
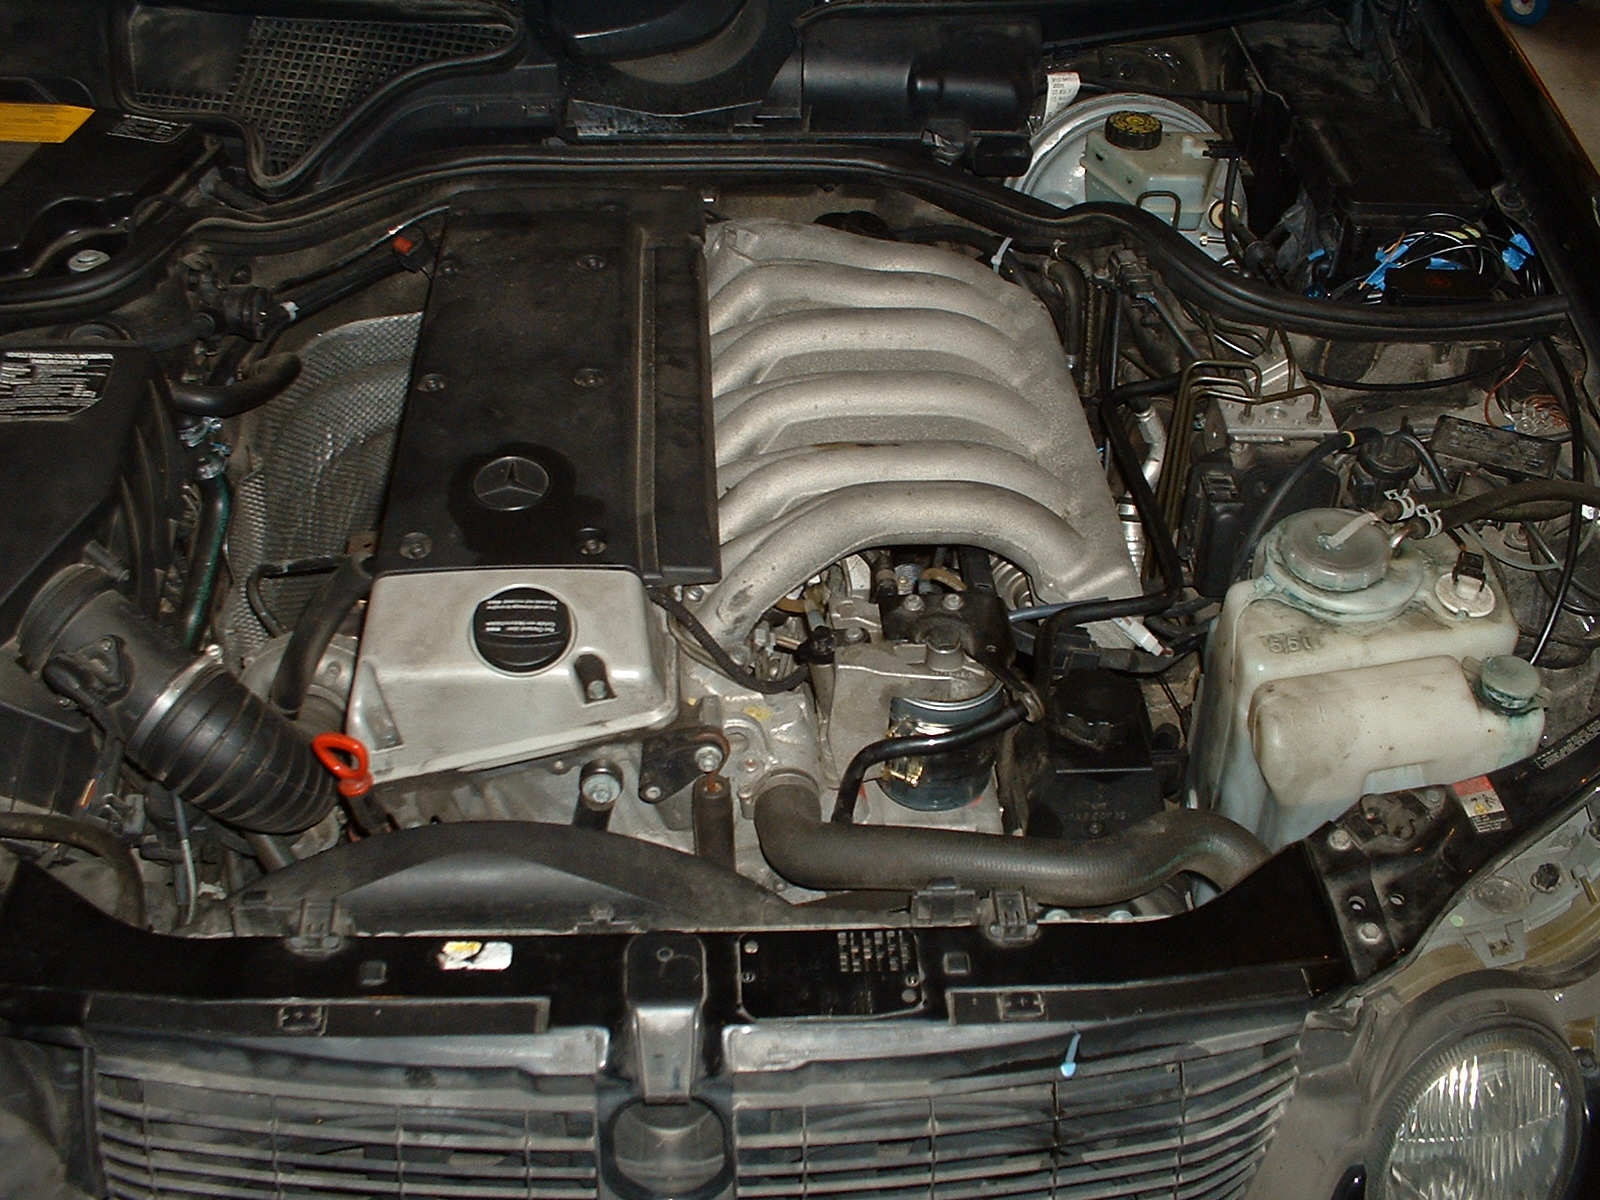 |
| Finished Product Doesn't Look Much Different Does It? |