Note: This procedure is for full injectors with balanced nozzles. I do not have a procedure for changing and balancing the injectors.
Reminder: Keep area and all components as clean as possible.
1. Remove black cover
over the injectors.
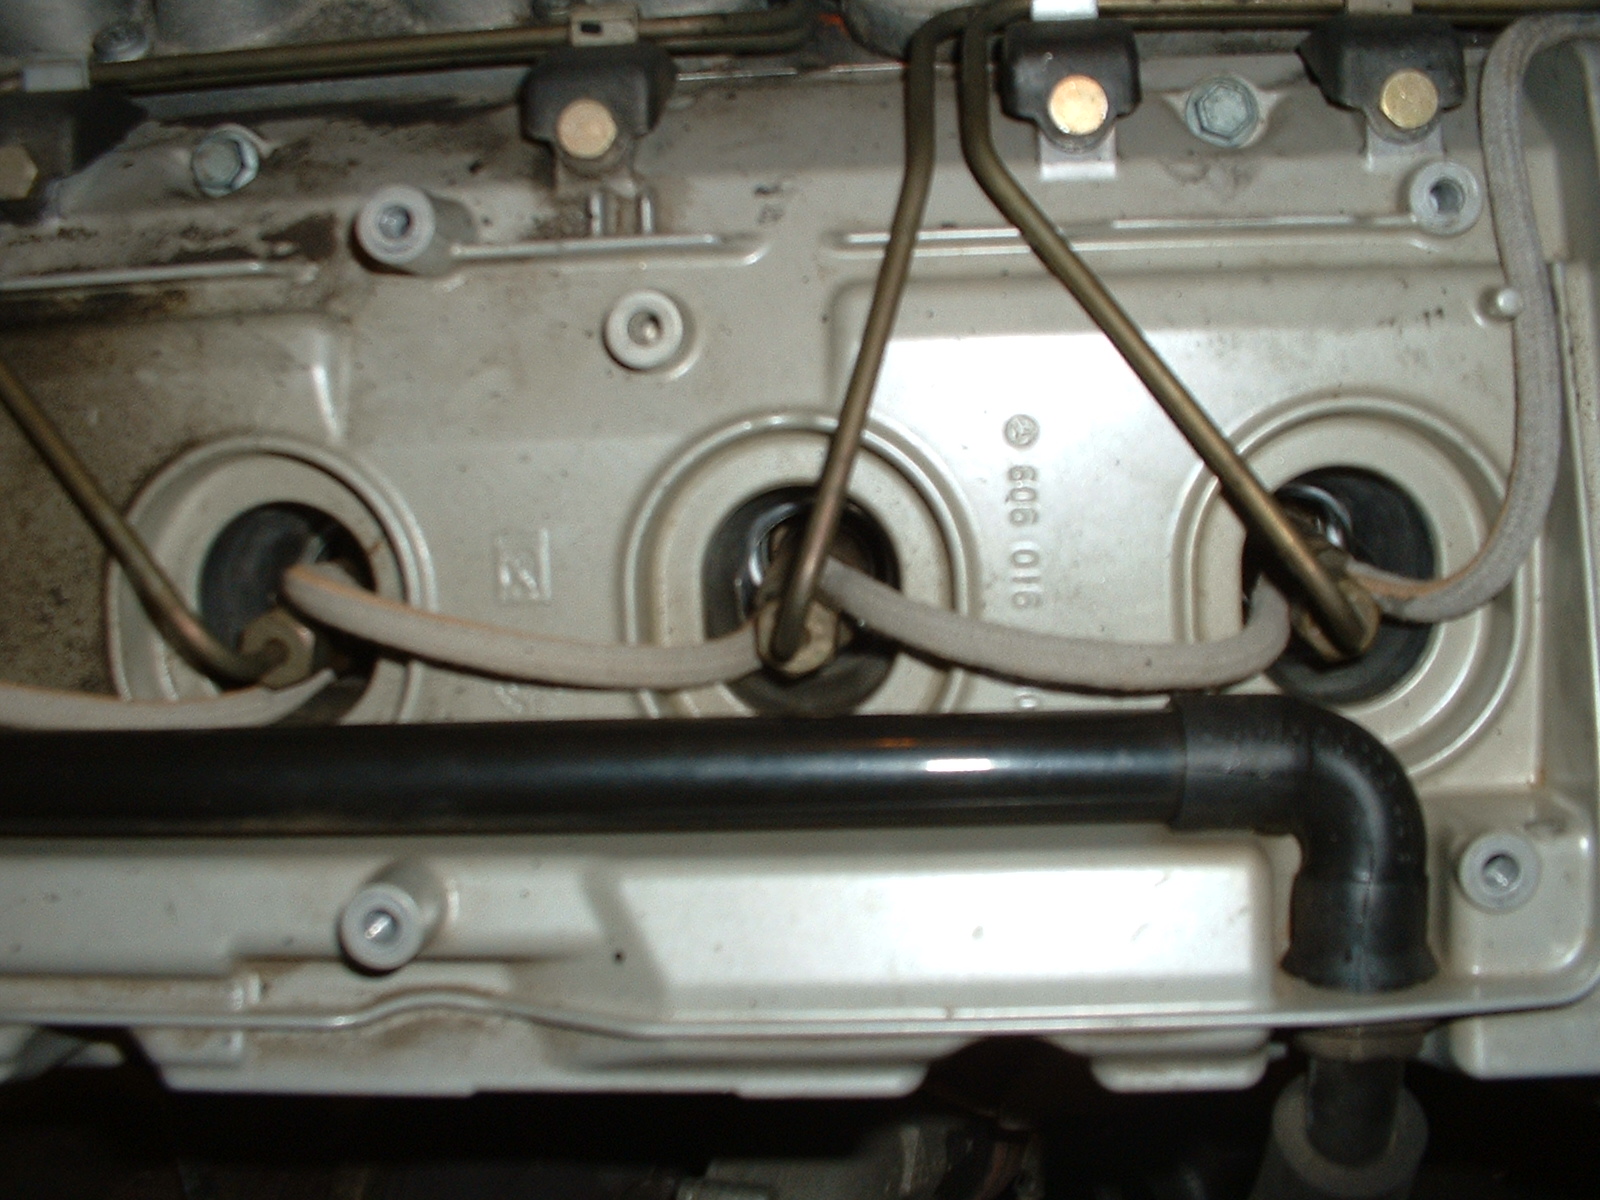
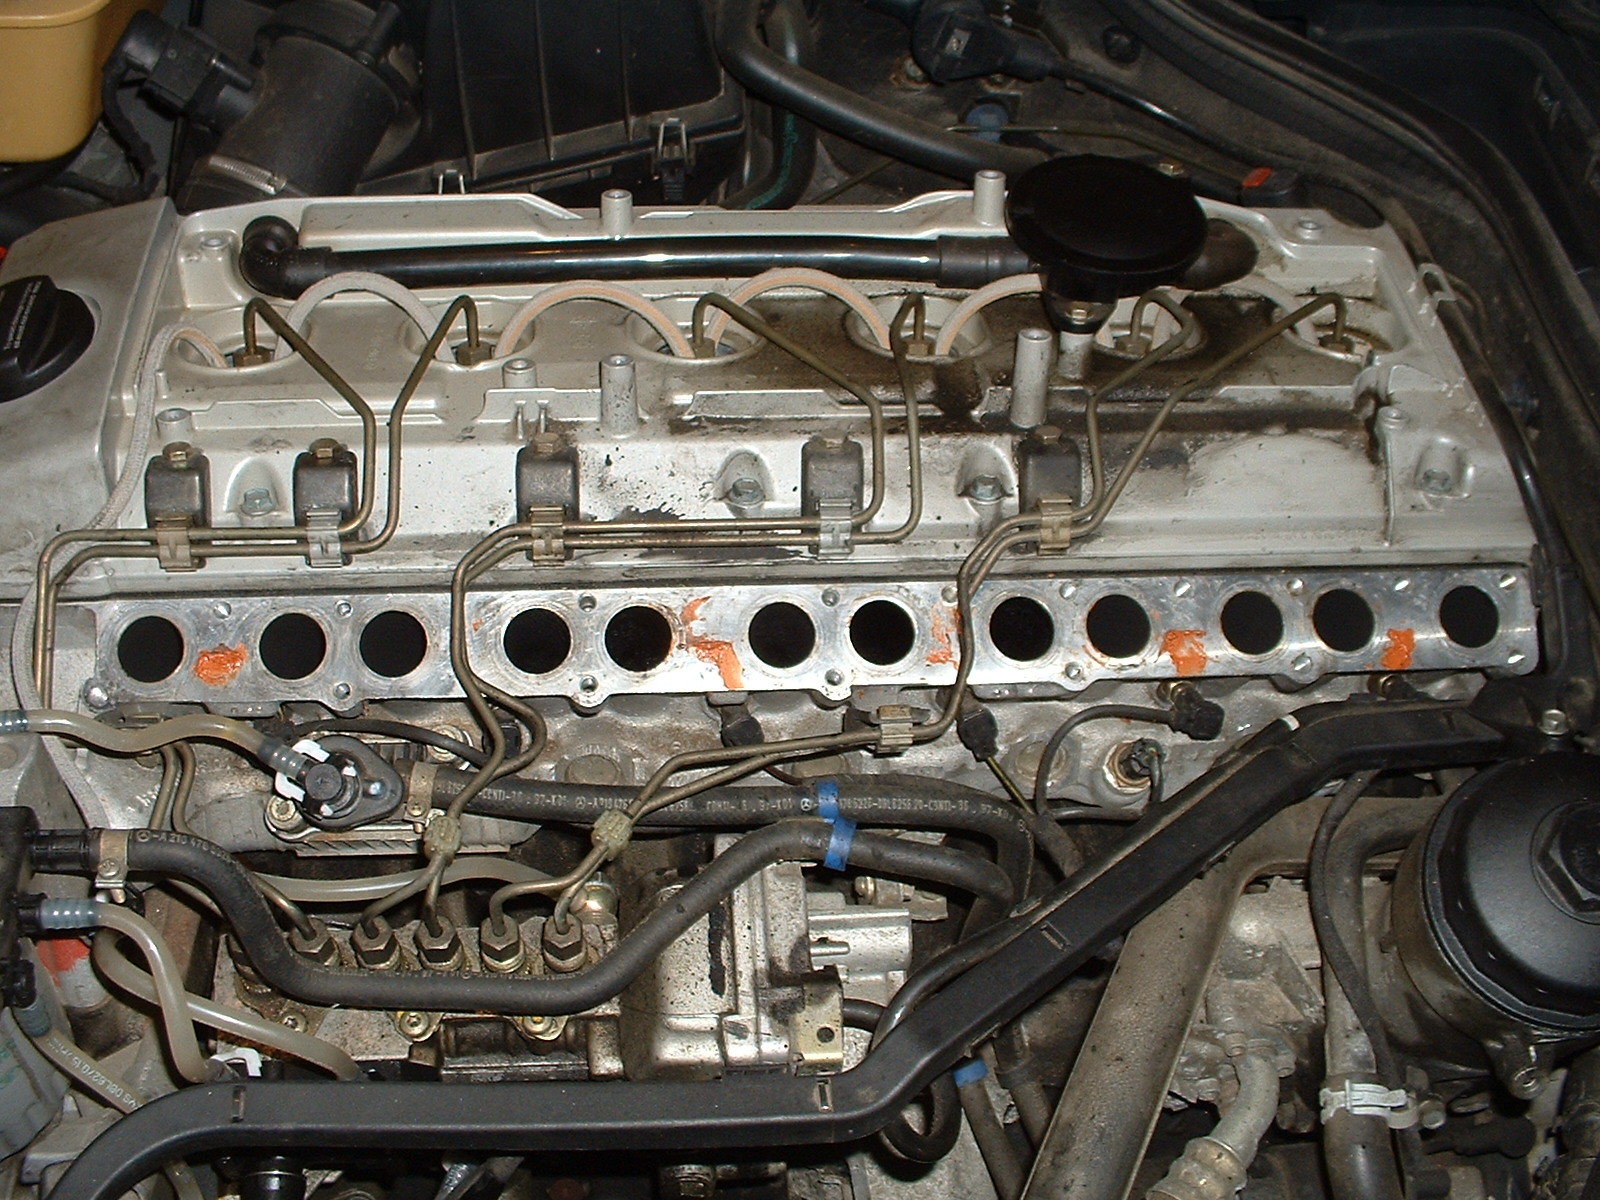
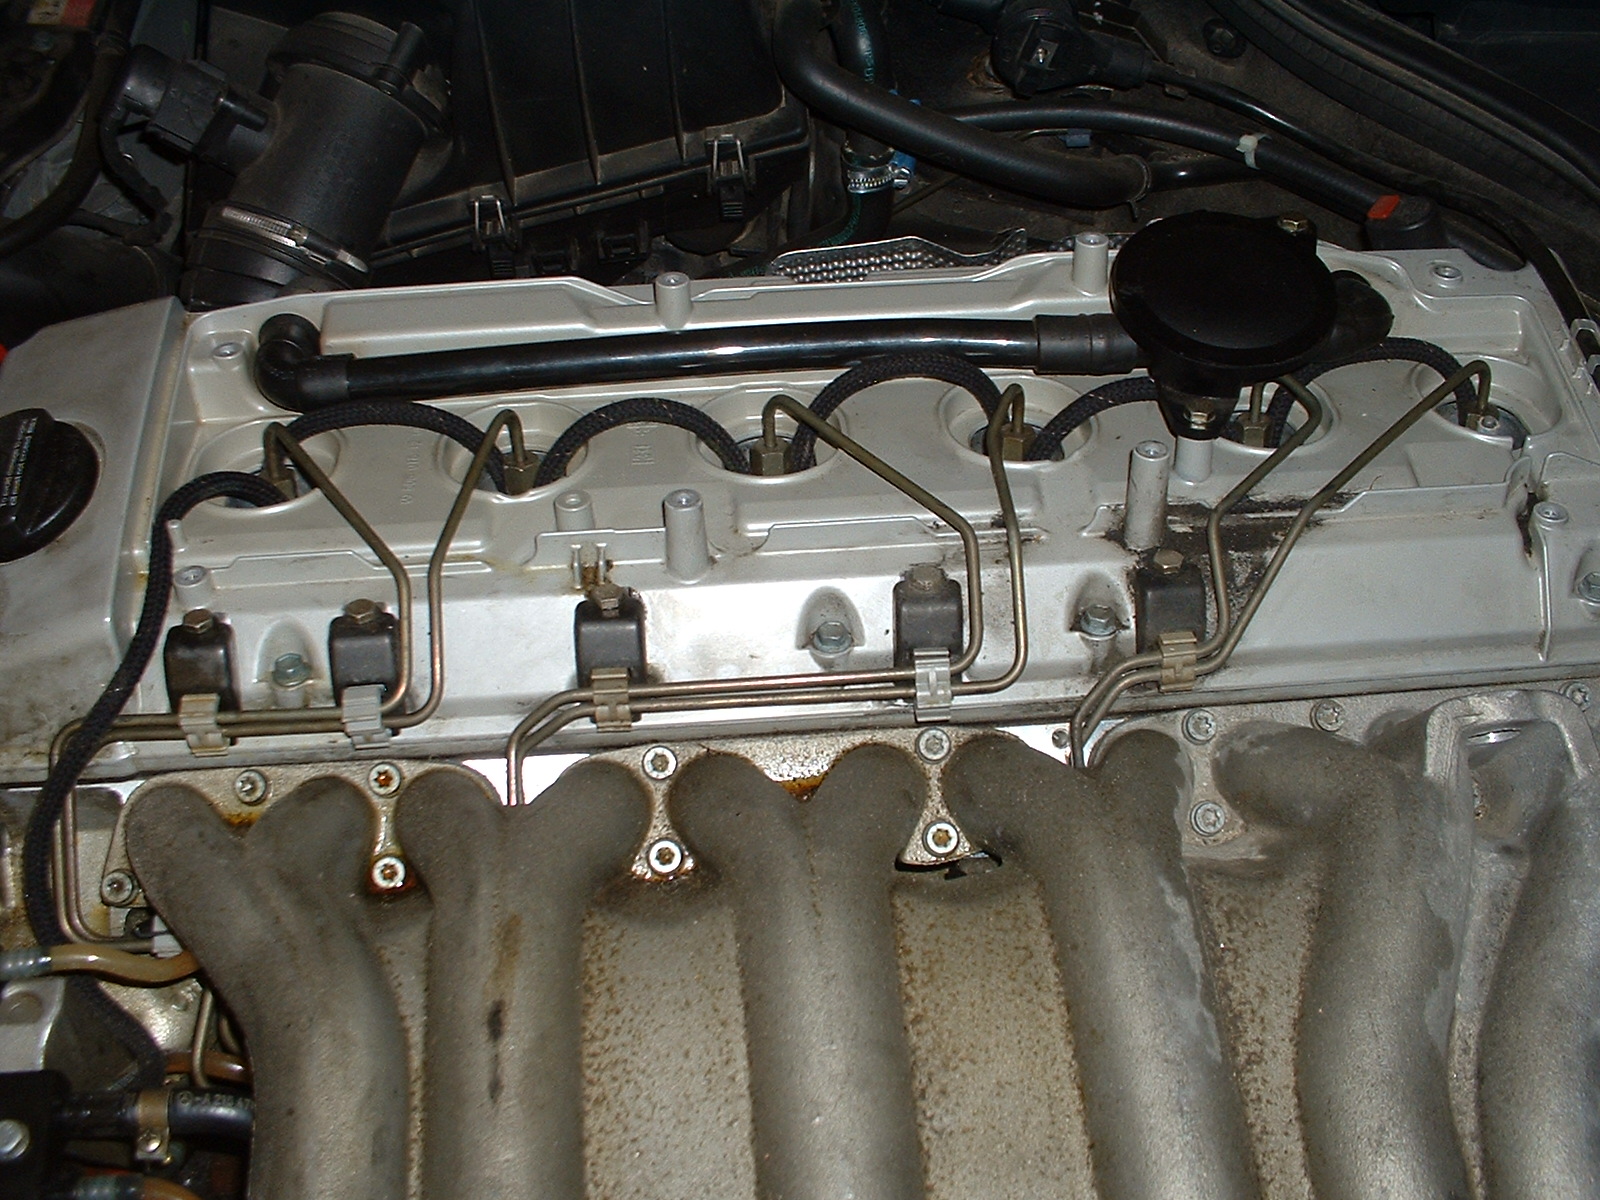
2. Remove the black plastic tubing and CCV circular part (pictured below) to gain full access to the injectors
.
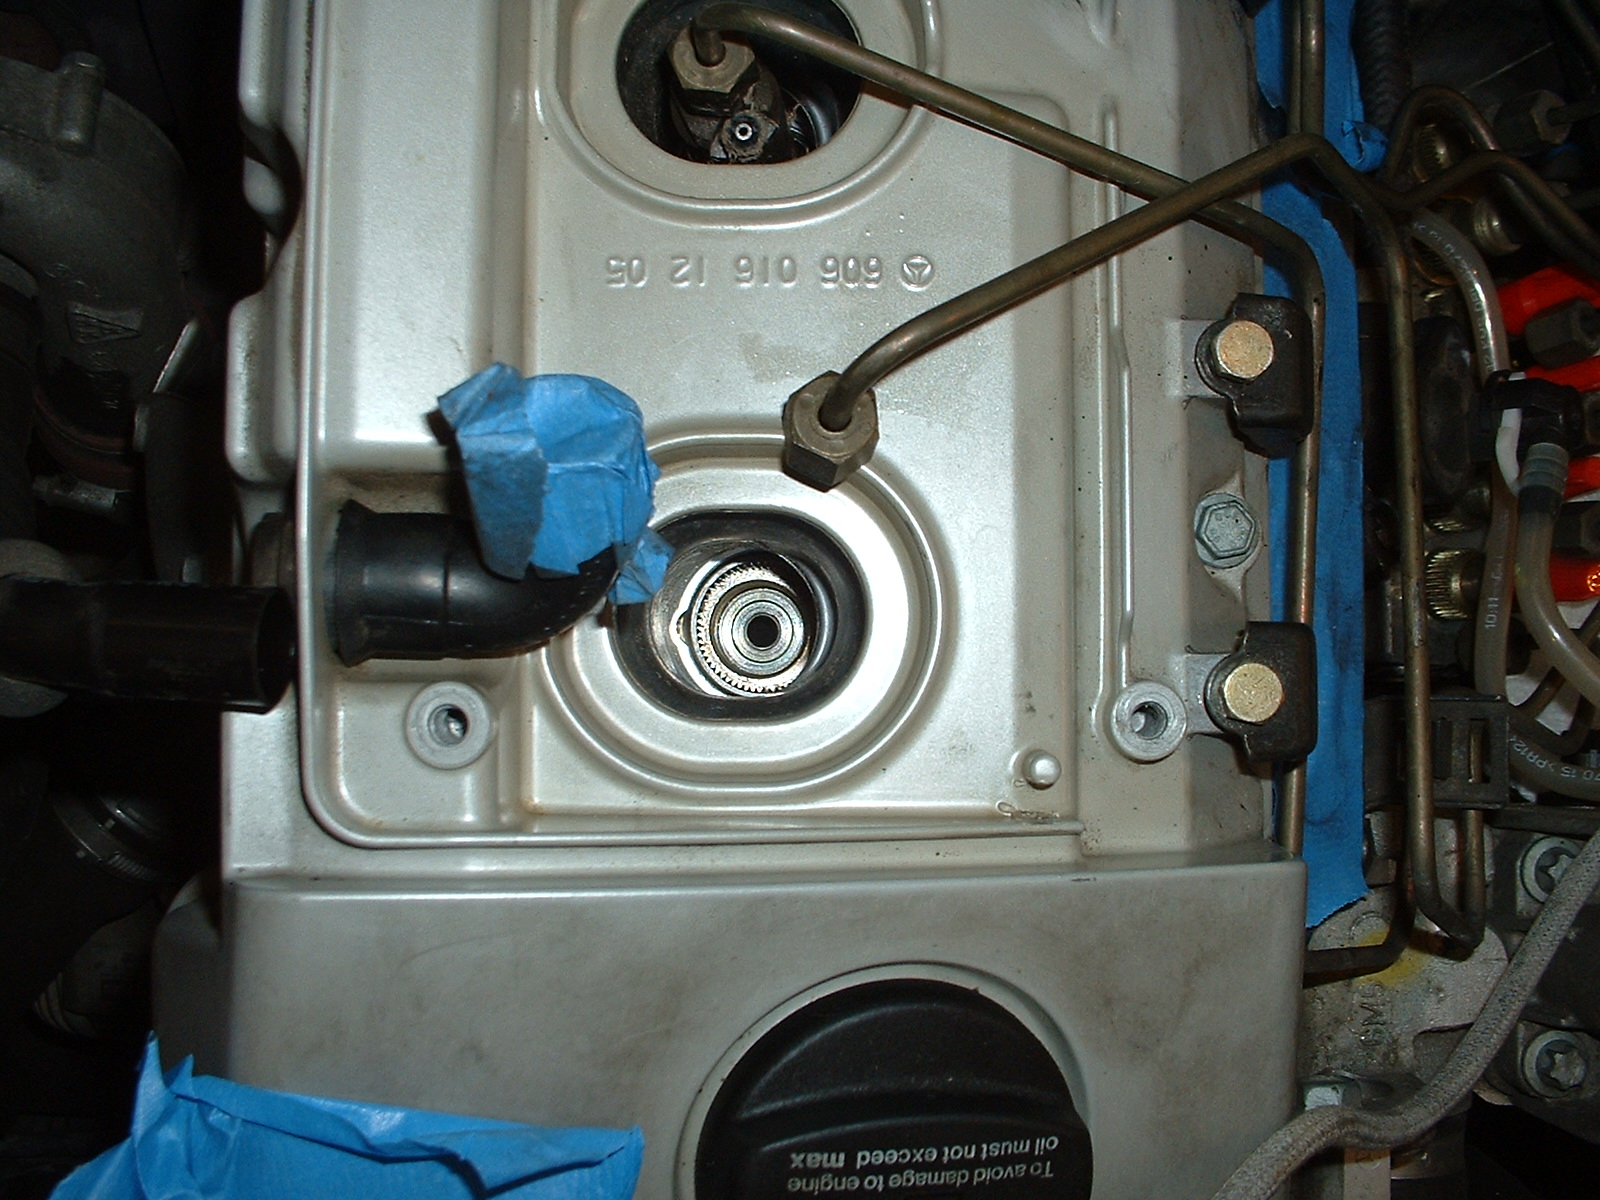
3. Remove the braided return line (pictures below). Take notice of the terminator at the end closest to the windshield. You will have to replace this later. Each hose will most likely brake just above the barb during removal. You will have to remove a good bit of the hose from one of the barbs in order to fit the socket over the injector. Be careful not to scratch the barb so you don�t have a leak later if you want to reuse them.
4. Loosen the hard fuel line compression fitting at the top of the injector. Remove some of the fuel line clips to allow the line to be moved out of the way. Many of the fuel clips will brake or may already be broken.
5. Vacuum or blow out the area around the injectors so it is as clean as possible. This will prevent anything from falling down into the pre-chamber that could hurt the engine.
6. Use the injector socket to remove each injector.
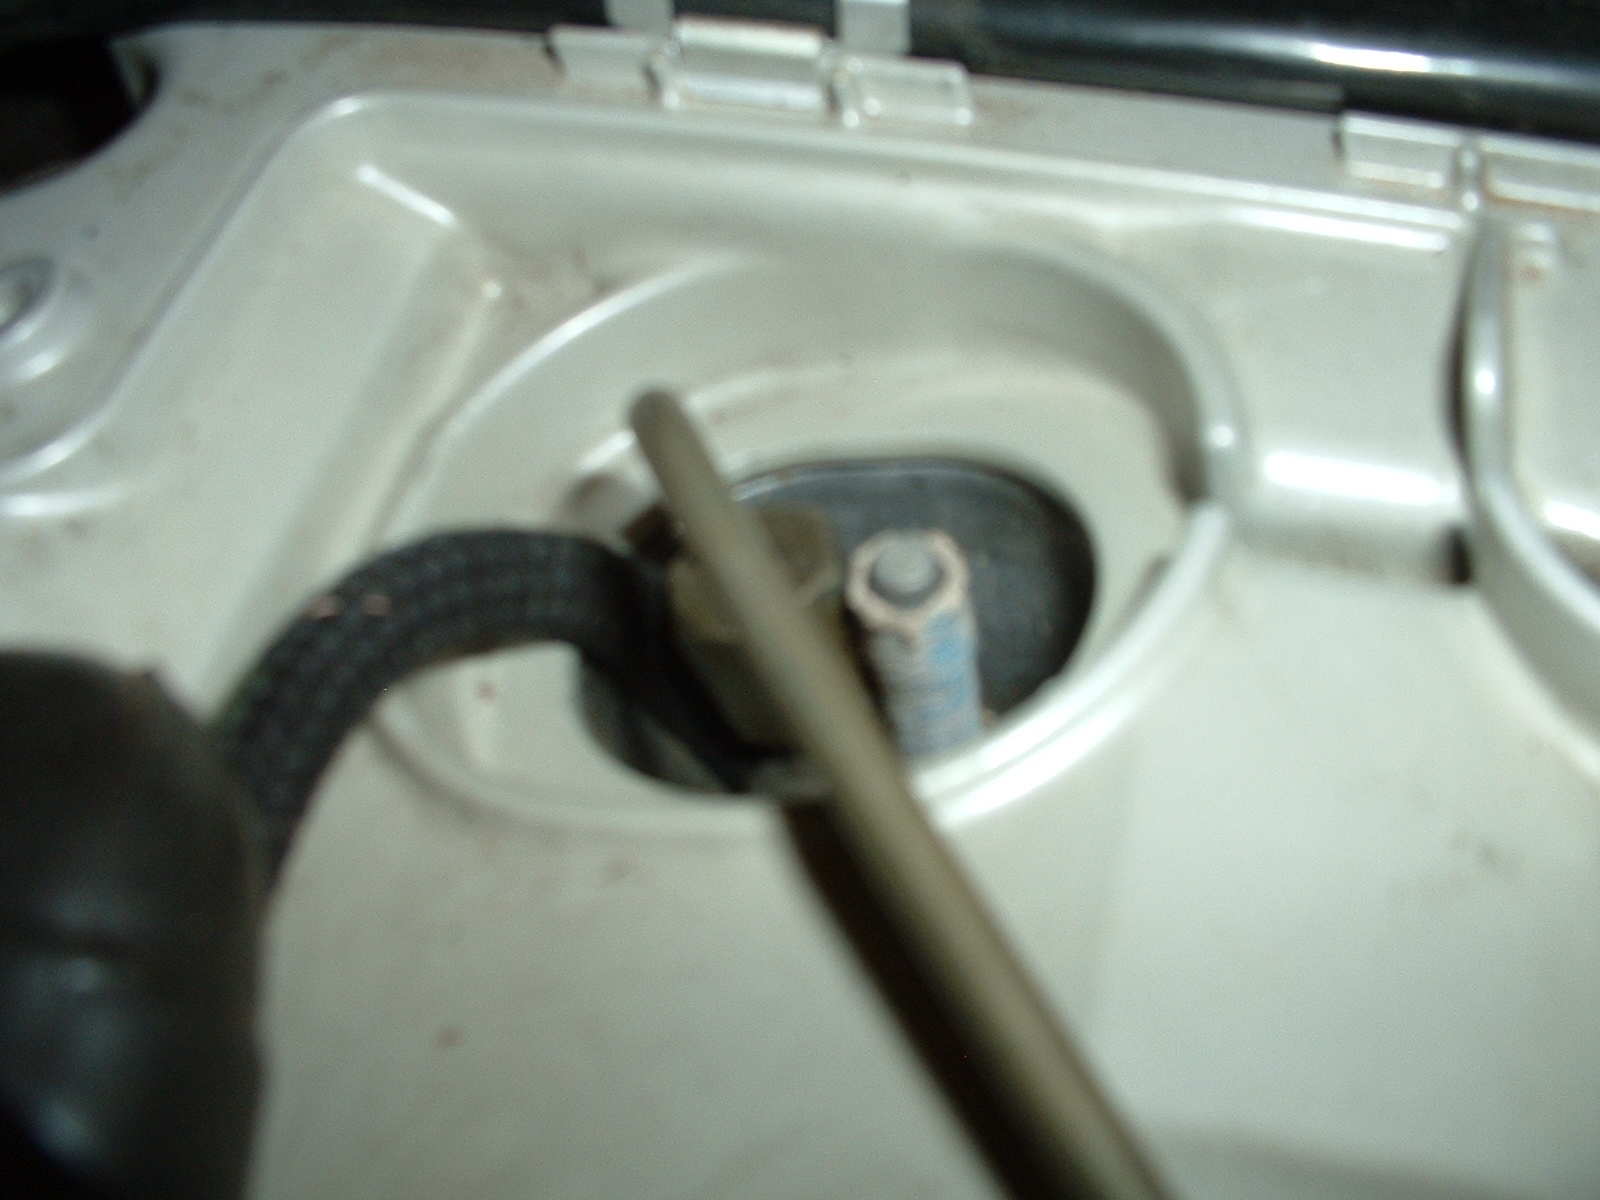
7. Remove each injector seal if it stays in the hole. See picture of removed injector below.
Clean area as much as possible without letting anything fall into the chamber.
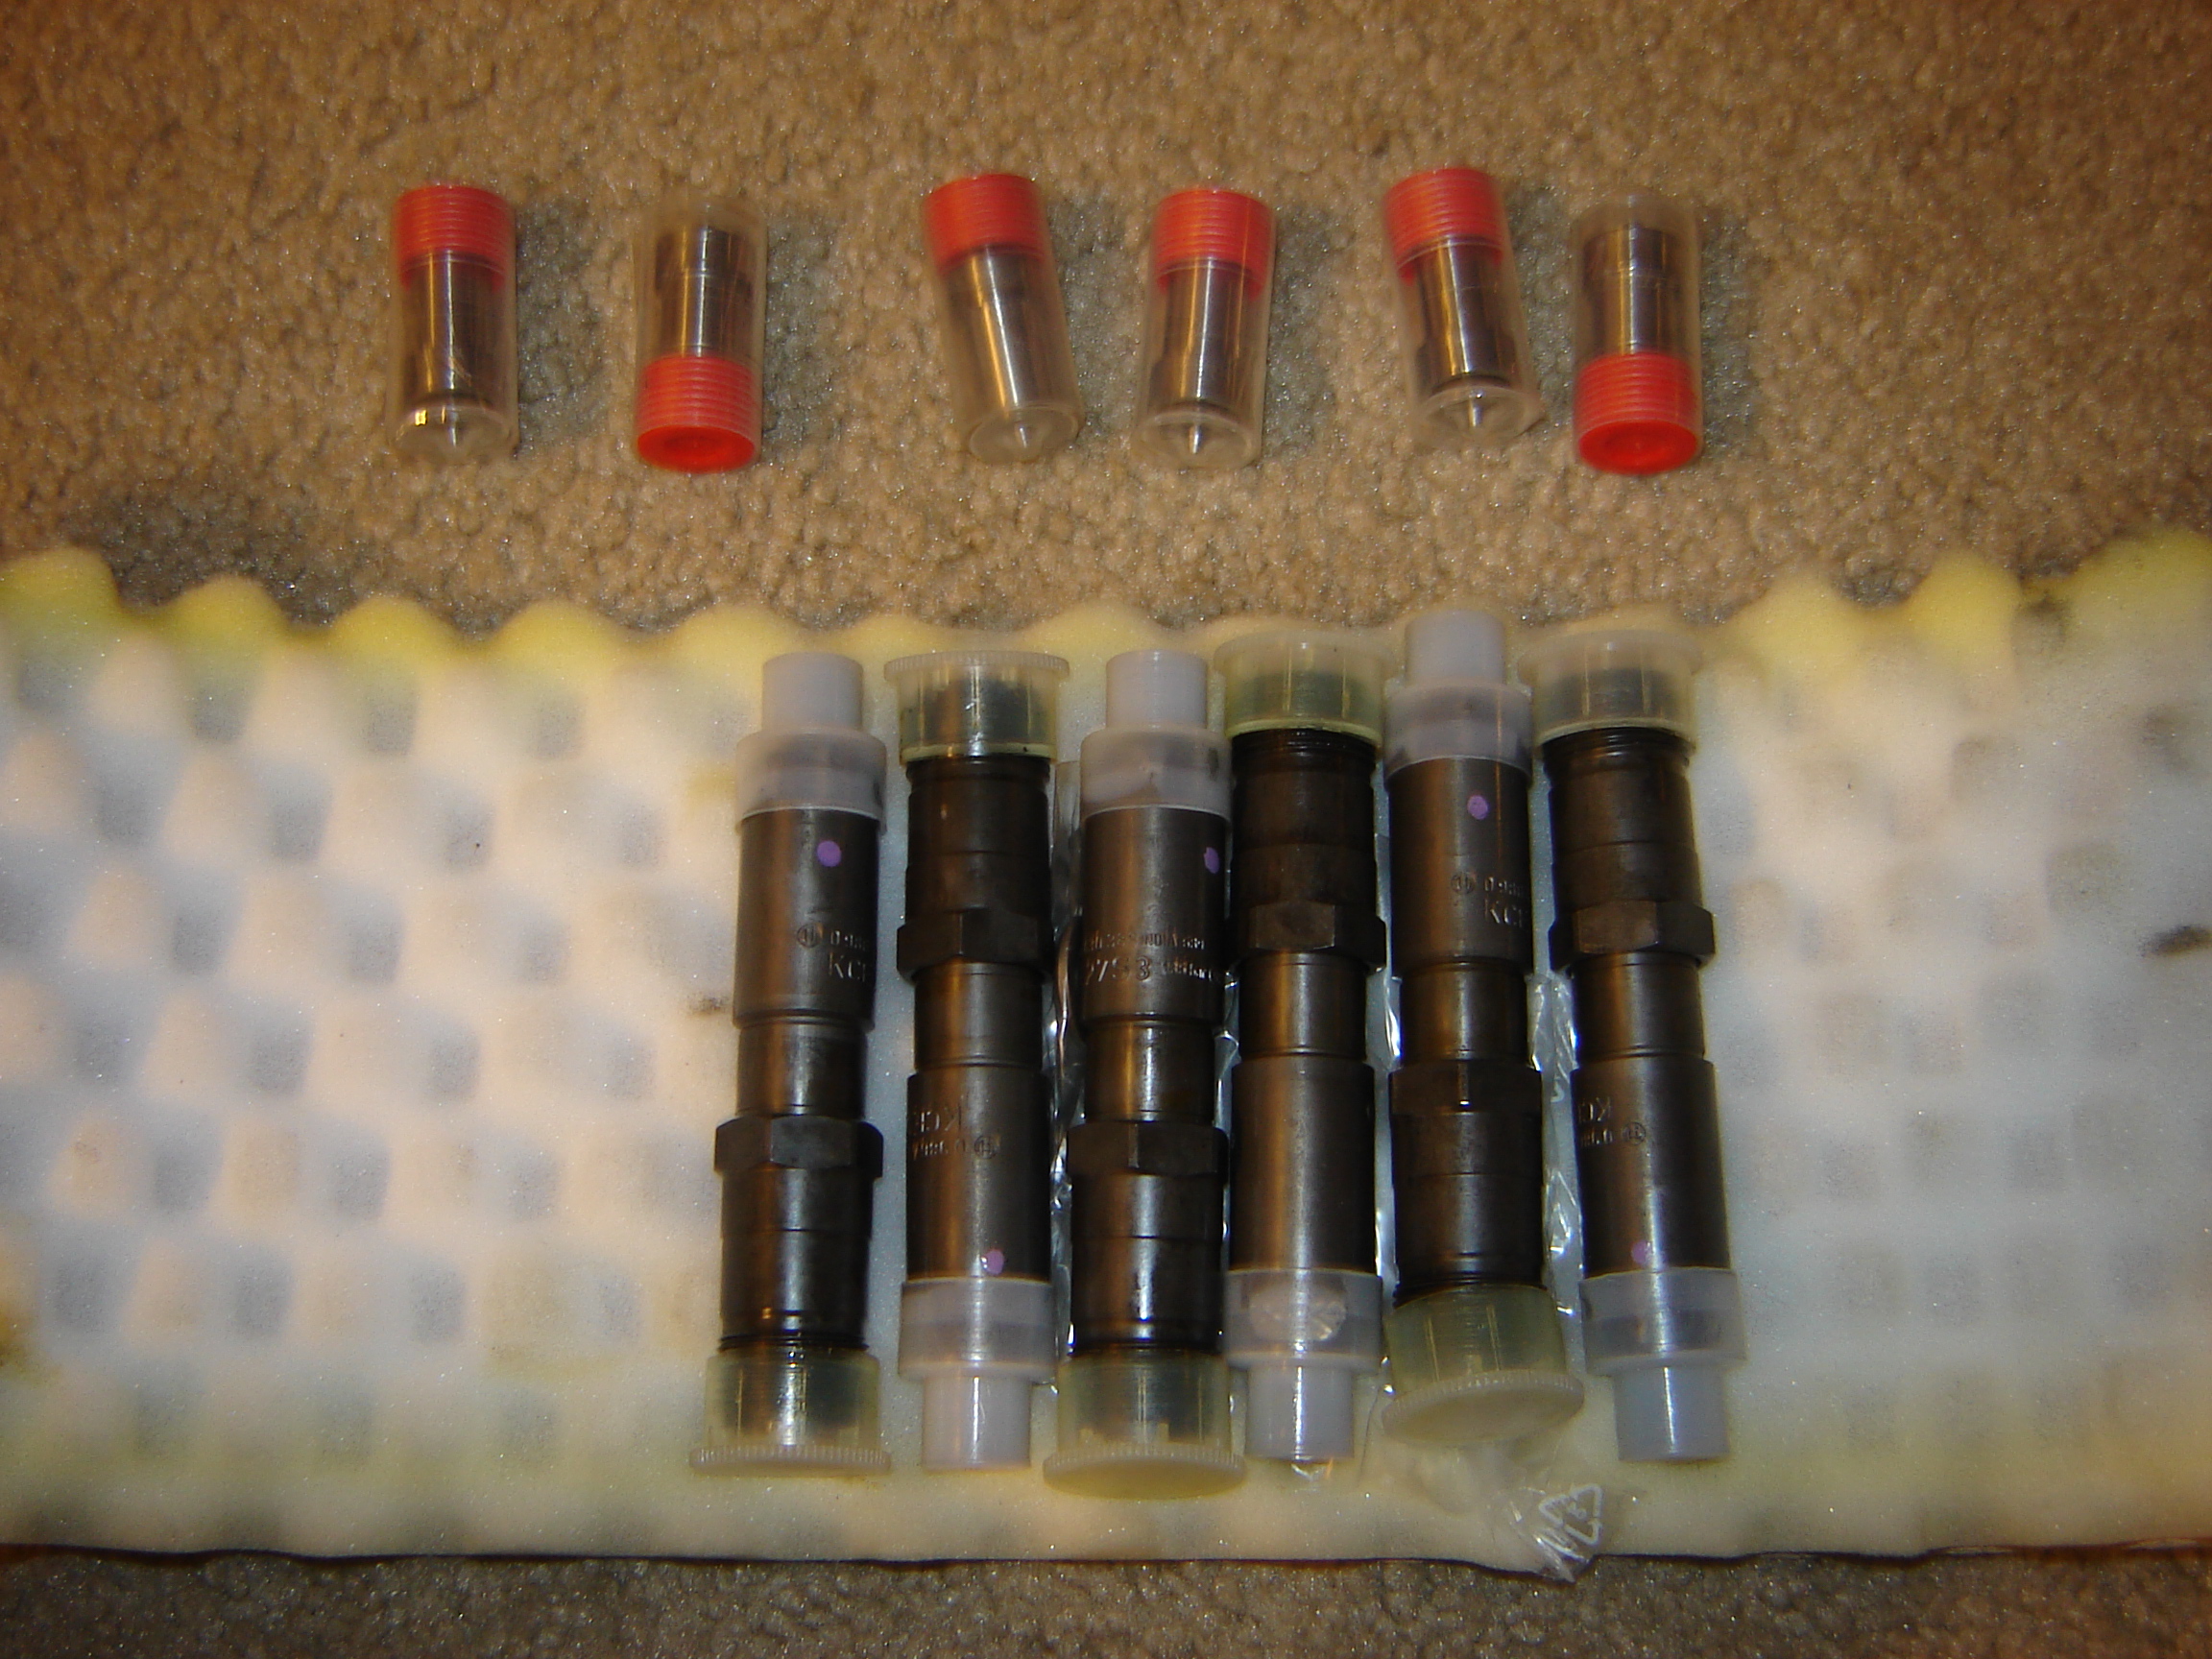
8. If you need to have someone switch the nozzles then you will need to pack them up and take them somewhere to get them changed out.
9. Once you have injectors ready to install then install the injector seals concave side up and screw in each new injector by hand.
10. Torque each injector to the torque specification.
I use 40 NM because that's what I was told. Others say it should be higher (70-80 NM) so you may want to verify what the correct torque is. I just checked and I have no issues so far after 6 months.
11. Install/tighten the metal fuel injection line compression fittings and replace any fuel line clips that had been removed.
12. Install new return hose and the terminator. There is not a lot of extra hose so use it sparingly and do not create big loops of hose in between. Keep it pretty flat without big loops. The hose supplied by Elsbett has a larger diameter than the Mercedes stuff so it is easy to put on. It made me nervous when it went on so easily but it works great. |