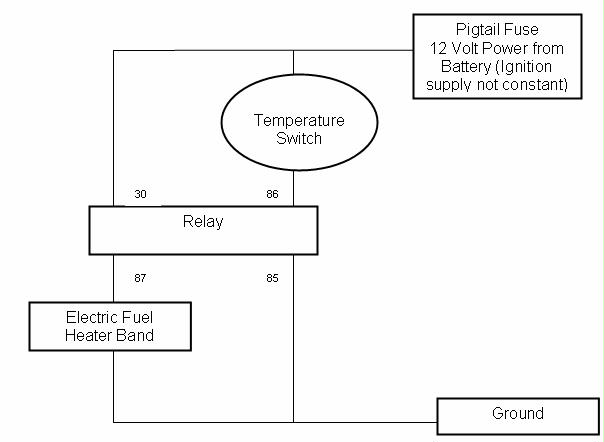
Pre Work: Review the Elsbett wiring diagram. They use a second relay to keep the glow plugs on until the fuel is up to temperature. This is discussed on the Differences Page. Then review my wiring diagram below and determine which you would like to follow. There are lots of ways to do this so think it over and talk to some different people.
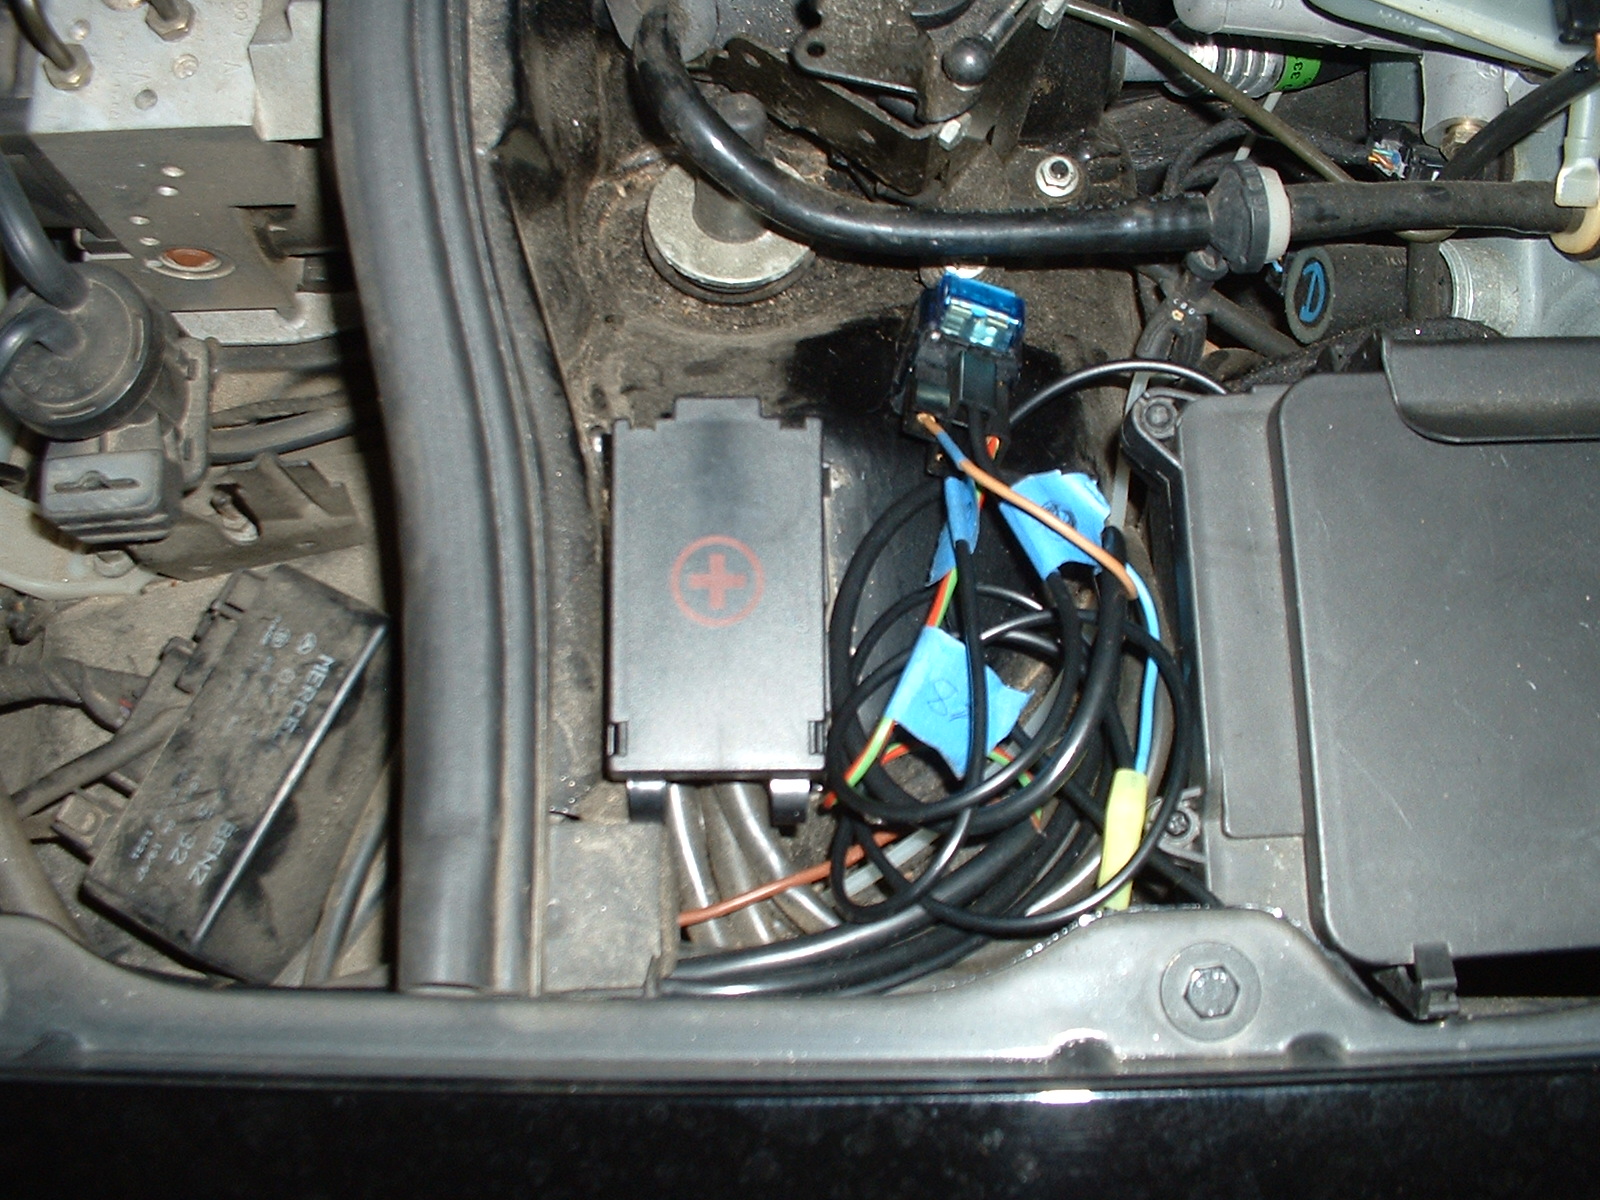
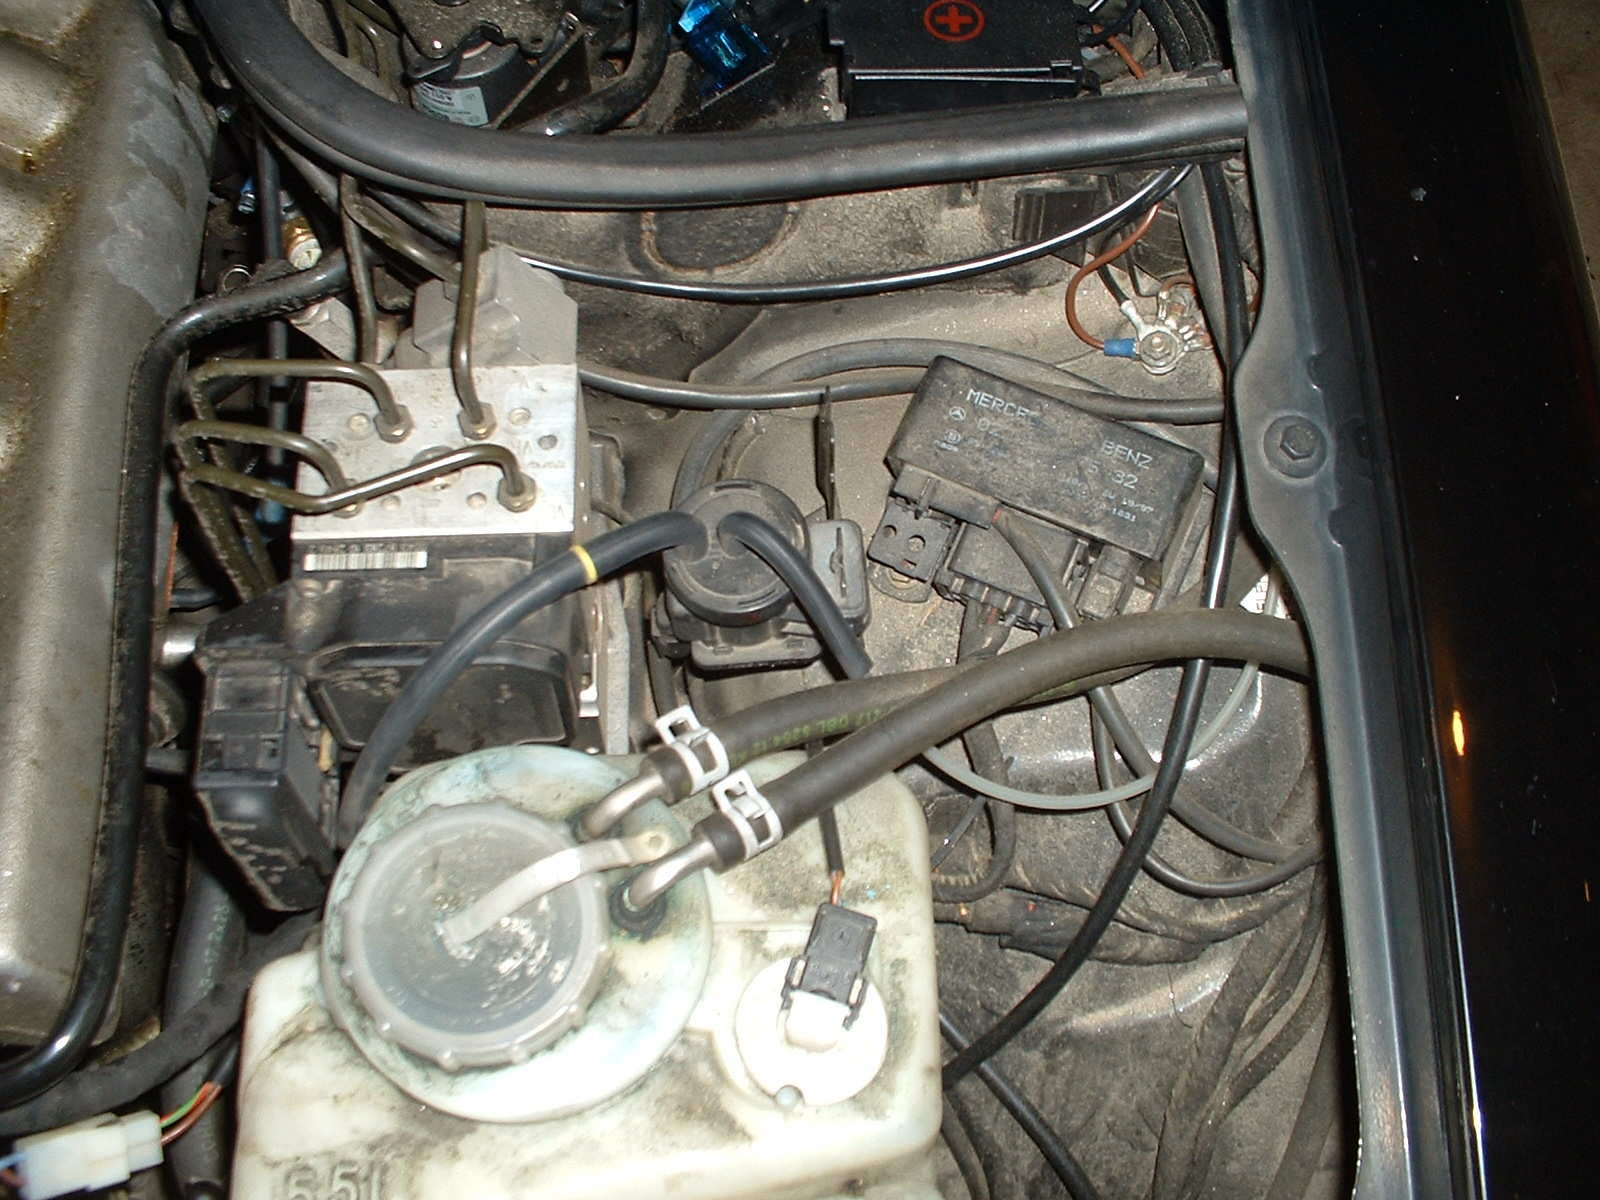
1. Mount the relay in the battery compartment using some automotive double sided tape.
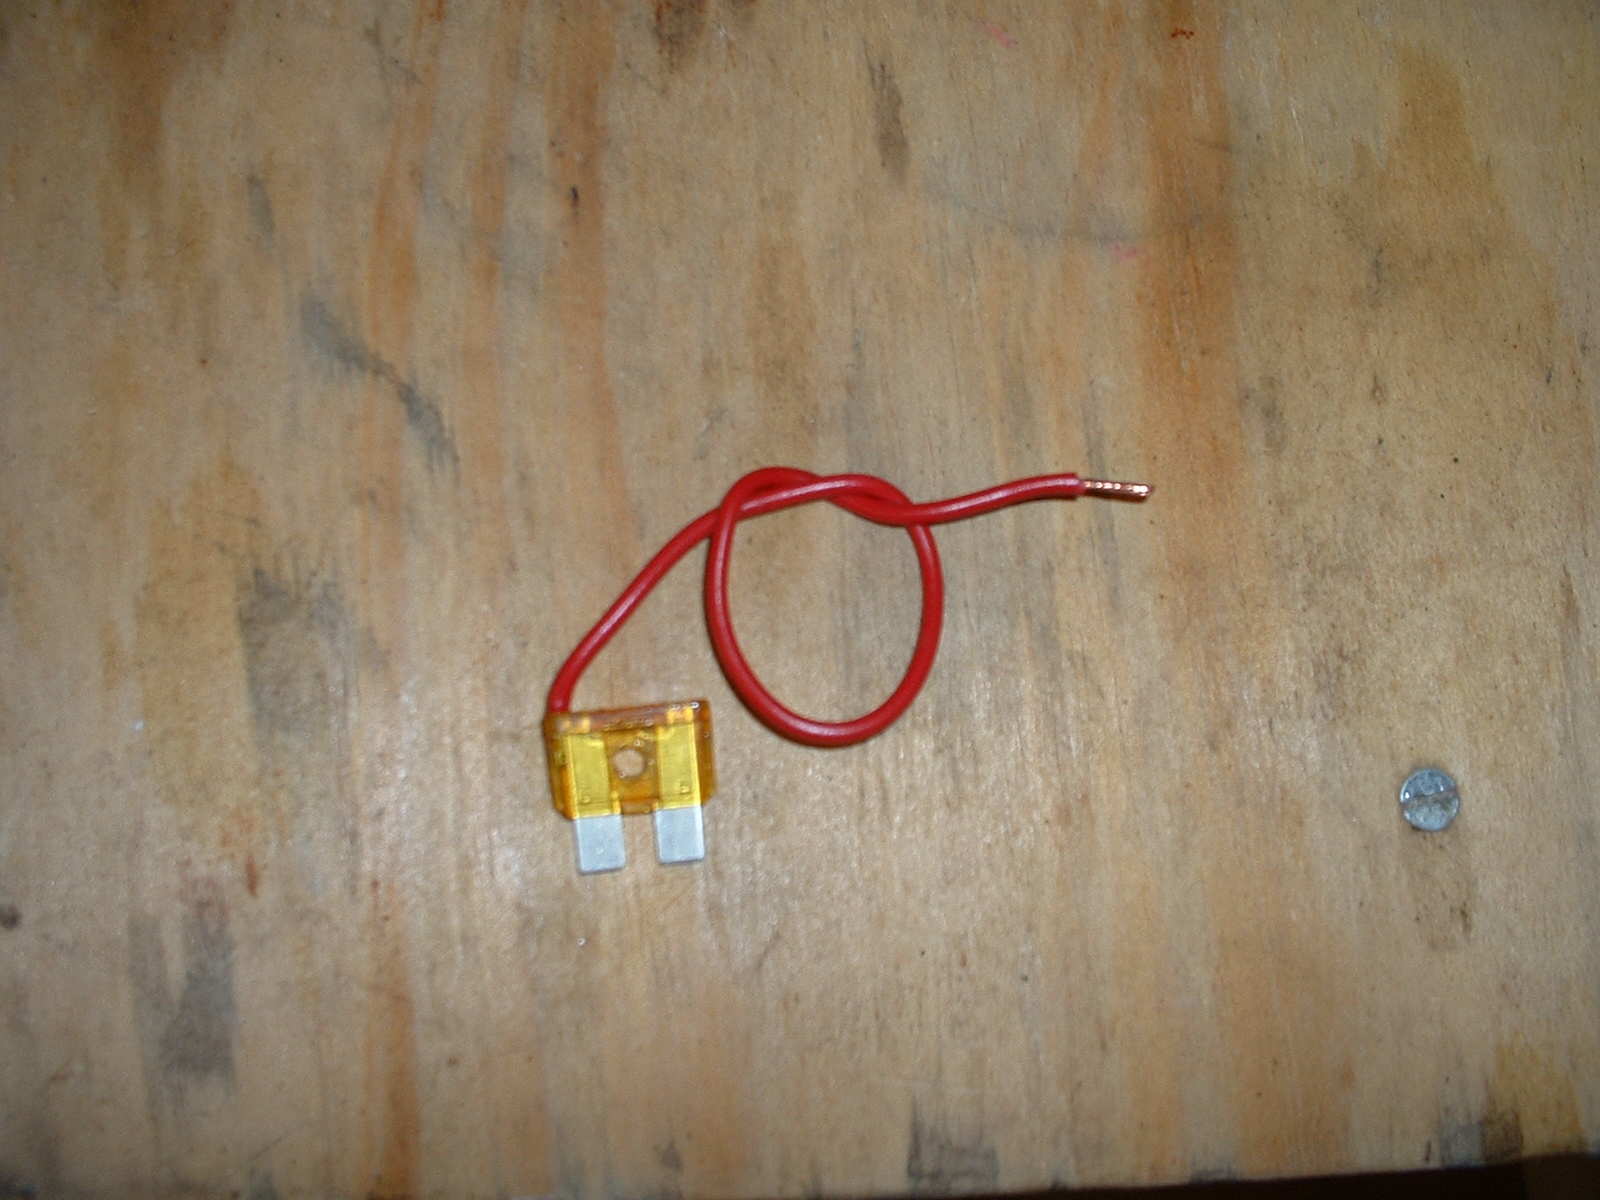
2. Prepare the pigtail fuse by drilling a hole through it to eliminate the connection.
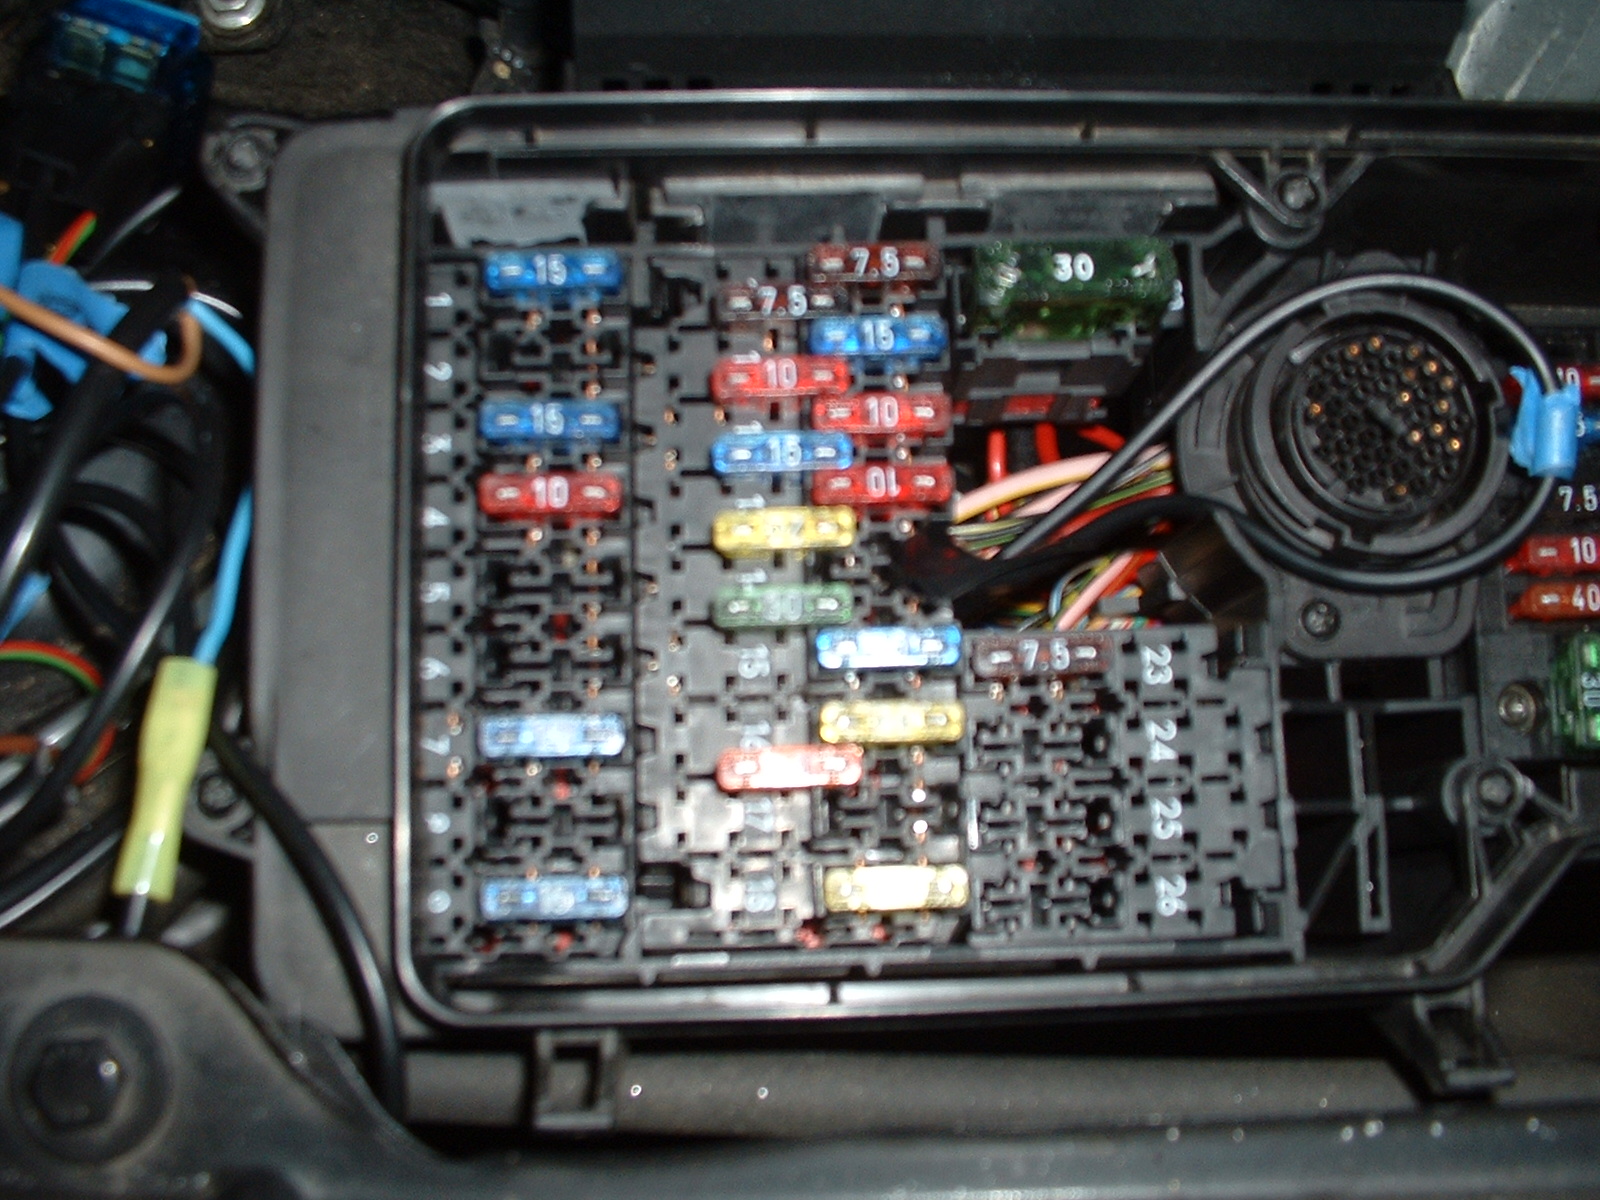
You can use what ever connector you think works best to connect to the fuse box if you don't like the pigtail fuse. You can also connect somewhere else you feel is better. Just use a volt meter to make sure the source you are using is active with the ignition. You should also verify slot #14 in your car work the same way mine does.
3. Determine the appropriate length of wire and crimp all the connectors onto the wires. Refer to the Elsbett diagram for the correct wire size.
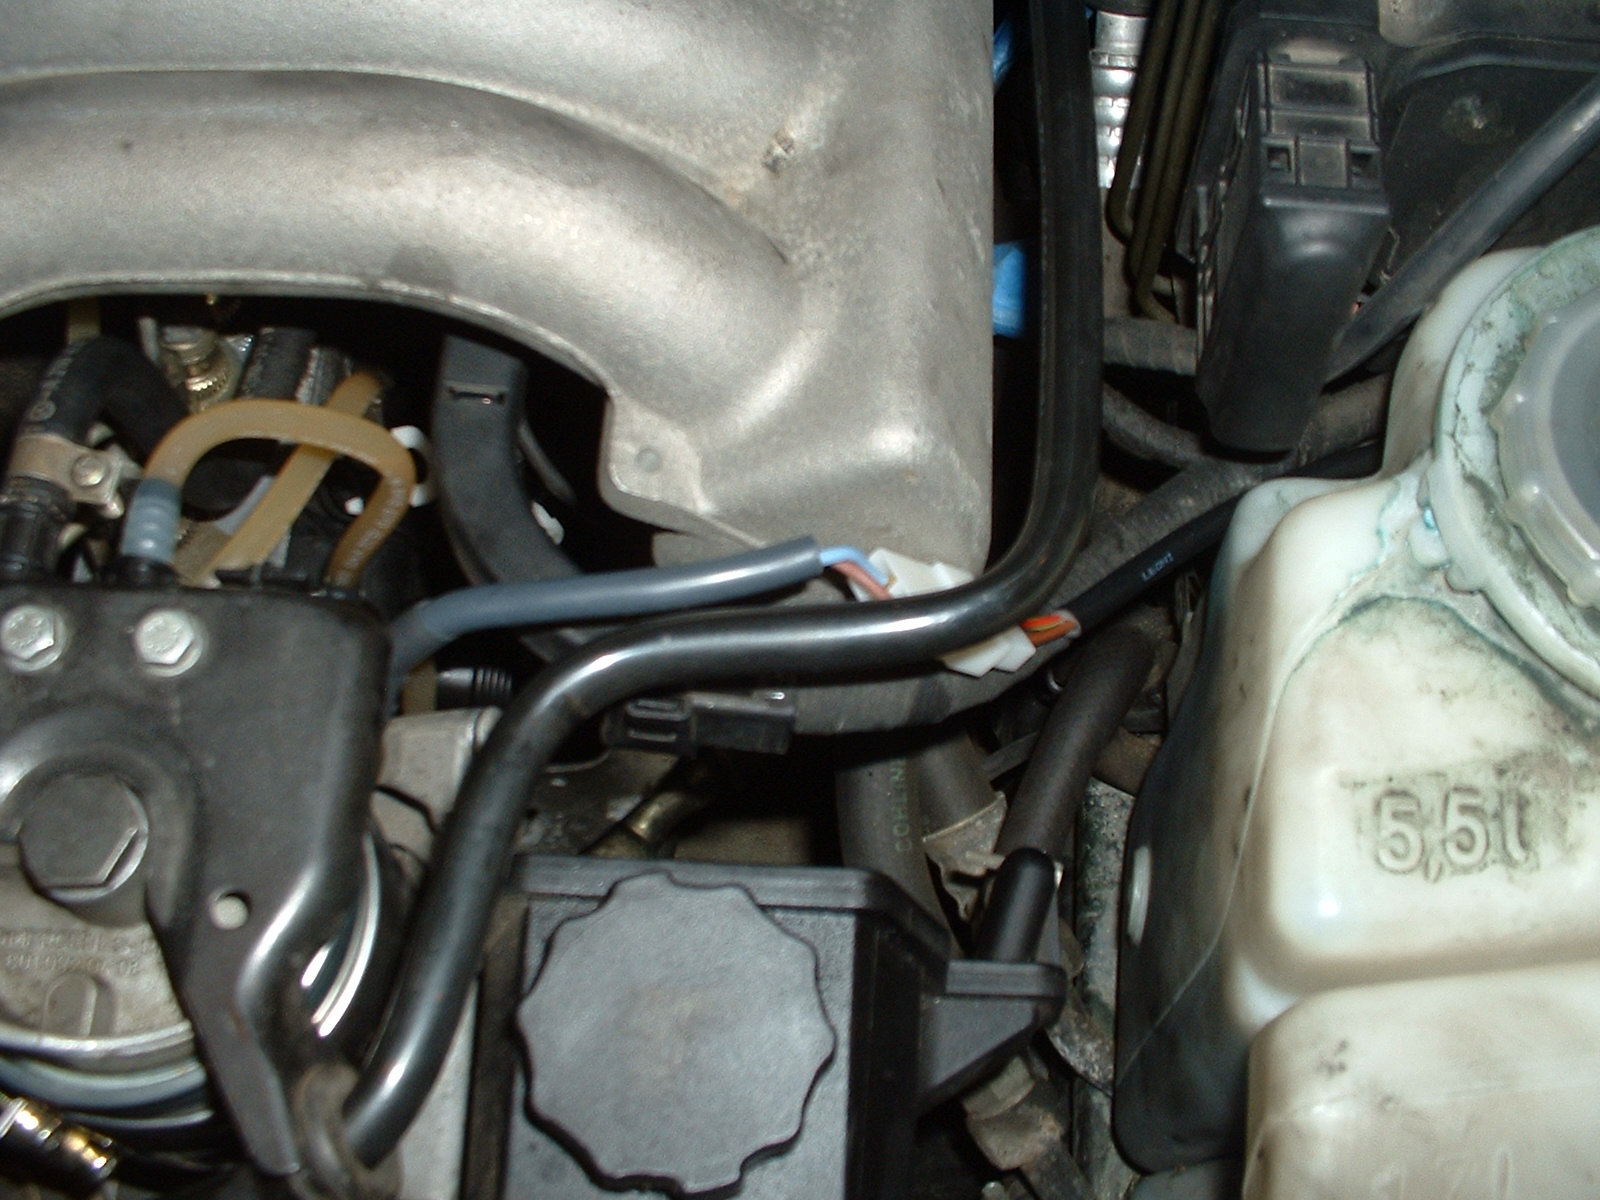
4. Connect the wires to the ground, relay, fuse box, electric heater and the sensor. Again I used the fuse slot just above the number #14 (going towards the cabin). See picture below.
There are also spare rubber nipples in the side of the fuse box that can be used to enter the box from below. The one I used was in the corner of the box where the relay was mounted in the picture below. You will need to remove some screws on the top of the fuse box to access the nipple underneath.
5. Verify the electric heater turns on once the ignition is on and turns off when the engine is warm. Becarefull the heater gets crazy hot wicked fast. I don't think you are suppose to run the kit on straight diesel but you will the first time at least until the veggie gets up to the filter. |