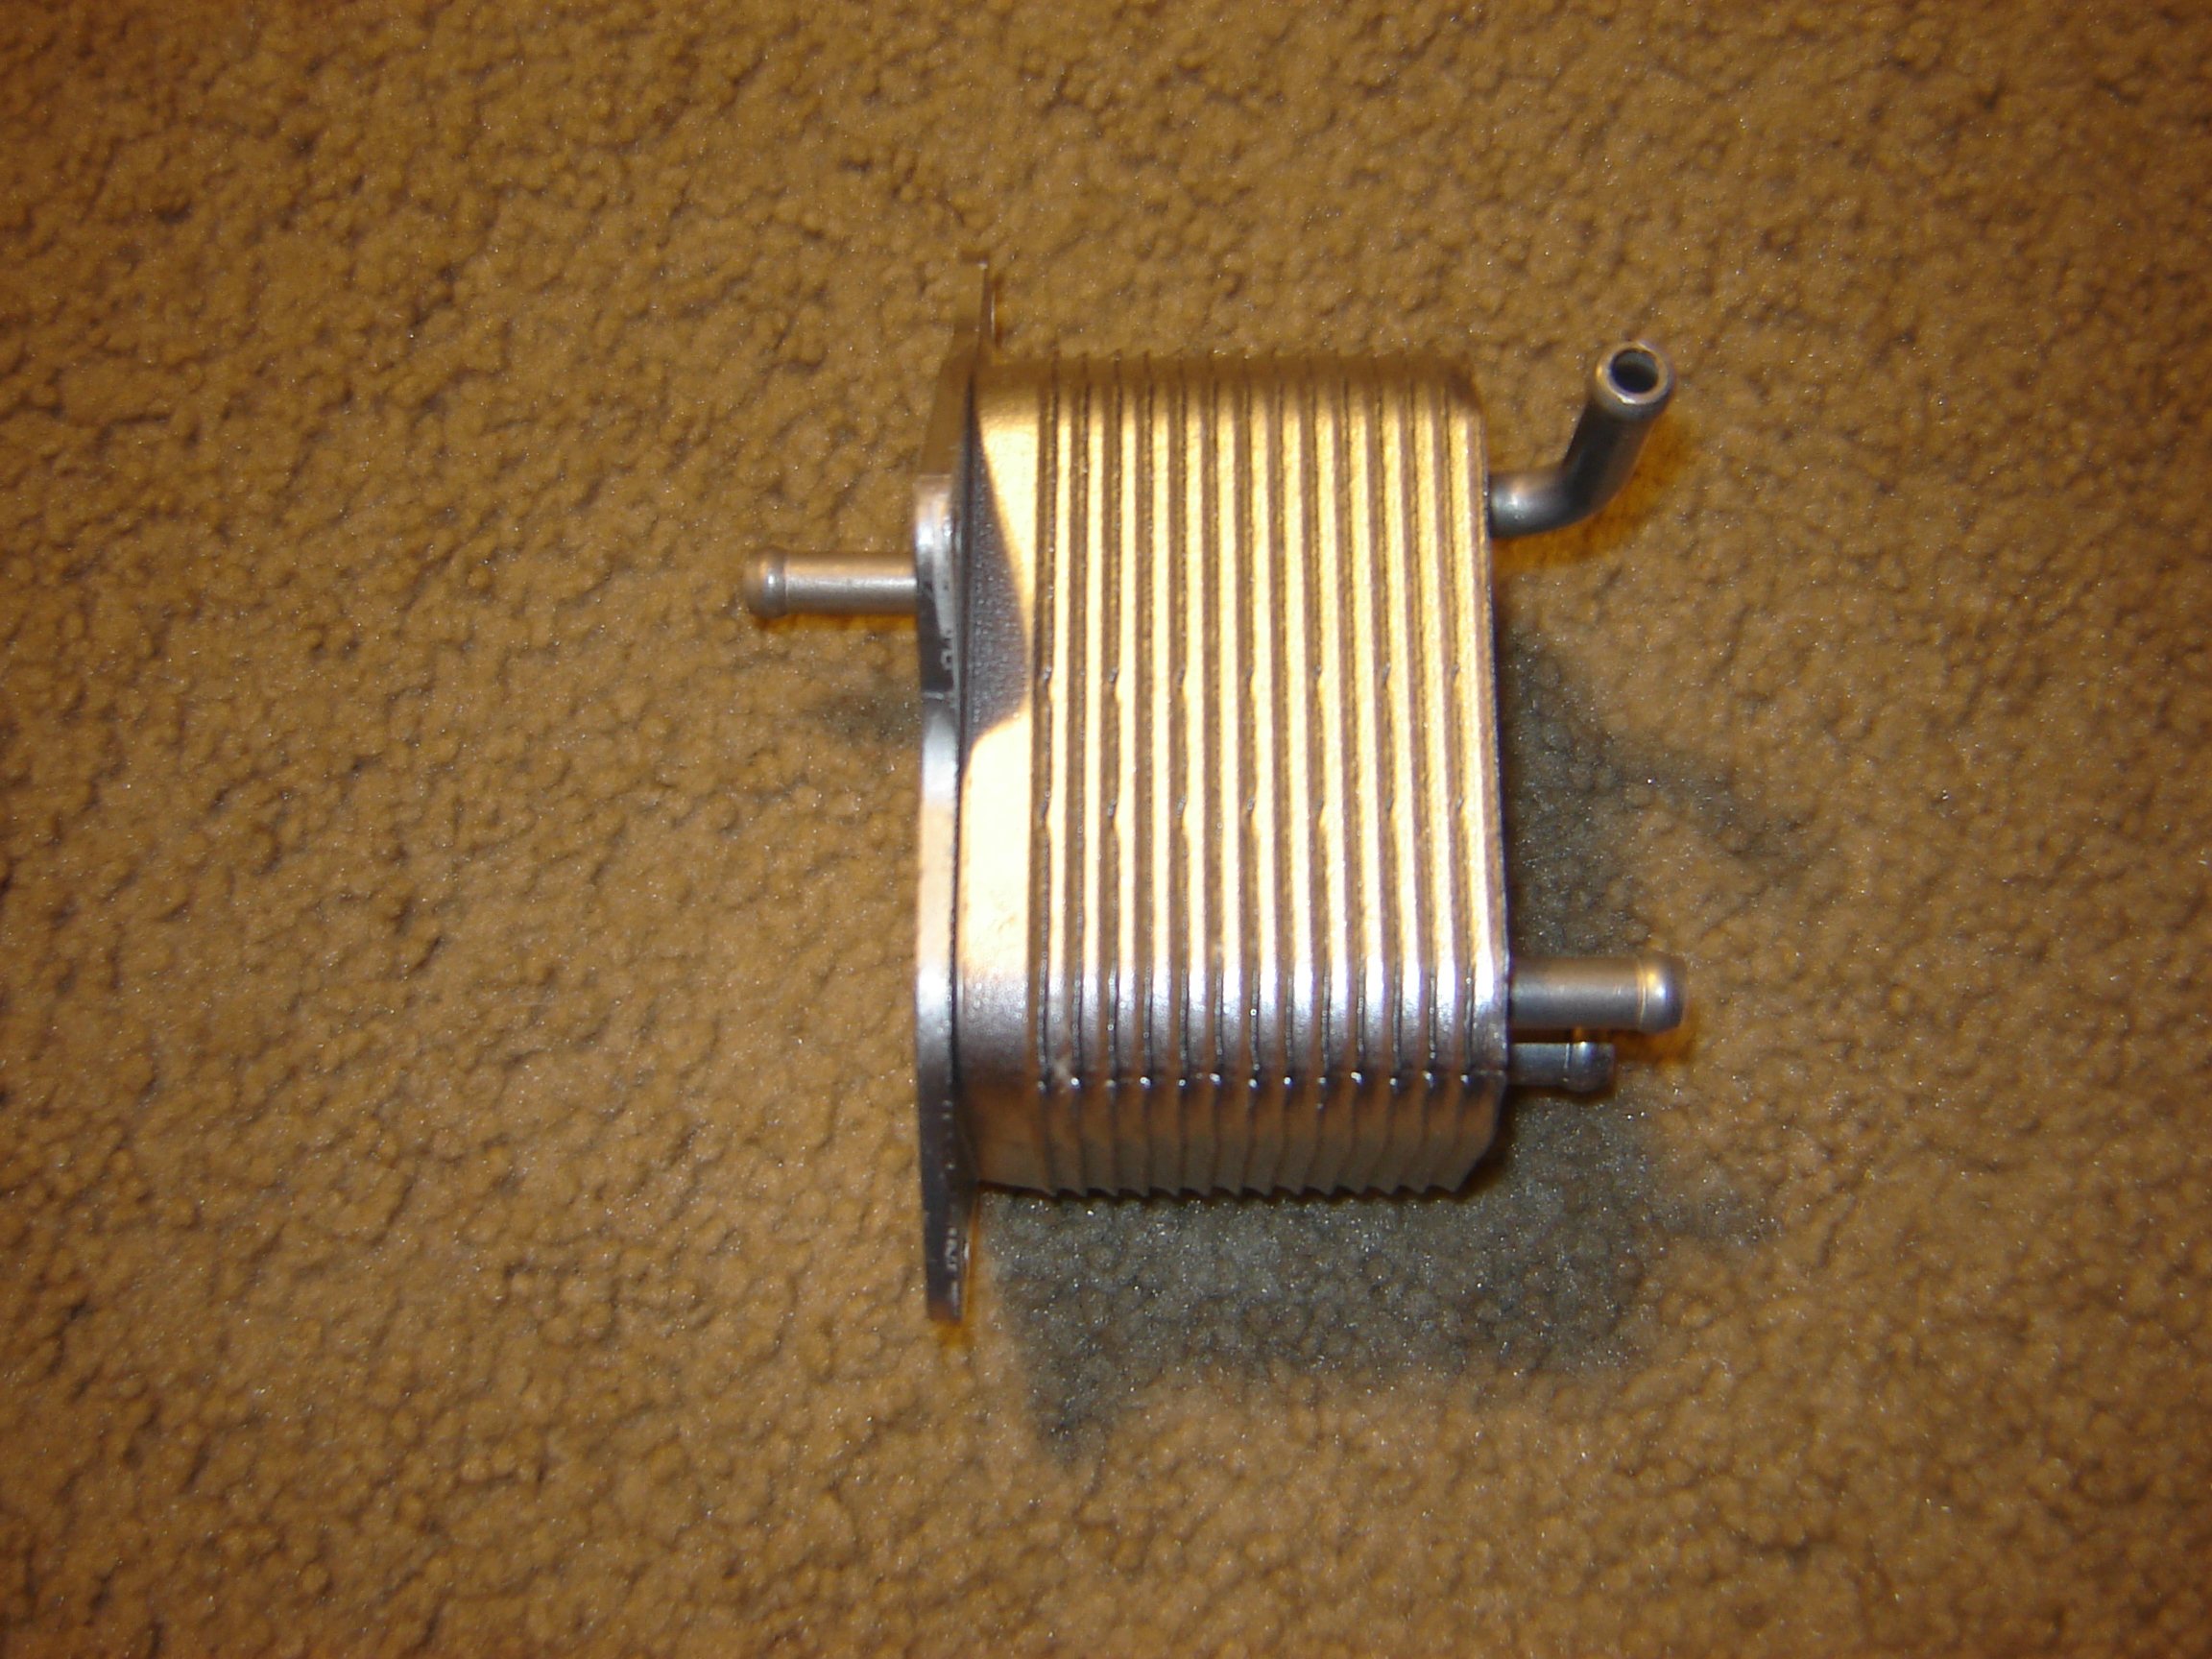
You can pressure check the heat exchanger before you install it if you want but it�s probably not necessary.
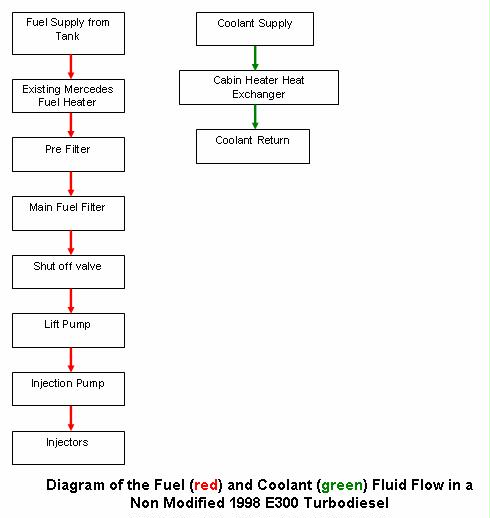
Here are some diagrams for the fuel and the coolant flow. Original Elsbett
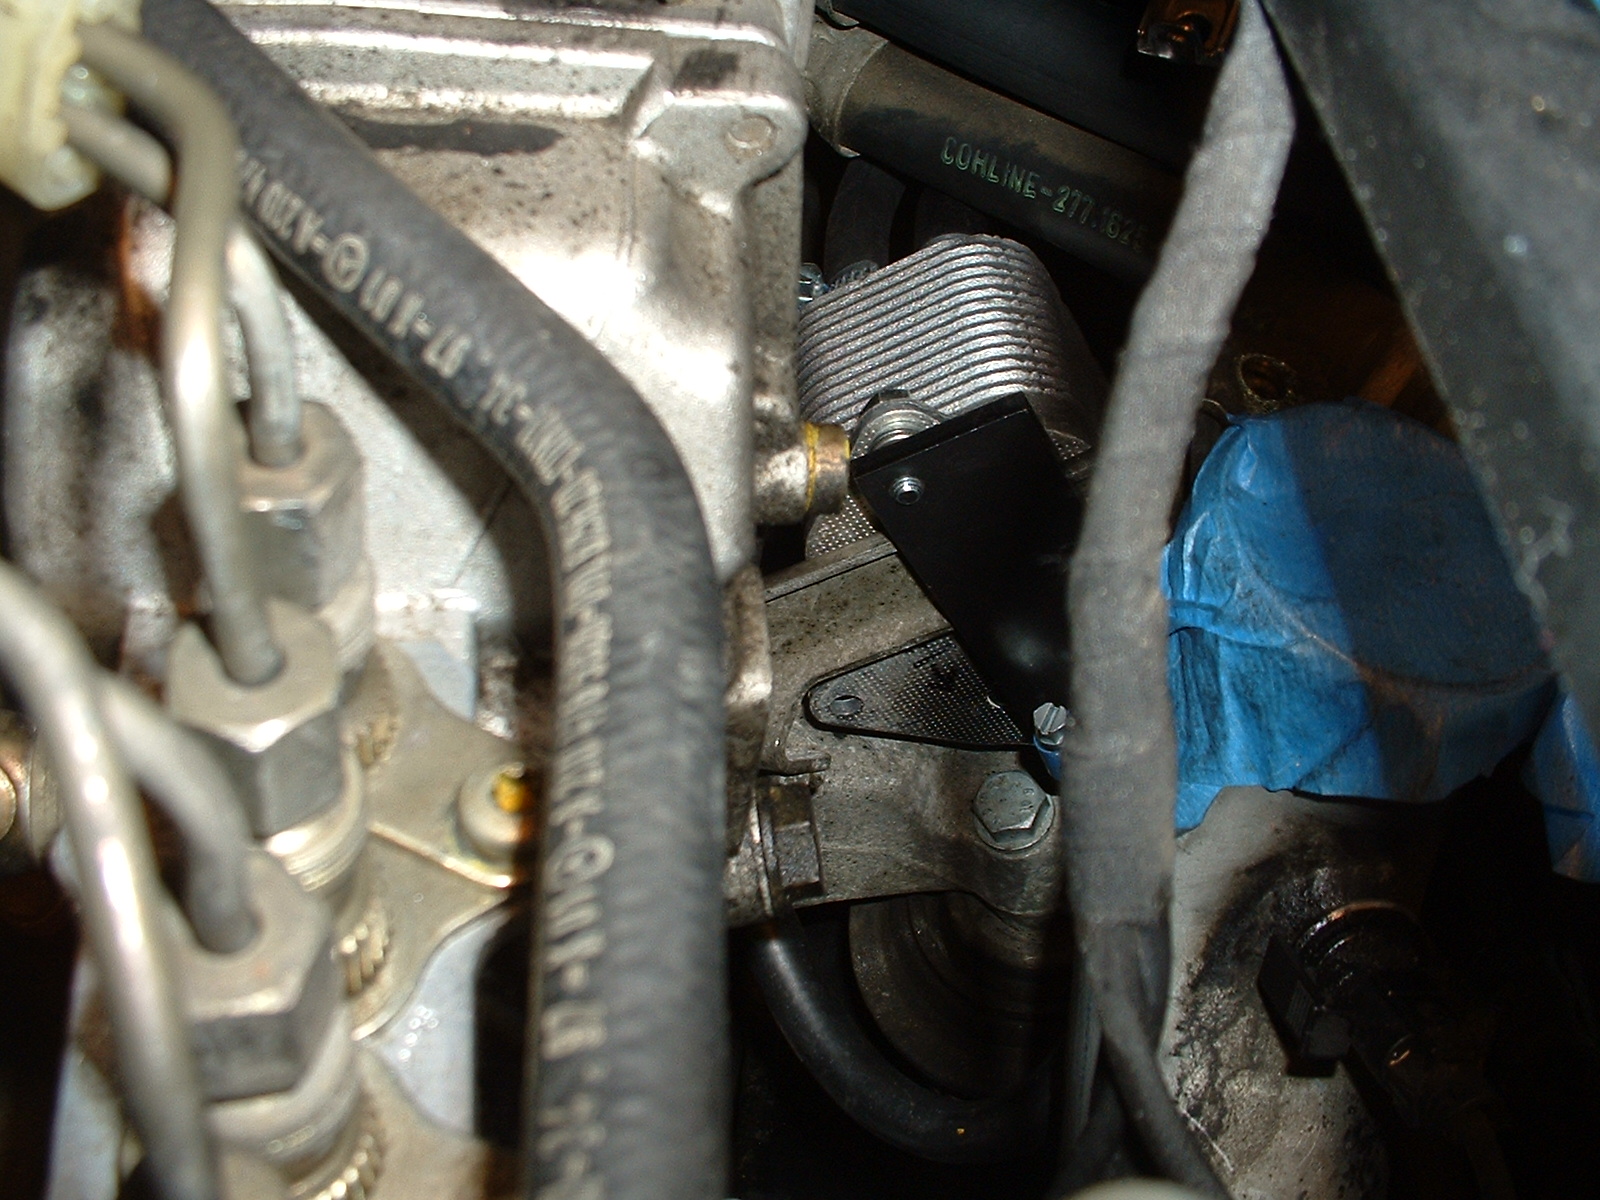
1. Locate the EGR bracket coming off the motor. It�s located directly above the driver side motor mount.
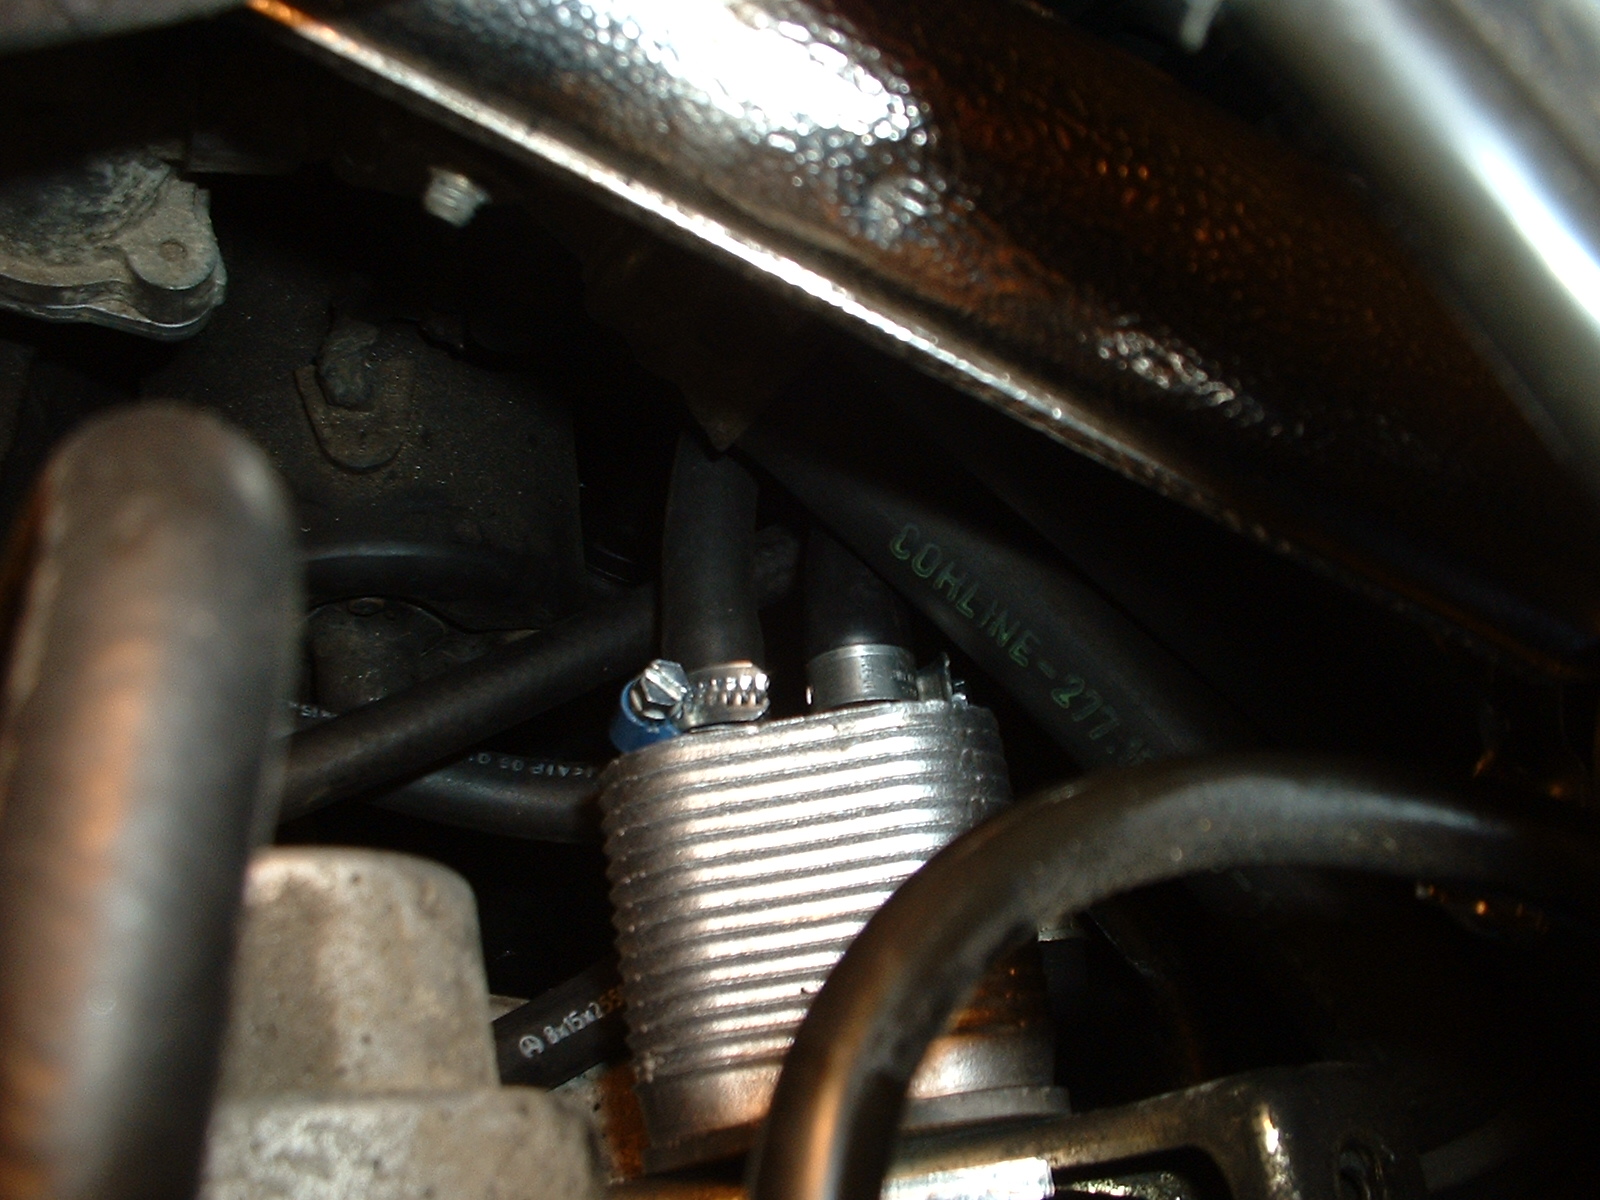
2. The heat exchanger has 4 hose barbs, two for the coolant and two for the fuel. The largest one is for the fuel. It should run back to the fuel tank. It�s a good idea to label the barbs with tape or something so you know which is which once it is installed.
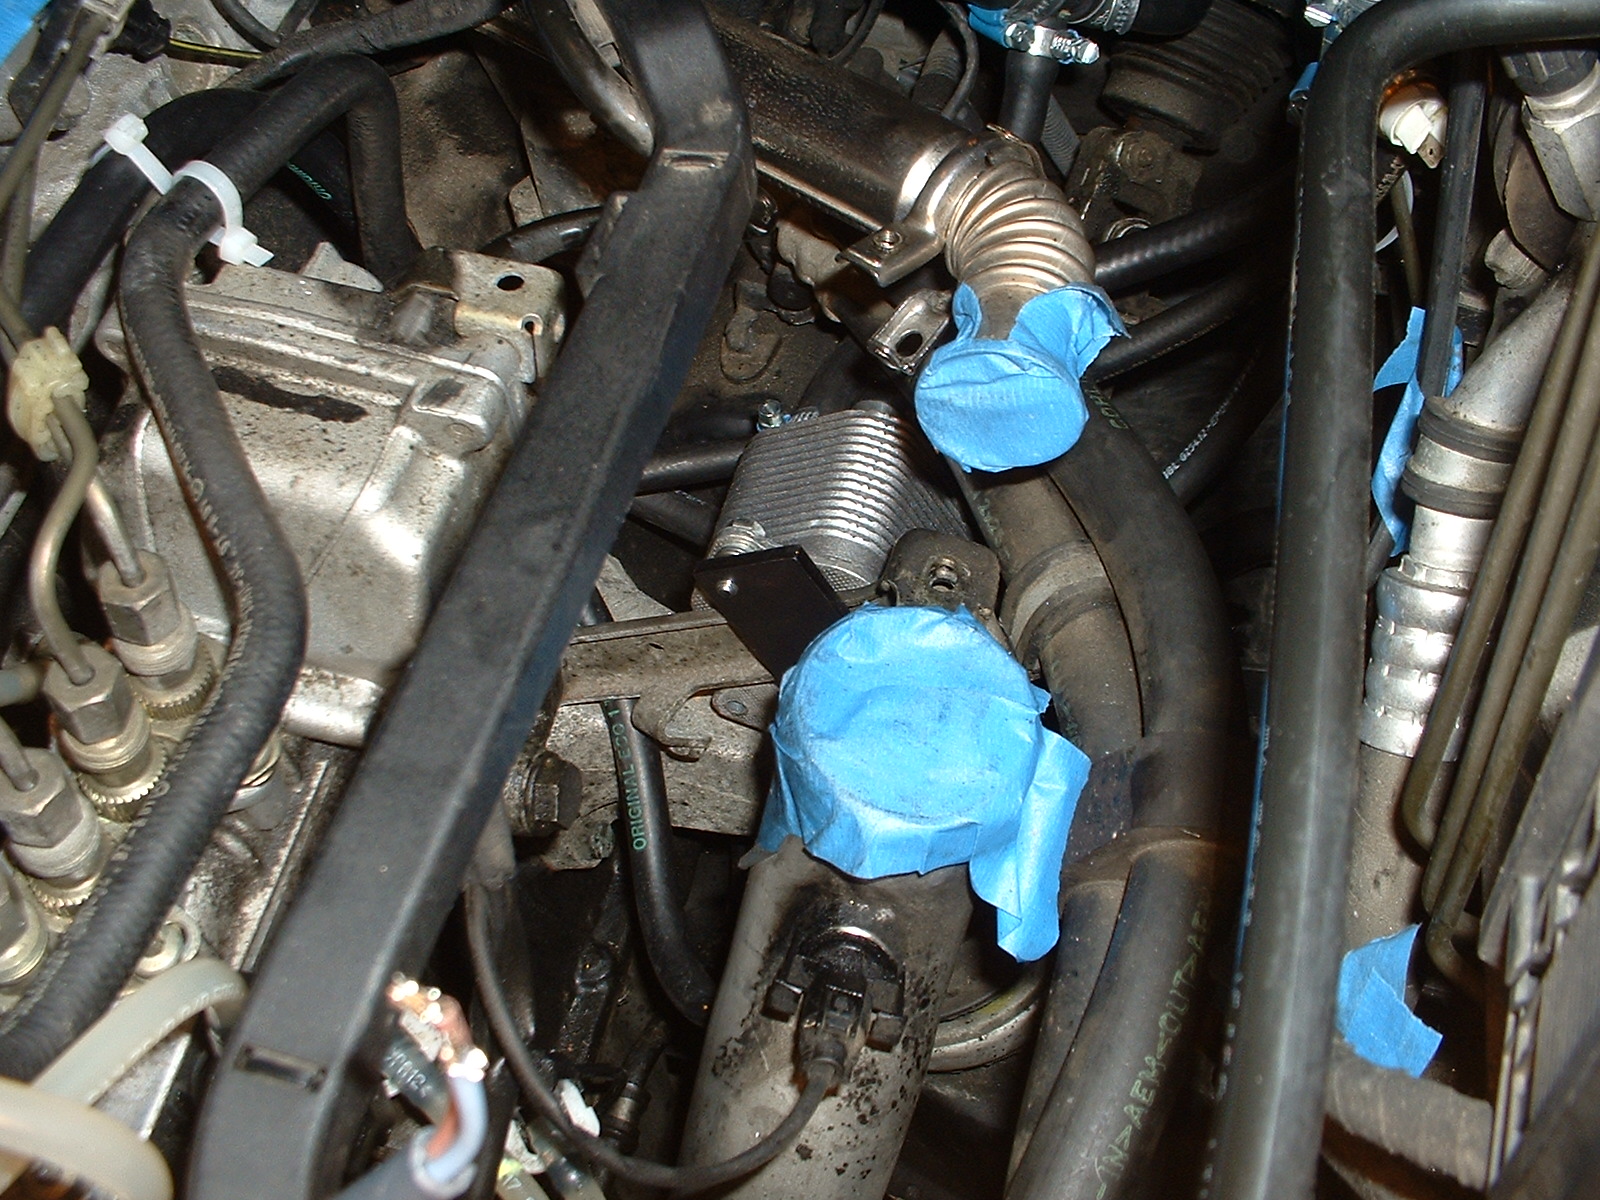
3. I choose to mount the heat exchanged so the single nipple side faced towards the front of the car with the barb underneath the EGR bracket it's mounted to. You can try different ways to see what you like best.
See pictures below.
4. Use washers in between the heat exchanger bracket and the heat exchanger to prevent bending of the tab which would break the heat exchanger. Use enough washers that you can tighten the bolt without bending the tabs too much.
5. Sandwich the EGR bracket between the heat exchanger and the black bar. You can leave it loose until you have all the tubing in place so you can find the best spot to prevent any rubbing of the tubing. Ensure there is a gap between the motor mount bolt and the heat exchanger. Use locktite if possible for the final tightening. |