| Always put the clamp on the hose before you push on the barb because they will be very hard to get off. It�s difficult to show or describe the exact hose routing so try it a few different way to see what you think works best.
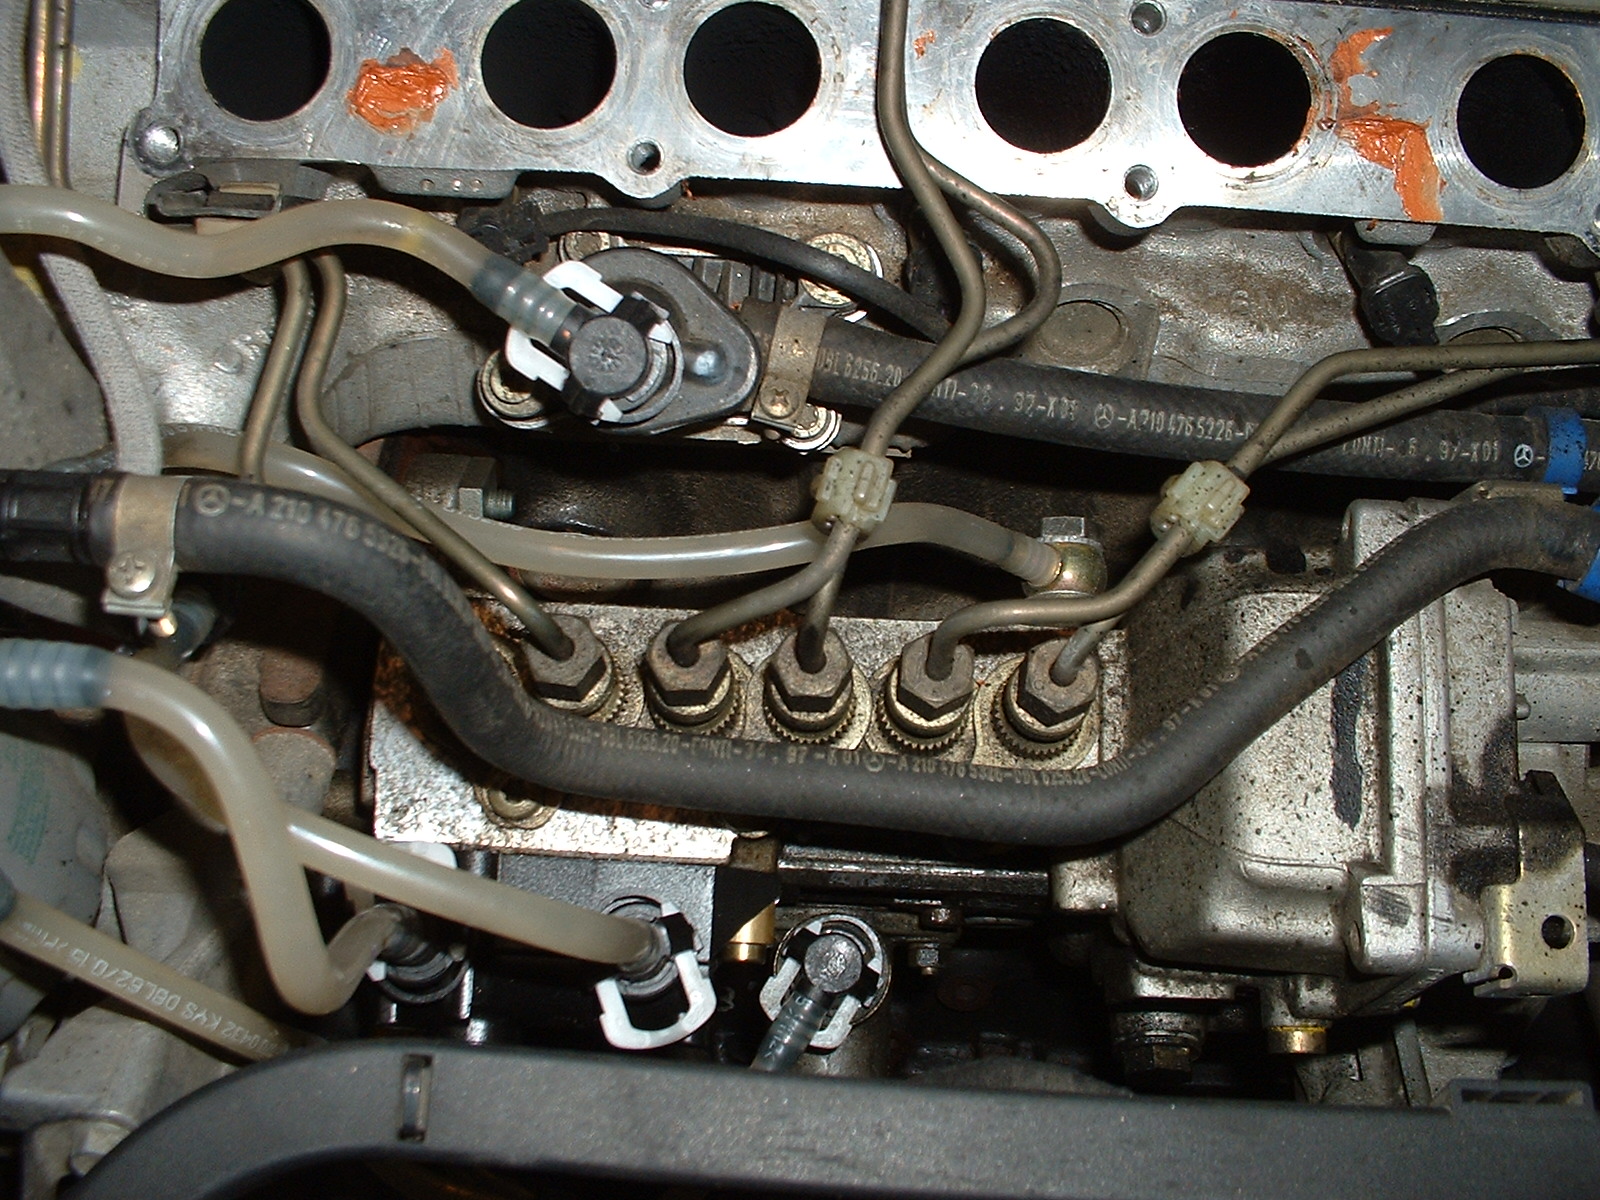
1. Try to prevent spills of diesel fuel as much as possible. You could siphon the diesel out of your tank and drain the rest once you cut the hose. I chose to pinch the tubing shut to prevent leaking. I still had a decent amount of leakage. 2. In the engine compartment, cut and or remove the rubber fuel line running from the hard pipe tubing supply to the existing heat exchanger. The existing heat exchanger is pictured below. The fuel supply comes in from the driver side beside the fuse box and runs under the intake manifold then up to the factory heat exchanger on the head. This is where it enters as black hose and exits as clear tubing. 3. Locate the correct hose under the rear of the car in the center of the fuel tank. Make sure it is the diesel supply from the tank and not the drain before you cut it. Carefully follow the fuel line from the Mercedes fuel heat exchanger (shown below) back to the tank. Clamp hose on the tank side of the cut. 4. Cut the hose and catch the fluid draining back from the fuel line. 5. You will be replacing the original hard plastic fuel line with a large diameter rubber fuel hose. Plug the old fuel line to prevent dirt from getting in. You can use some type of cap or clamp it. I put a dowel in it and clamped it, which isn't great so you may try something else. Do this on each side of the hard piped fuel line on the car. 6. Splice in the new 3/8 fuel tubing using the 8 mm barb coupling supplied by Elsbett and run it to the front of the car, following the original fuel line. 7. Zip tie it to the existing hard fuel lines. 8. Connect it to the largest diameter barb on the heat exchanger. 9. Connect the fuel line from the Elsbett heat exchanger and run it to the existing Mercedes one but don�t connect it. 10. Use the fuel priming pump to prime the fuel from the tank all the way to the existing heat exchanger to reduce the bleed time. Pump until fuel comes through the bulb. Pump into a container. 11. Connect and clamp the fuel line to the heat exchanger. 11. Tighten the Elsbett heat exchanger bracket once it is in a location you are happy with if you have not already done so. Make sure nothing is rubbing. |
| Fuel System Work |
 |
 |
| Existing Mercedes Heat Exchanger |
| Transition from Hard Fuel Tubing to Rubber |
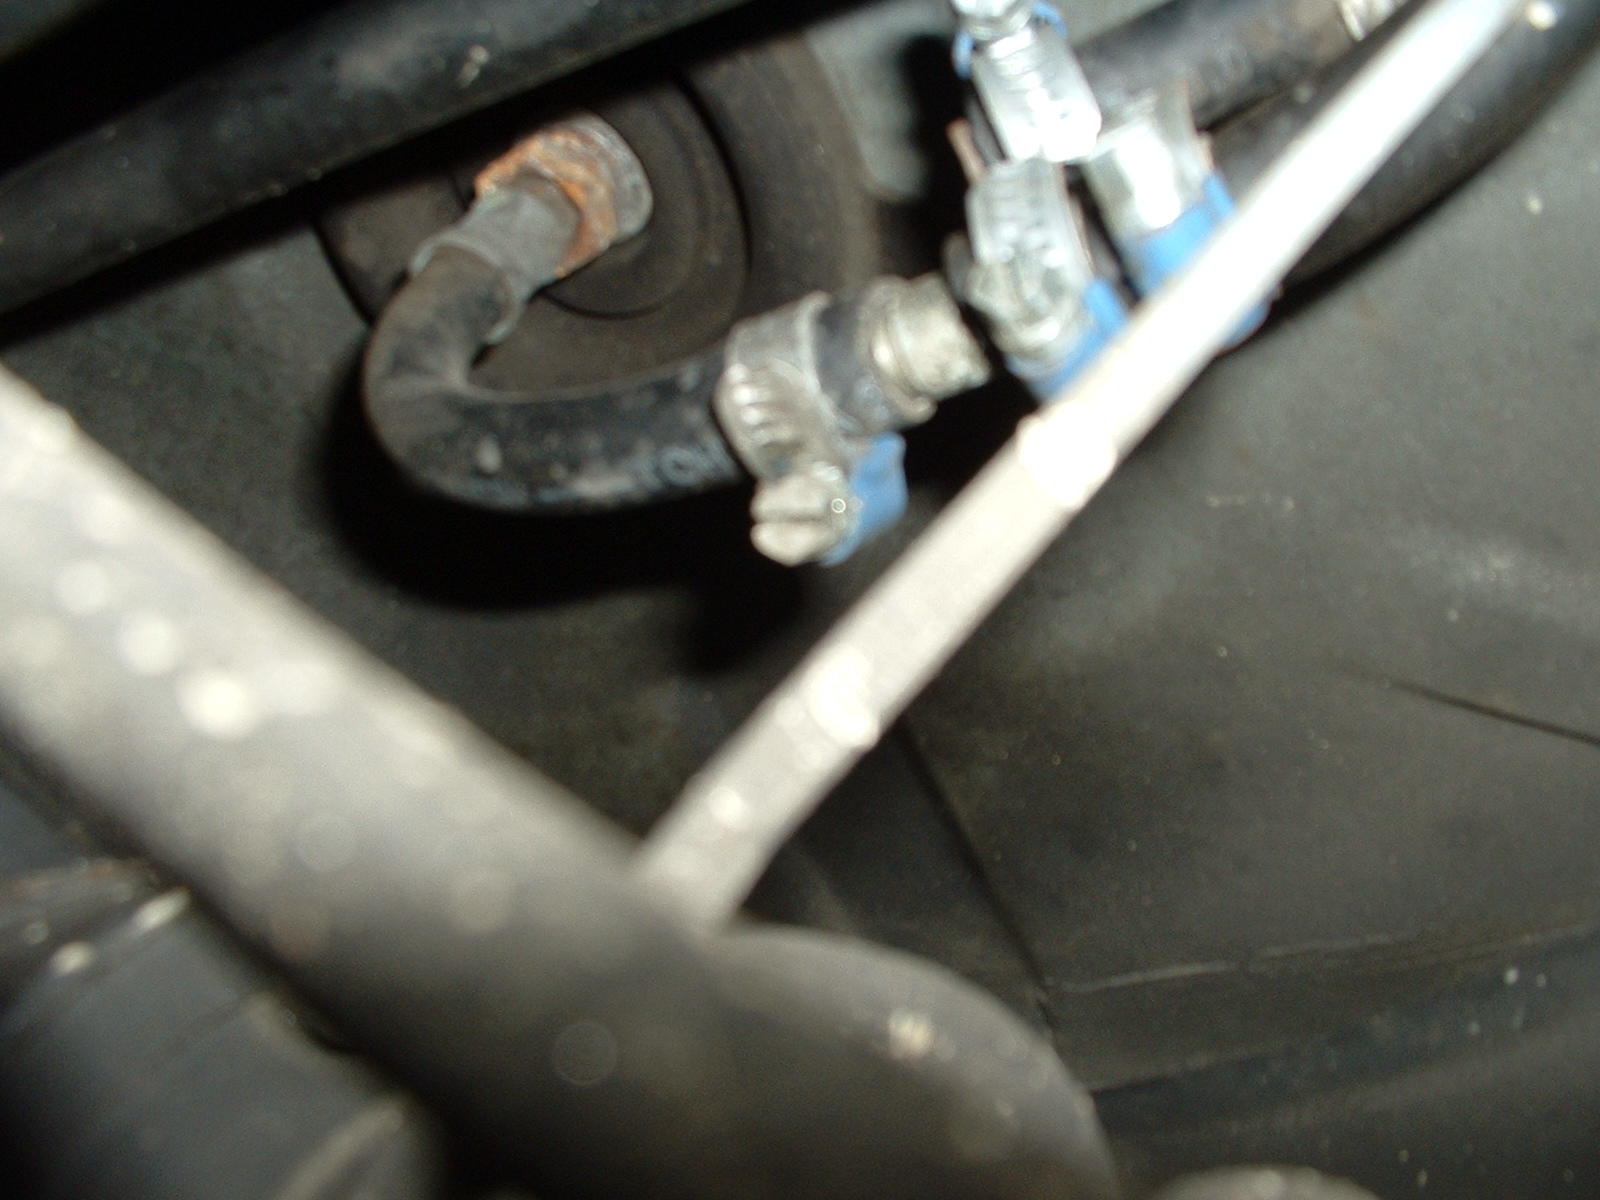 |
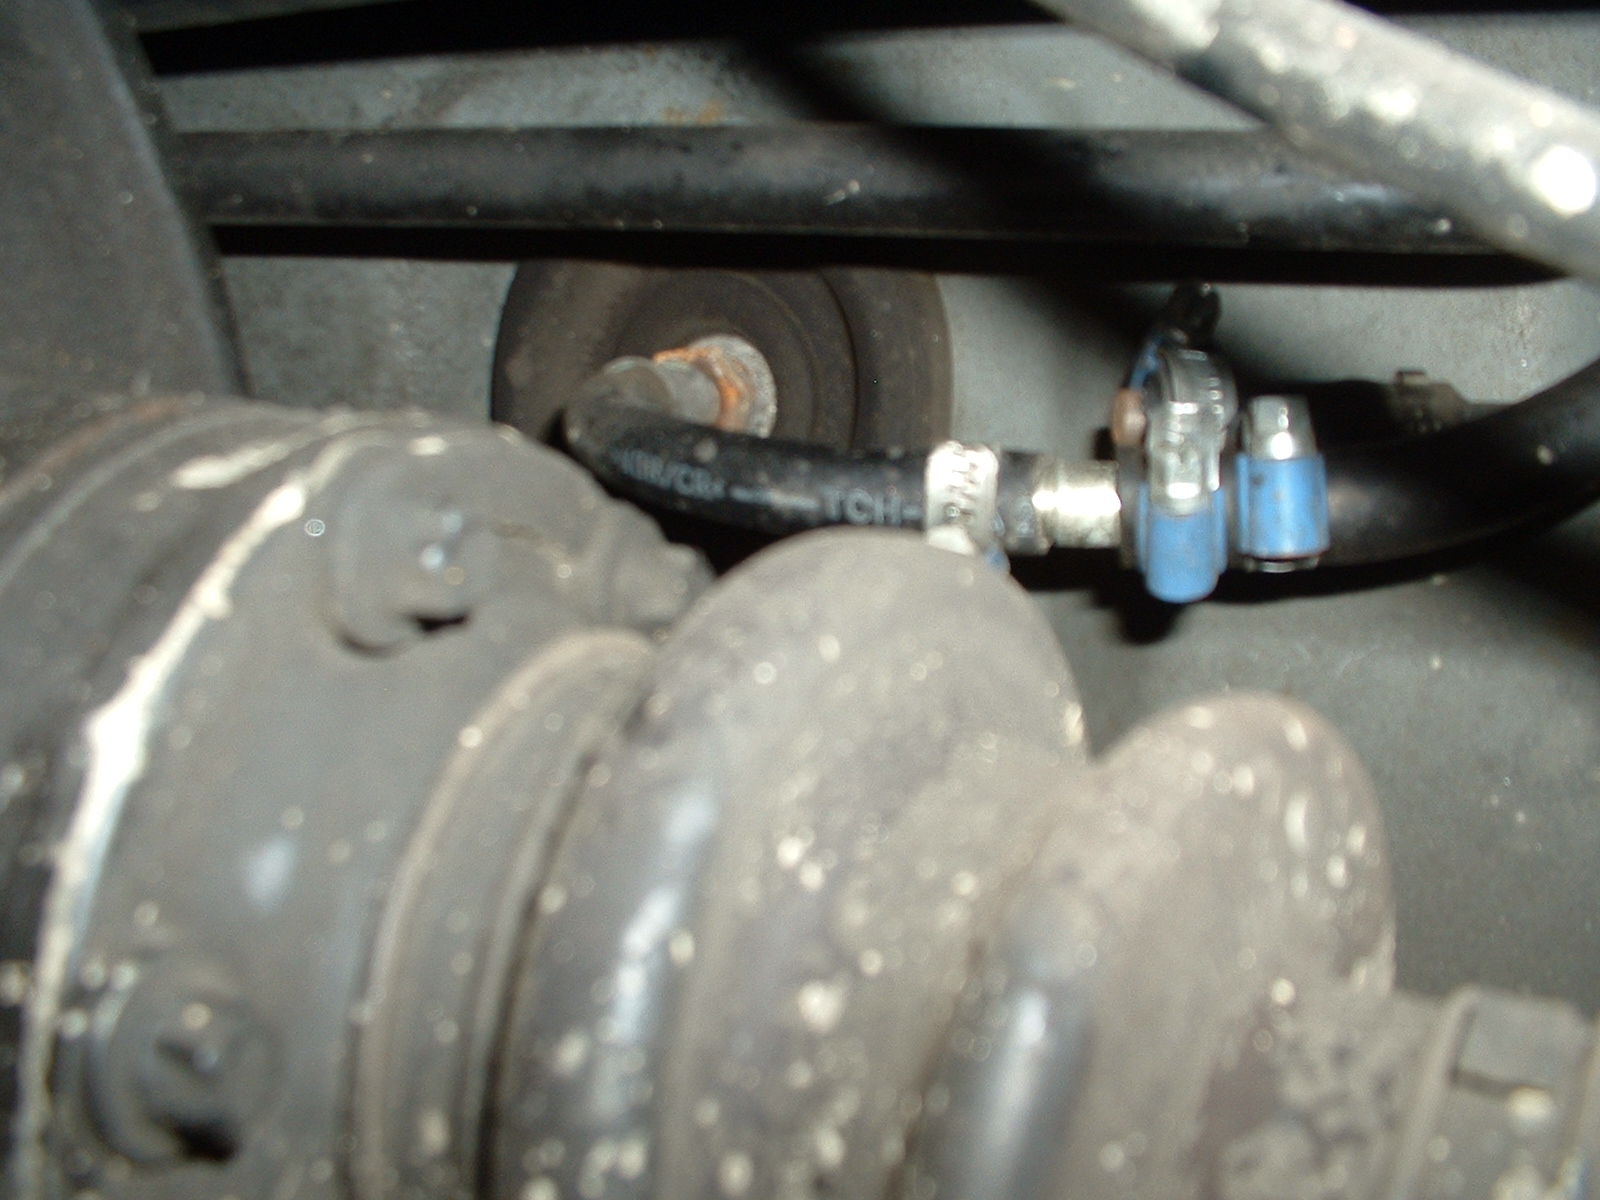
| View of Tank Exit and the 8mm Barb Fitting Which Transitions from Existing Hose to the New Elsbett Hose |
 |