Wheelsets
Click On Thumbnails To Enlarge
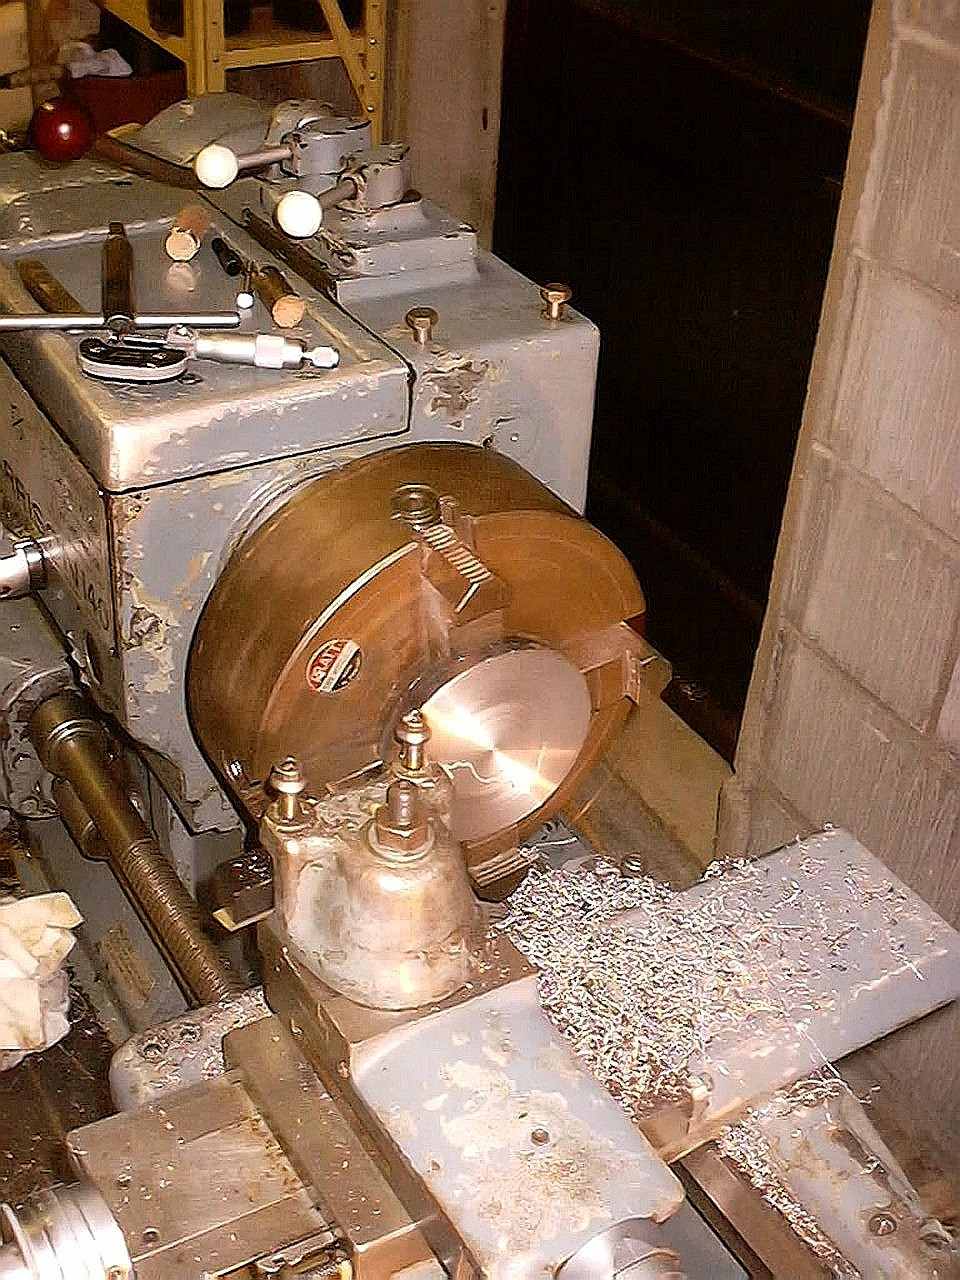
The wheelsets are basically Alistair's pet project. My contribution is the cranks, hornblocks and axleboxes. Progress on the wheelsets is quite slow at the moment. This is due to Alistair's lathe (a Harrison 140) being about 2 miles from his home. His only transport being a bicycle it normally means that when the welsh weather takes hold he chickens out of going up there - wimp!
The wheels are being produced from some scrap billets of steel we got hold of. A big thanks to our friend Carl who kindly cut up the billets for the wheels and cranks - cheers mate! The wheels would normally be a casting complete with balance weights. However as we are turning them from stock we are making separate balance weights that will be pinned, bolted and probably Loctited as well to the wheel !
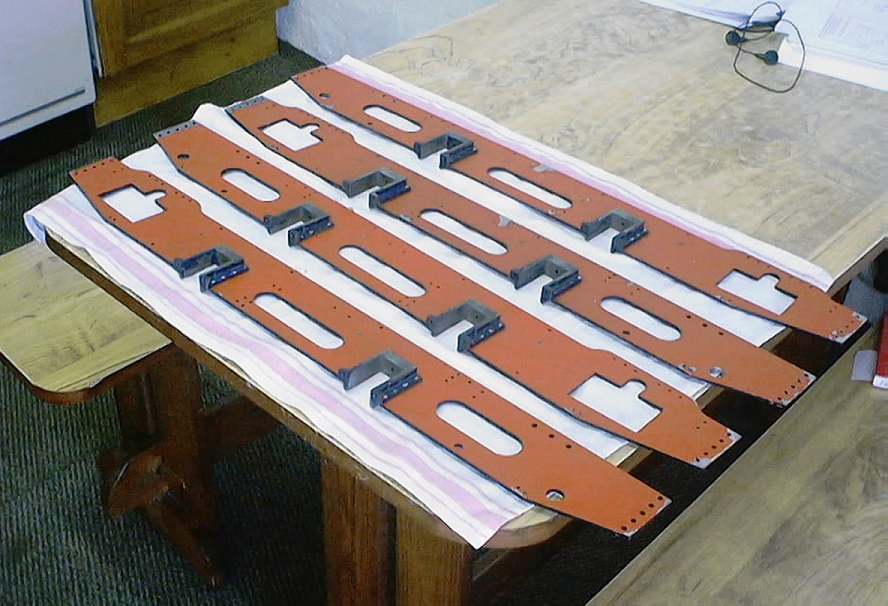
Alistair is busy at the moment facing all the blanks to the correct thickness. Here's a picture of this operation.
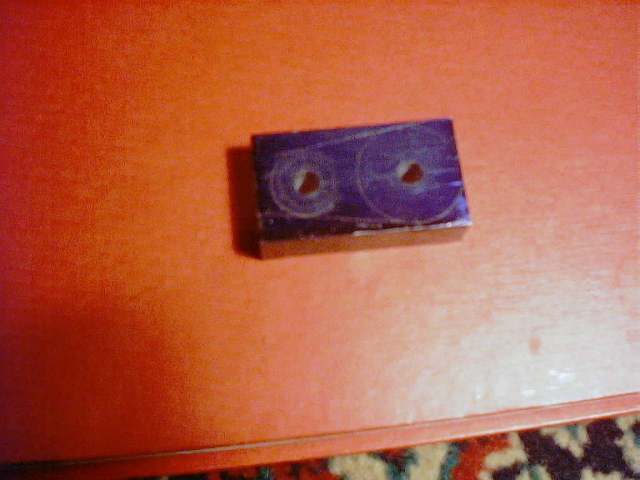
Meanwhile I've made a start on the cranks. The slightly out of focus picture below (that's due to my cheap digital camera) shows the a pilot drilled crank. It's also possible to make out the scribed lines that will be the final shape of the billet - plenty of hacking and filing here!
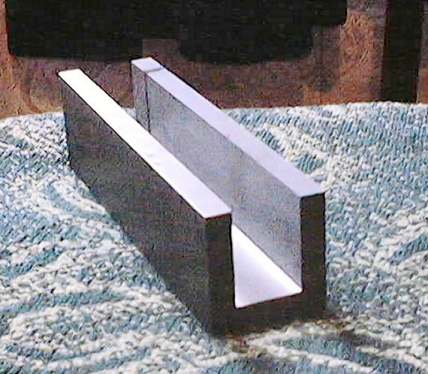
Despite not having actually had the time to do much myself in the last few weeks I must say a big thank you to Carl. He very kindly machined the block of cast iron for the hornblocks and the gunmetal for the axleboxes. As the cast iron started as a piece of 50mm square bar 7 inches long you can see why I didn't fancy having a go on the unimat!!!
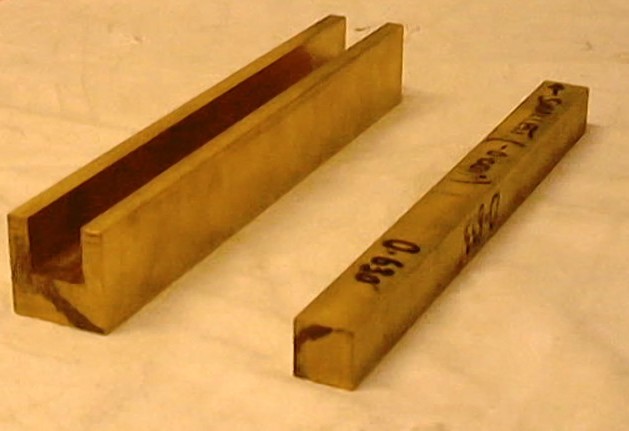
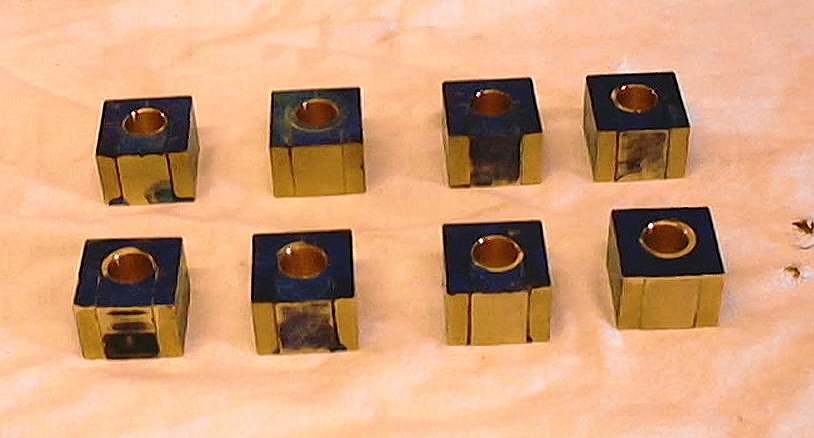
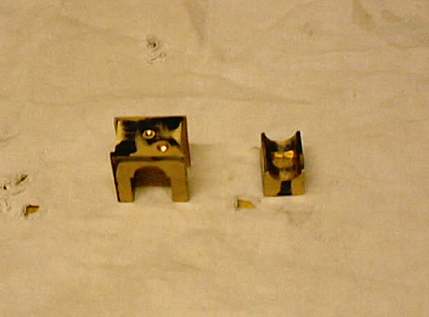
Another bit that Carl kindly machined for us was the gunmetal bar for the axleboxes. As the loco has outside frames with cranks if we ever needed to remove the axleboxes then we would have to remove our cranks. This obviously isn't a great thing to do so the axleboxes are actually split into two sections. Here's a picture of the machined gunmetal.
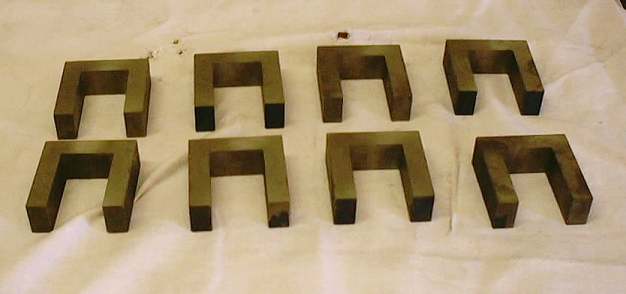
However before I could machine the axleboxes I needed to get the horns fettled. Hacksaw to the ready I began chopping up the bar. It cut like butter and was absolutely flawless (explains why when it arrived we thought it was steel!). While cutting the billets I made a start on facing them to width in the 4-jaw on the unimat.

Finally after 3 days of sawing and facing we had 8 billets (remember 2 engines!) ready for milling and a very large pile of cast iron dust!!!
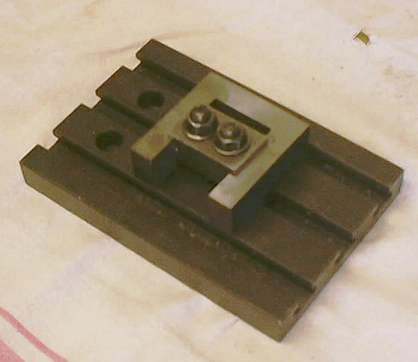
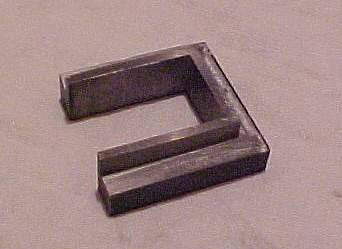
The next problem (or should that be challenge) was how to hold the billets for milling. Problem - no problem - simply make a small clamping block that would fit in the slot and then bolt to the milling table. A quick bit of cutting, facing and milling later and it was done. Here's a picture of a billet bolted to the table using our clamp.
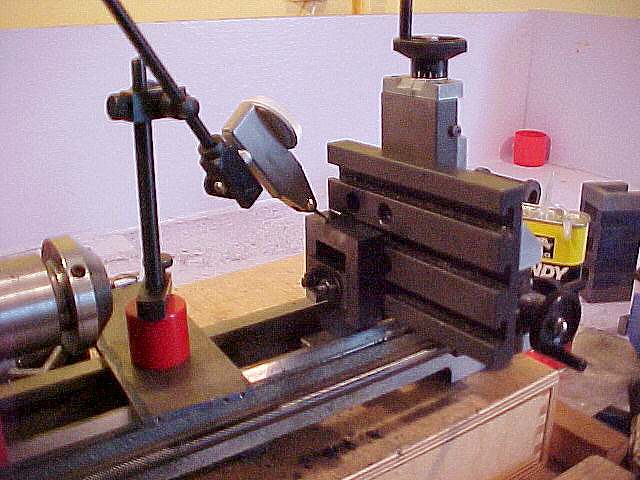
The next , and always the longest, part of the job was now to setup the first billet accurately. I setup the billets to around the right alignment and then used to a DTI to ensure they were square.
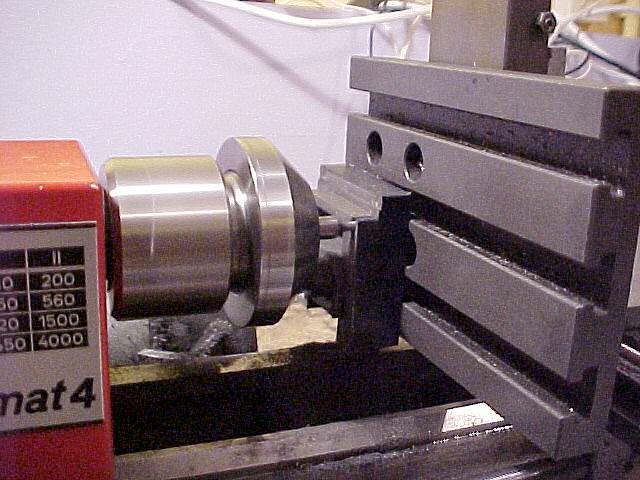
Finally time to start cutting. I left the dimensions a few thou larger than on the drawings so I could actually fit the block to the frame - too used to working with the big engines!!
Once the milling work was done a quick run over with a file and some emery cloth combined with careful checking and there we are :-
Now all I need to do is machine the other side - and then do it all again 7 times!!!! - To be continued .............
And continued it was - for 4 days - day and night!!!! And before I knew it they were done. The next thing to do was to drill the clearance hole for the spring pin and then fro the rivets. I drilled all the holes in all the horns then clamped each one in situ and drilled a couple of holes through the frames. These were then riveted followed by the rest of the holes being drilled, and finally riveted. The riveting was completed in a single day and I must thank my riveters mate here - so thanks mum!!!!
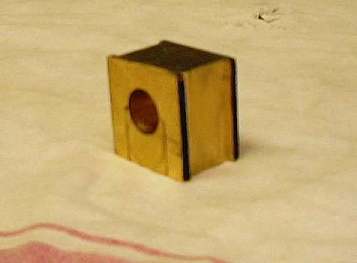
With the hornblocks complete it was now time to start on the axleboxes. The billets were all cut and faced to size in the 4 jaw. Carl left the insert block a thou over size so I could fit each one to it's slot. This was easily achieved with a bit of emery!
![]()
They were then assembled and bored to the correct diameter. I had meant to ream them but I found the second hand reamer we'd bought for the job (1/2" diameter) was bent!
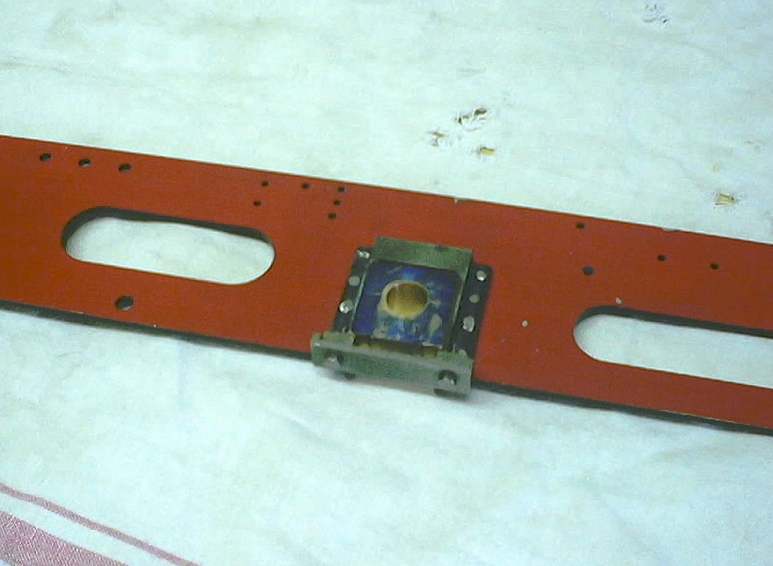
Once this was complete the next job was to mill the slots in the sides to allow them to run in the horns.
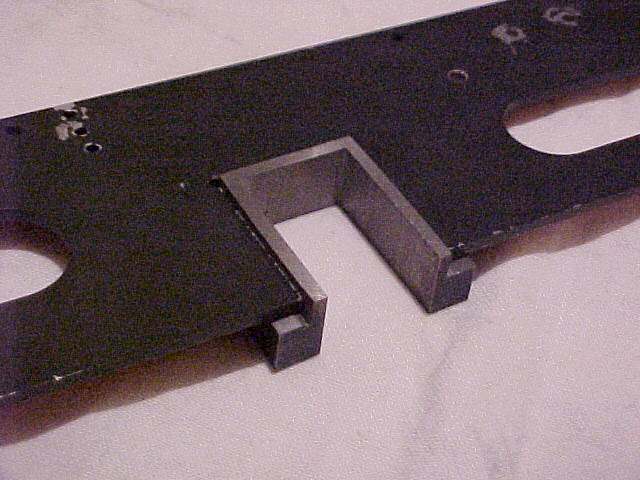
I had one big problem with this job - accuracy - I was too accurate !!!!! (how often do you complain about that !) After a bit of relieving and polishing they fitted. You'll notice in the picture below the piece of the plate across the bottom of the horn - these are the hornstays and would you believe stop the axlebox falling out. These were actually some of the first parts to be made for the loco.
Well there's still the final touches before the axleboxes are finished. The insert has a small well machined into it to take an oil pad, a no 60 hole is drilled from the top of the axlebox into the axle bore for oiling purposes - this was opened out at the top to provide a sort of funnel and reservoir. Finally with the axleboxes in their horns the position of the spring pin was lightly marked by running the drill through the hole in the horn.
The holes for the spring pin will be drilled to the correct depth when I get the right size drill!
NEW 04/06/2002
With the exams now over and having sorted out an alignment problem with the gap bed on the Harrison, Alastair has forged ahead. He is currently machining the tread on the first four wheels - pictures to follow very soon !!!