Spring Gear
Click On Thumbnails To Enlarge
NEW 13/08/2002
Conway is fitted with leaf springs. These are made from 2 spring steel leaves with 9 tufnol leaves for appearance.
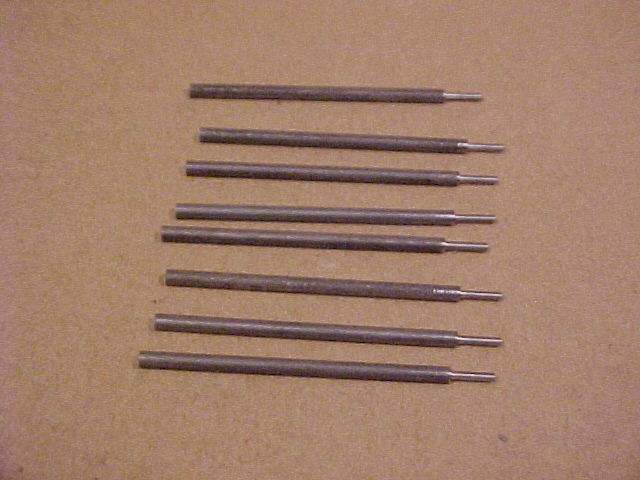
The first job which I completed were the spring pins. These fit in the top of the axleboxes and carry the housings which secure the leafs of the spring.
Here's a view of the pins before they were threaded to accept the spring housings :-
The next parts to be completed were the pin housings - unfortunately I spent so much time making them I forgot to take any pics !!!
The next job was to prepare the leafs. This required all the tufnol and spring steel strip cutting to the appropriate lengths and then drilling to accept the spring pins. Having completed this the spring steel was teased to the correct radius. This is where the CAD drawings came in very useful!!!
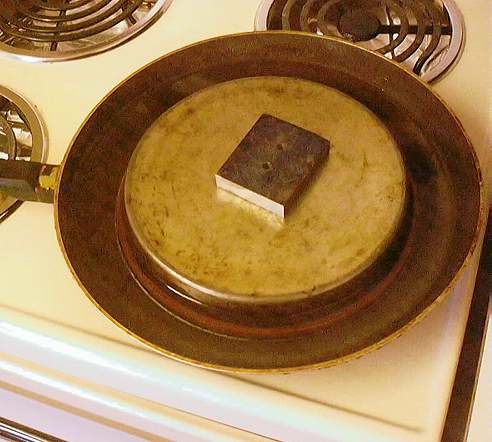
The tufnol also needs to be bent to this radius - however to do this it must have a permanent curve put in it. This was achieved by heating the strip to just below boiling point while submerged in water. The first problem was how to hold the pieces at the correct radius. A rummage around the kitchen cupboards revealed a cake tray that was exactly the right size. The next problem was how to hold the leafs to the tray. This was easy solved by turning the tray over to reveal a lip around the tray. Here's a pic of the tufnol wrapped around the tray and secured by the lip
![]()
The next problem to find something big enough to get water and the cake tin into. An old frying pan was found and this was soon pressed into service on the hob :-

It was now time to assemble the spring units. This is quite a slow and fiddly job and requires the patience of a saint (in the event I had to do)!!. I first assembled all the leafs onto the spring pin. The leafs were then taped together and the pin removed. This now allowed the housings to be slipped over the leafs and the spring pin fitted. Here's a pic of the assembled unit.

Another set of parts which I made without taking any pics were the the spring pin guides. These began life as a casting in the form of a strip. This was then cut up into pieces and all the 'flat' sides machined while holding in the casting.
The next challenge was to drill a 1/8" dia hole from the end - easy you say - well not when you've got less than 1/64" to the side of the hole!!! After considering various ways of drilling the holes I grabbed the bull by the horns and marked them out, clamped them in the drill press and 8 buckets of nervous sweat later they were all done without a single hole breaking out!!! At that point it was definitely time for a beer!
Last, but certainly not least was to fit the guides to the frames. There are no holes marked on the drawing for these so I drilled the guides first for the mounting bolts. I then fitted the assembled springs along with the guide which was clamped in place to allow the pin to move freely. Bang the drill through and Bob's your uncle !
NEW 29/12/2002
This is actually work that was finished a few months ago but only now have I had chance to do the write up and take the pictures!
We left the story having completed the spring units, the pins and having fitted the guides to the frames. Now for the springing to work there needs to be some where for the springs to push against. This is achieved by fitting hangers which fit through the springs at one end and bolt to the frames at the other end.
Easy - not until you've seen the drawing! Each hanger is 1 1/2" long being round for the majority of their length but needing to be flat at the bottom where they fit to the frames. The first attempt was made using a piece of flat rod - well not really made. Turning something rectangular to round is not an easy job. Taking anything more than a tiny cut lead to the tool digging in, buckling the material and fraying my nerves.
Sooooo - to plan B. The rectangular section at the bottom is 3/8" at it's largest point. So get some 3/8" dia bar, turn this down to 1/4" for the required length and then mill the flats on. Sounds sensible - worked relatively well - but took a very very long time (zzzzzzz). The final stage was to make some small tapered washers to fit above the springs to allow for movement.
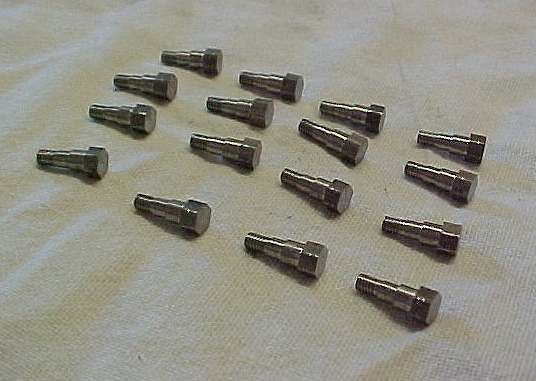
The spring unit were then fitted to the frames. Alastair made the pins for fitting to the frames a while ago. Here's a picture of those pins - all 16 of them!
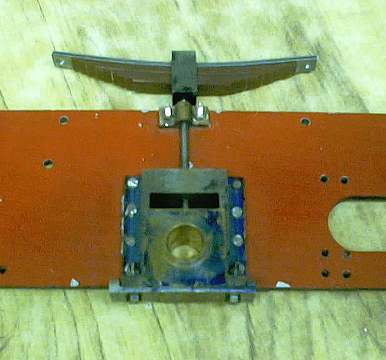
Finally here are some pics of assembled spring gear units.

