Boiler 2
Click On Thumbnails To Enlarge
NEW 27/04/2003
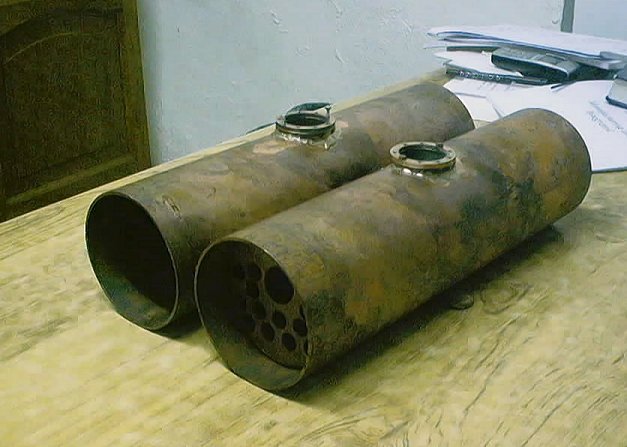
One of the most noticeable things about Conway is its size - larger than a number of standard gauge 5" engines. The boiler barrel is certainly no exception to this at 14 1/4" long and 4" diameter. Alastair began work on the copper tubes by facing the ends square. Originally it was planned to do this in the lathe - but holding such a big lump was going to be a problem. Even if a steady had been available, the standard one won't take a billet this diameter. After considering various Heath-Robinson setups it was decided that suitable accuracy could be had by careful filing. Alastair attacked this task with a square and some elbow grease.
The the tubes were then passed into my mucky paws. The only actual fitting silver soldered into the barrel is the dome bush - but first it needs a hole to go into. Alastair turned up the bushes. The hole in the barrel needs to be 1 3/4" in diameter. With a hole this size and the limited equipment available there is only one real option - To chain drill the hole out and then file it to suit the bushes. So out came the Black and Decker (that's not an endorsement!) and about 50 holes later and a bit of chiseling I was left with a ragged hole. Only took an hour - shouldn't take long to finish it off I thought to myself - you know what's coming next. So out with the file and the process of opening out to suit the bush. The bush needs to be a nice tight for silver soldering so the hole really needs to be as accurate as possible. 5 (yes 5) hours later the bush fitted. So here are the before and after pics of that first bush - all I need to do is do the same to the second tube!
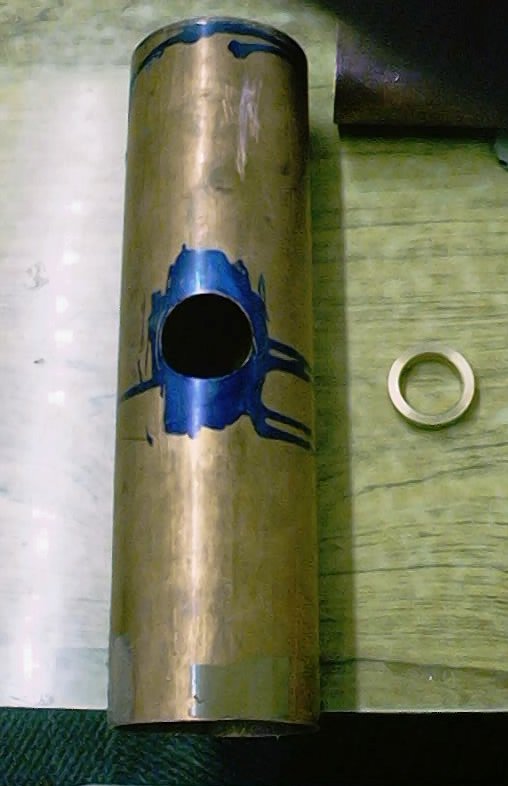
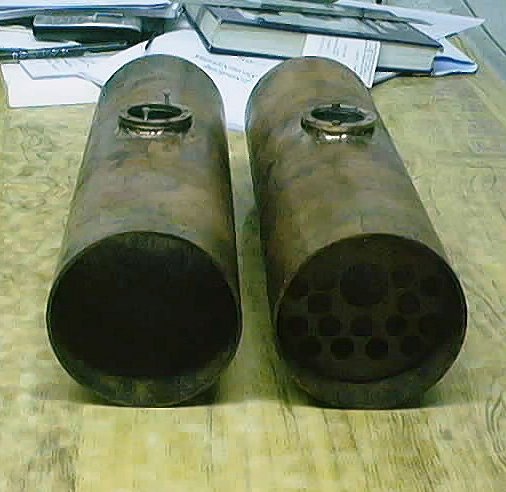
After shedding some more blood sweat and tears the second bush was fitted into it's hole. However before it can all be soldered in situ the bushes needed tapping to accept the bolts that hold the dome down. I used the bottom ring of the dome and drilled this first as a template for the bushes. Once drilled they were tapped to accept the bolts.
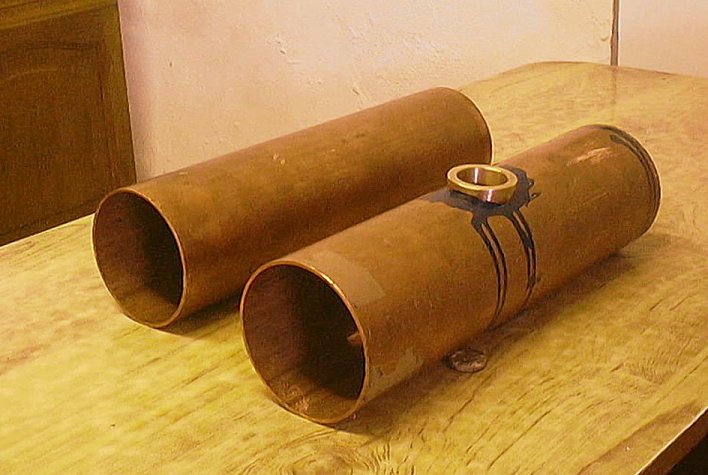
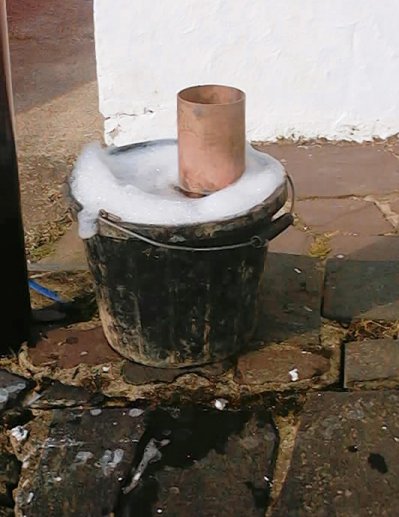
Finally the big moment - time to solder them into the tube. The first stage is to clean the surfaces which will be soldered. It's VERY important that this is done thoroughly as it forms the basis of the joint. It's also good practice to do this as close to the actual soldering time as possible to reduce oxidation. The picture below show the the hole in the barrel immediately after cleaning. The area cleaned can be clearly seen, the inside had the same treatment.
![]()
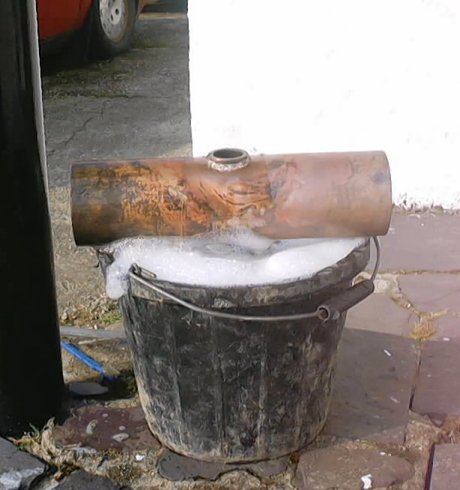
The parts to be soldered are then coated in flux over the area to be soldered. I use easy-flo flux which comes in a powder form and is then mixed with water to create a thick paste. I tend to flux the parts before assembly and also after to ensure none of it has 'got away' during assembly. The whole assembly is then moved to the 'pan'. The propane torch is then used to heat the assembly. Because of the size of the tube there is a lot of copper to heat up. On the first barrel it took me about 20 minutes to get it to a red heat. I got a bit more aggressive on the second barrel and got this down to 10 minutes. Once a red heat is reached the silver solder is fed in and slowly worked around the bush. For the first bush it took 1 1/2 sticks of 1.5mm silver solder rod - on reflection I was being a bit generous and got this down to a single rod for the second bush. Here a pic immediately after soldering.

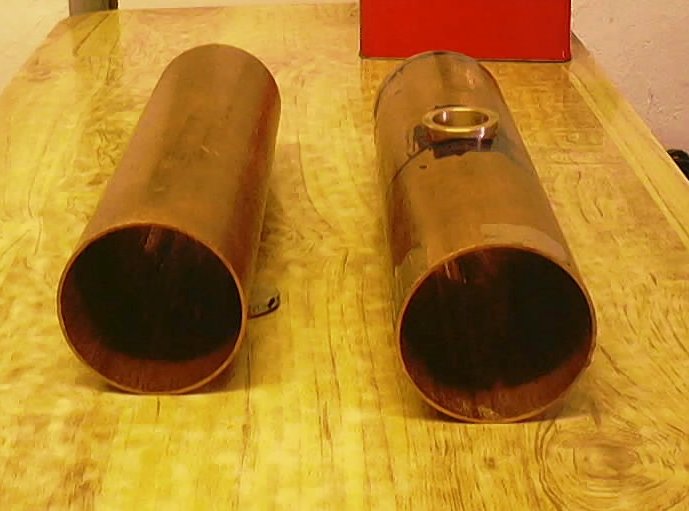
The story doesn't end yet though - time for cleaning and inspection. Initially the joint is cleared using a wire bush and an old chisel to remove the stubborn bits of flux. The tube was then washed in hot soapy water and scrubbed to ensure all the flux was removed.
The final job is to inspect the finished joint. This is done with a magnifying glass and scriber - checking all around the joint and checking there are no inclusions (holes) in the silver solder. As always the shortest part of the job is the actual soldering. Cleaning and preparations take about 45 minutes, the soldering took about 20 minutes and the cleaning and inspection takes about another 45 minutes. Here are the finished products -