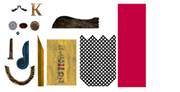
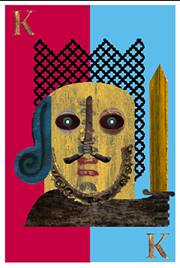
Knight
Procedure:
- Open the application you are going to use, click file then new.
- Select the size of the new canvass that you want .
- Open the file where you are going to get the copy of your images.
- By the use of rectangular marquee tool , select the color red image and move it by the use of move tool in your canvass, and click ctrl T and change its size until it is half of your canvass.
- By the use of rectangular marquee tool , select the color red image and move it by the use of move tool in your canvass, and click ctrl T and change its size until it is half of your canvass.
- Duplicate its layer and put the other on the left side. And by the use of eye dropper, select the color blue to make the image blue.
- Use rectangular marquee tool to copy the image look like a net then put in your canvass . To make the white part gone, use magic wand tool, then click the white part then right click , click similar then press delete.
- Use elliptical marquee tool to select the wood and make is curve.
- Select eye and put it over the wood.
- Select the thin wood and put it between the eyes so that it will act as the knight�s nose.
- Select the color blue image and put it on the left part of the large wood.
- Select the dark wood and put it in the lower part of the large wood.
- Select a small part on the large wood that will act as the hold of the sword. The put it on the right side above the dark wood.
- Select the sword the move it above its holder.
- Save your work .
|