Cylinders 2
Click On Thumbnails To Enlarge
NEW 21/06/02
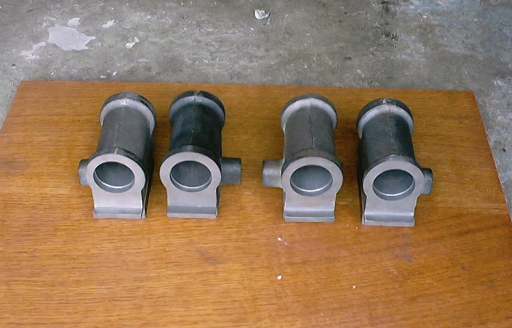
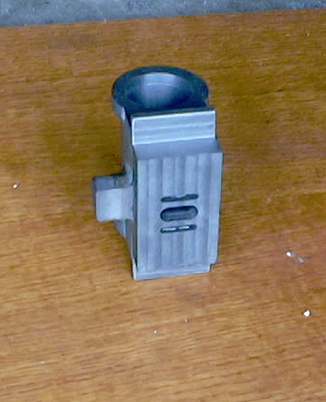
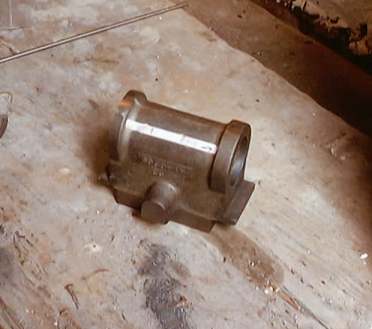
Here's a couple of views of the cylinders after boring.
We're getting there - but there's still the steam passages to drill. The first step was to calculate the angle of the passages between the ports and the cylinders. This was done and each block had a little sticker affixed to it with the relevant angles written on them.
The next step was to set the drill table to the correct angle. This was done by mounting a piece of rod in the drill chuck and then using a protractor to set the angles with respect to the vice (which was bolted to the table). We allowed a couple of extra degrees allowance so that if we did hit a problem the drill would break out above the bottom of the port cavity rather than missing it altogether!

Having set the cylinder block up we then started the holes with a centre drill and then spot face them with a slot drill. This was done to give drill a good of chance of starting in the right place and following the correct angle.
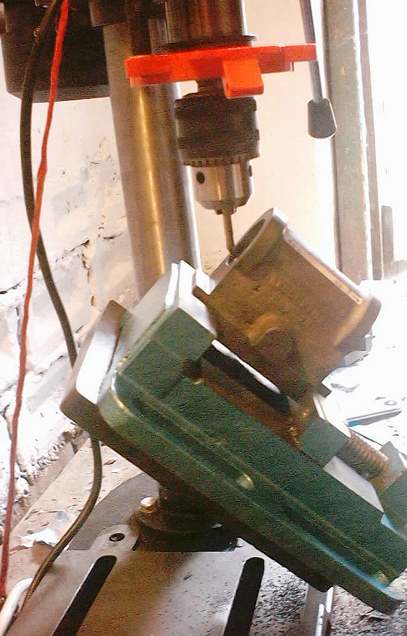
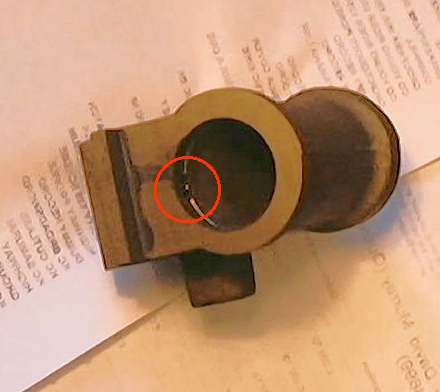
Finally it was time to put that 1/8" dia drill bit in and drill the passage. It seemed to take an age to drill these long passages. Each port has two passages drilled into it - these are 1/8" diameter being spaced 1/16" apart. You can just about may out the two passages in the picture below ringed in the red circle.
There is still a final passage to drill, this being the exhaust passage - this was a relatively simple drilling job the only difficulties being the size of the hole - 21/64" dia.
The next jobs will be to make the pistons and cylinder covers - I'm leaving these in Alastair's capable hands! I must also say a big thanks to Alan Griffiths for letting us in the workshop and Dave Hobbs for all his help and assistance (and for putting up with us !!)
NEW 6/03/03
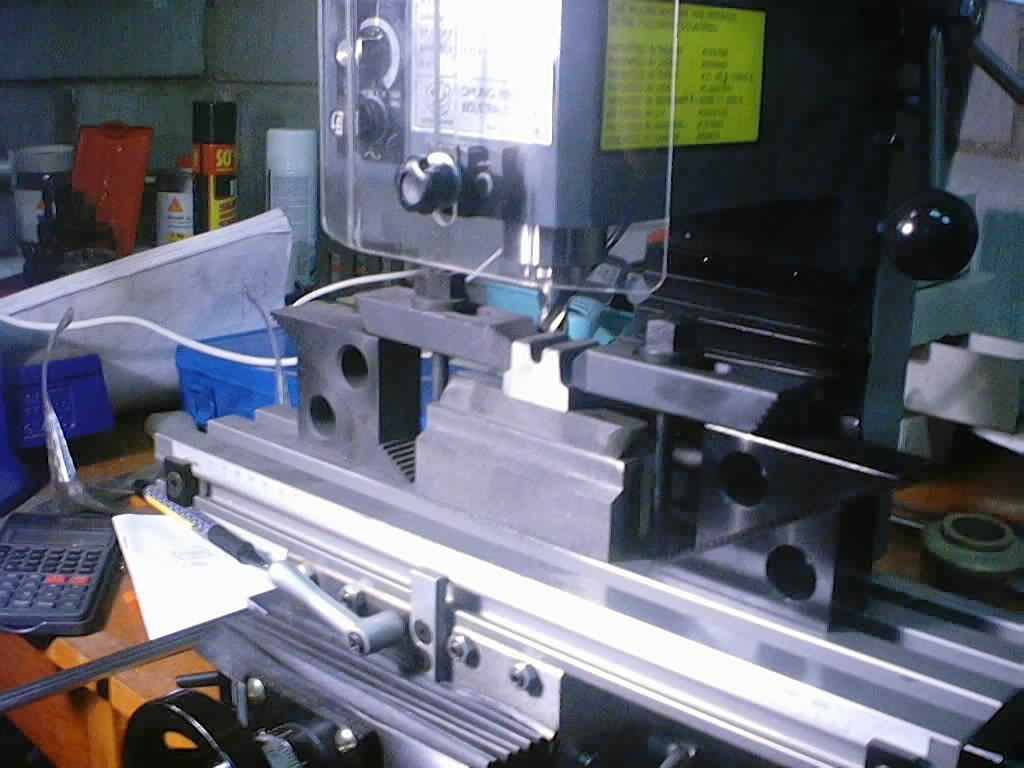
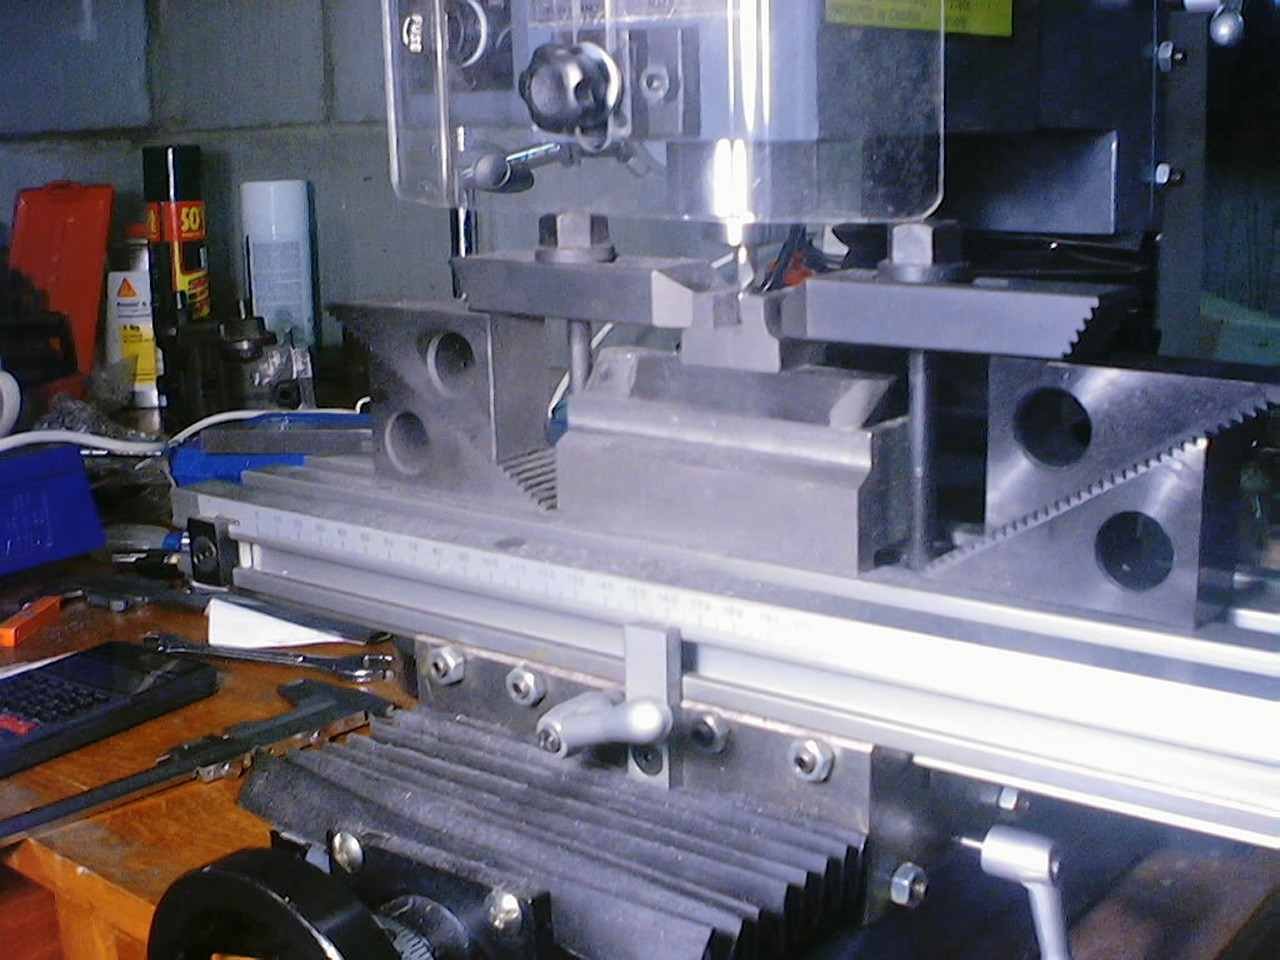
Where to start? How about the slide valves. With his new mill setup Alastair started in earnest on machining these. Having previously machined the valve face in the lathe they were clamped to a suitable raising block and the sides machined.
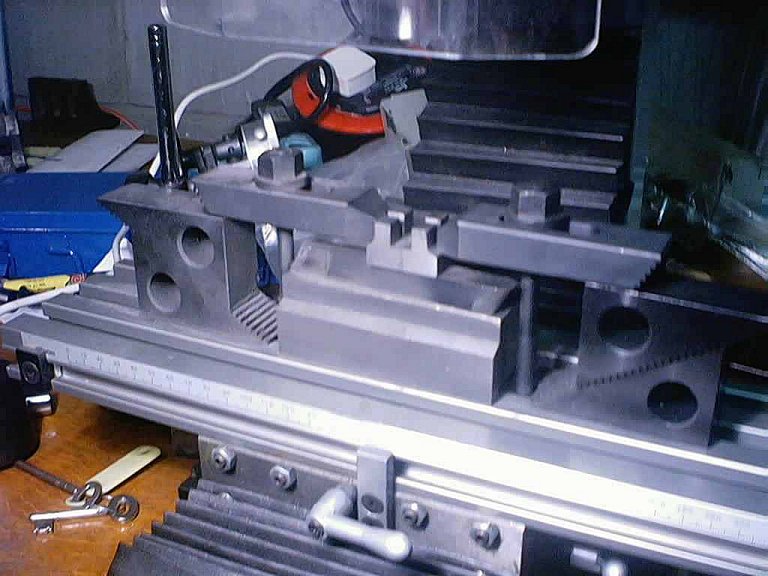
With the castings reduced to the correct width the next stage was add the slot for the driving nut.
Finally the slot for the valve spindle cut, completing this side of the valve.
However before their finished they need turning over and having a pocket milled for the exhaust steam, and also the ends machining relative to this pocket to ensure the valves operate correctly - but that's another day ......