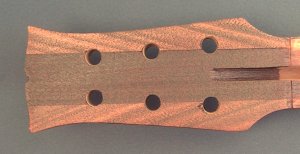
This shows the rays of grain on the head.
Byew-dee-ful!
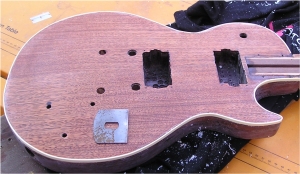
This had two major results:
1. I needed to re-sand the body, back to bare wood
2. The part-sanded-through sections showed me that the lighter stain looked better than the full, deep red stain.
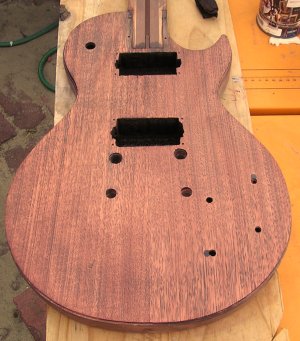
After two hours of sanding (has to be fine grade paper, because I don't want to thin the top any further) I got the top back to bare wood.
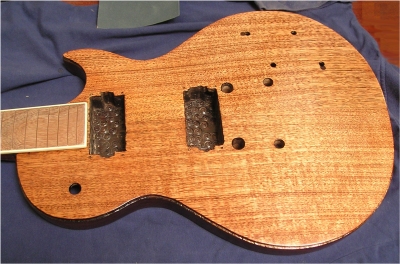
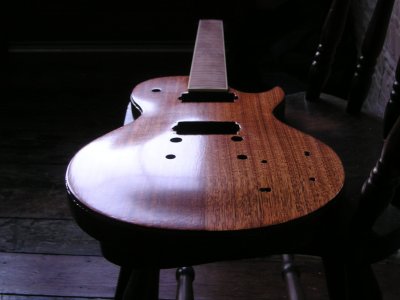
FINALLY... the body has survived two rounds of sanding sealer application and sanding (now on its third) and the lighter colour shows off the grain better than the original version. At this stage the fretboard is just placed onto the neck, not yet glued.
After masking the groove and the sides, the top will be ready for the "burst" effect to be sprayed on, using a mid-chocolate brown and black combination.
Before the final sanding sealer coat, I decided to put on the binding, so that the sealer would help to fill any small spaces that might remain around the binding. The binding was glued on with a general purpose glue.
mistake #11 (I think) this glue sets into a rubbery consistency, so residues are quite hard to remove, especially in tight corners. Next time I'll use a glue that dries completely and can be sanded.
And this is where the finishing begins...
Spraying the burst...... Page 11