 |
|
|
|
|
|
|
|
|
|
|
|
|
|
|
|
|
|
|
|
|
|
|
|
|
|
|
|
Joining the neck and body... First-time guitar builder |
|
|
|
 |
|
|
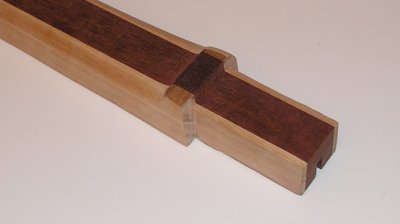
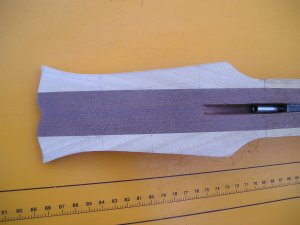
Cutting the tenon on the neck was done very carefully. making the initial cuts with a fine mini-hacksaw, being sure to leave a bit of extra wood on the cut. Then they were scraped to get a precisely shaped and sized result. The final parts of the scraping were done slowly, with regular checks on how the neck fitted into the mortice on the body. Eventually it came down to a snug, but unstrained fit. It was tempting to stop at the point where the fit was very tight, but I was worried that the stress on the mortice might result in the wood cracking later. |
|
|
|
|
|
|
 |
|
|
|
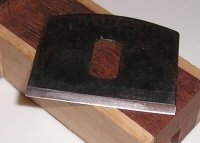
I don't own a proper scraper, but the blade from my spokeshave worked really well. It needed sharpening a few times during the process, but gave a smooth, flat result. At this stage, the lower part of the tenon was left a little deeper than needed, because I wanted to take extra care over matching the height of the neck to the body. The neck and body fitted together very straight when put together for a test fit. |
|
|
|
|
|
 |
|
|
|
 |
|
|
The final fitting of the mortice and tenon joint was a slow, gradual process... no mistakes needed here! As well as removing a couple of millimetres or so from the lower part of the tenon, I had to straighten the top of the body to make sure that the fretboard could be glued to a truly flat surface where the neck meets the body. |
|
|
|
|
|
 |
|
|
|
|
|
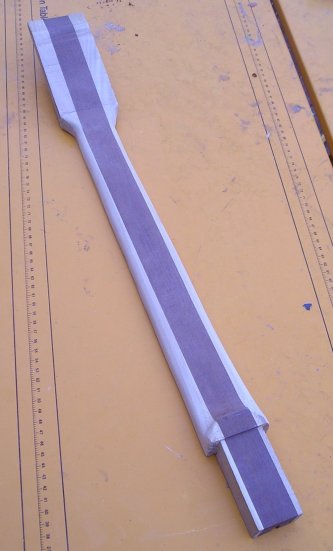
Then the neck was put through the next stage of shaping. Cutting down close to the final dimensions with the razor saw, spokeshaved to round the edges and then given a rough sanding with 60 grit (picture at right). Without any real idea of how neck shaping should be done, this was another job done in small steps.
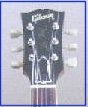
Using the spokeshave, more wood was removed to make the sides rounder and to smooth off the parts around the headstock and the heel. I wanted to retain just a hint of the classical Les Paul headstock but also wanted to align the tuning machines to create the straightest line possible between the |
|
|
|
|
|
string and the tuning machines. The design I came up with began by calculating how close together the machines for strings 3 and 4 could be. Allowing an extra 2 mm, I drew positions for centering the holes. The remaining pegs were positioned further out according to their string positions. Then allowing for the keys to protrude a standard distance from the headstock, this determined the curve on the sides. The top was shaped as similar as I could make it to the "open book" or "moustache" shape of the original Les Paul |
|
|
|
|
 |
|
|
|
|
|
|
headstock, although the narrower shape prevented it from having that classical look of the original Gibson design (right) |
|
|
|
|
 |
|
|
|
|
|
|
|
Next... fretboards etc Index Back to page: 1, 2, 3, 4, 5, 6, 7. |
|
|
|
|