Piecing order |
|
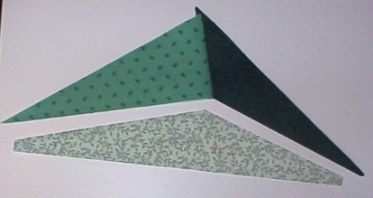 |
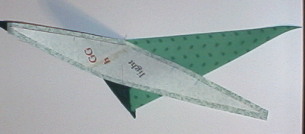
1) Sew one triangle section together.
Insert the one with the least severe angle last. Lay them out how
the triangle will fit in.
Remember, you only sew to the 1/4" seam allowance! Do not sew to the end of each seam. (see page 6, first graphic...)
|
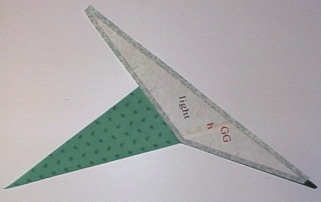 |
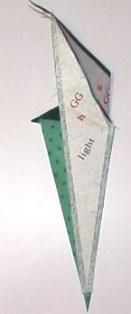
2) Flip the triangle to set in over to the right and align the seam. |
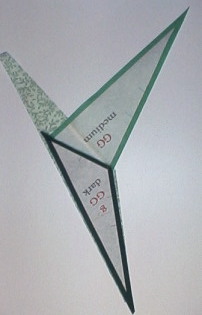 3)
Flip it over! You want the new piece to now be on the bottom. 3)
Flip it over! You want the new piece to now be on the bottom. |
 EXACTLY there for this seam. Sew from the middle to the end. |
 |
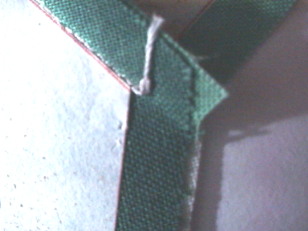
4) After you sew the first set-in seam, pull the other end around and adjust the last seam. Just pull it around so the tips match up. |
 5)
Line
up the seams and pin in place. You may have to smash down the upper part
a little to make it lay flat but that won't hurt it. 5)
Line
up the seams and pin in place. You may have to smash down the upper part
a little to make it lay flat but that won't hurt it. |

6) Your seam should all be nice and flat and match up perfectly! |
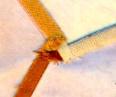 7) You should iron the seams in the
same direction so you have this little swirly thing going on.
7) You should iron the seams in the
same direction so you have this little swirly thing going on. |
If you are having problems, make sure that you are trying to sew the right seams together. That is a good reason for the colored slash marks and coding! |