.
Here's something else I did cause I didn't
like sewing *into* the points. I would rather sew *from* the points!
So what I did was start at one point, sew to the middle, take it out of
the machine and turn it over then sew from the other point to the middle.
Worked for me! So if you are having troubles coming into a point
try that.
And remember Pat says on her page that if you
mess up a triangle section, just trace a new one on freezer paper from
your master and make another. Good tip! Less stress! |
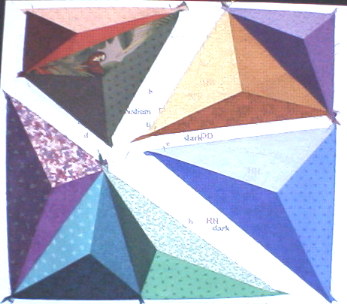
Well, got
this far!
First I found it helped me to rip out that
tiny corner of freezer paper at this point before I tried to sew *all*
of these seams together. I found the bulk of the freezer didn't help much
in there for me.
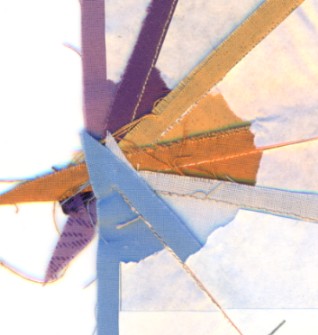
I sewed these seams the same as the triangle
units. I just pushed all the un-needed seams out of the way and only
had the two seams I was sewing together under the presser foot. I
put a pin through where the stitching stopped from the previous seam on
both triangle units and snuggled them together. I put that under
the presser foot, held it tight, pulled out the pin, then put the sewing
machine needle down into the exact hole where the needle came out of.
THEN:
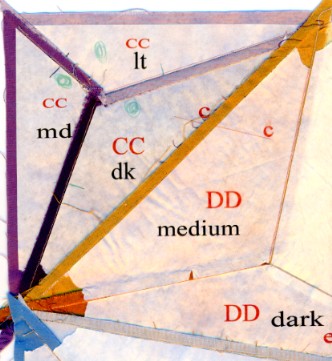
I had some trouble sewing together with
one of my points on my triangle sections. I fussed too much
and the fabric got frayed. Unfortunately, I'm one of those poor souls that
can't stand it when something doesn't match perfectly. So
a tip I tried after that was to use
a long stitch and just machine baste the point first and check it.
It is easier to take out the long basting stitches than those 0 stitches.
Actually what I did was to set my machine to 4, hit my backwards sewing
button, take two stitches back and then several stitches forward.
I peaked and checked the seam. If it was off I re-sewed it. (Okay,
its a thing with me!) It seemed that if I sewed back first the pressure
foot didn't push on the intersection of the seam and push the fabric out
of the way. (By the way, I do this for
matching seams in foundation piecing too! |