Text On a Path |
|||
|
Remove Subject from Background
|
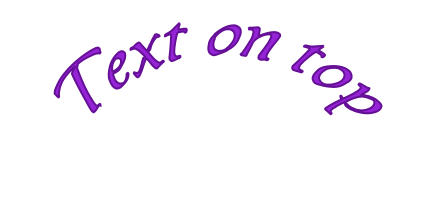
There are times when you would like your text to follow a a path, that is you would like you text to curve around or perhaps run along the side and take the look of a square. This tutorial will show you how to make your path follow a circled path. The concept is the same if you would like your text to follow a square. 1. Open up a 500x500 raster canvas with a transparent background. 2. Flood Fill the Canvas White. 3. Add a New Layer. 4. Choose the Ellipse tool. (It is located in the fly out menu for the preset shapes tool.)
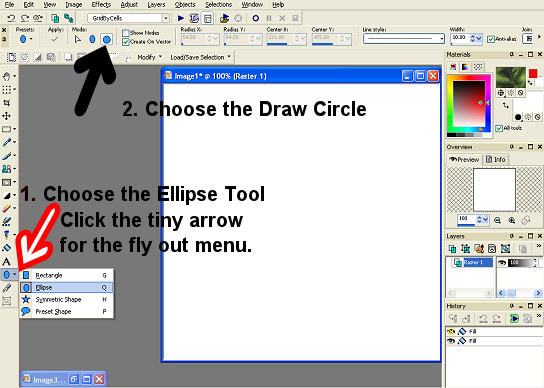
4. Turn your attention to the Ellipse bar( across the top) that has been activated by you choosing the Ellipse tool.
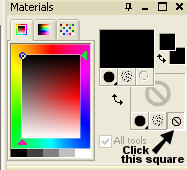
5. There are 2 types of blue circles shapes across the top. Run your curser over them The oblong circle reads Draw Ellipse the round circle reads Draw Circle. Choose the Draw Circle. Again we could have chosen either shape but we are going to use the Draw circle tool so our text is round and we don't have to fight to get our circle completely round. 6. Make sure that CREATE on Vector is checked. You have the line width set to 1 with a check in the Anti-alas (if this feature is available in your version of PSP.) 6. Go to your Materials Palette(the colored squares located on the right hand side of your work station.) set your Foreground Properties(top square) to black then set your Background Properties (bottom square) to transparent.
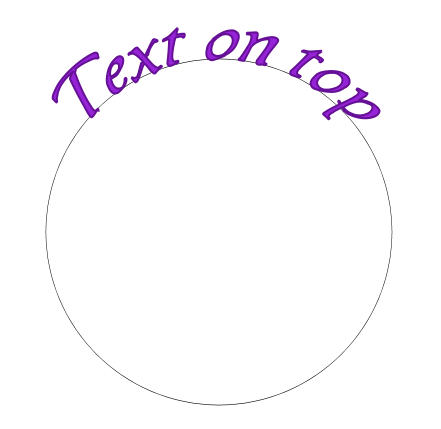
7. Draw a Circle on the Canvas. 8. If you want it centered ( at times you will and some times you won't) Go to Objects ( a word across the top) Align Center in Canvas. 9. Add a New Layer.
10. Choose your Text Tool.
11. Run your cursor along the outline of the circle.
12. When you have an A with the arch at the bottom click were you would like your text to start. 13. Go to Selections (word across the top).
14. In your Layers Palette go find the layer with the circle on it. (It should be Vector 1)
|
||