PSPabcs Tutorials
Remove a background from an image
Tutorials
How to remove a background
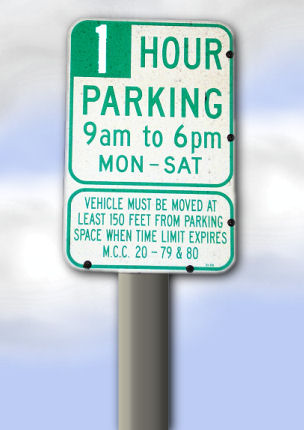
We are using a very simple picture to ensure your success. The technique would the same if the subject you wanted to remove was more complicated, like say a person in a busy room. This tutorial is written in PSP 9.
I am assuming that your PSP desk top is in it's default form and you haven't cutomized your work station. The area that we are going to be working in are:
- 1. The Layers Pallate
- 2. The Free hand selections tool
- 3 The toolbar settings
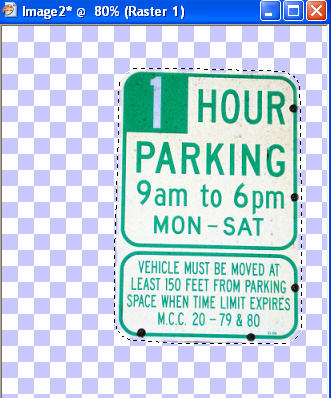
- 4. Selections ( a word across the top of your workstation.) See the picture to locate each area.

Lets Get Started:
- You NEVER want to work on the original picture. What if something goes terribly wrong and you have messed up your original you can't fix it.
- The fist thing you ALWAYS want to do is Open your image in PSP and then using your key board press and hold the Shift button and then press the letter D.
- Now we have a safe picture to work on.
- Close the original picture.
1. The first thing you want to do is go to the layers area (it is on the right hand size and says layers. You will see that it says background) and put your cursor over the word that is highlighted ,it says background, and right click. Choose the words "Promote Background Layer" and click.
2. Now that we have the background promoted to a raster layer we want to go select the Free Hand Selection Tool. It is located on the left side on of the toolbars. You will find it located in a flyout menu Click the tiny arrow and you will see more choice. See area 2
3. Choose the Freehand Selection Tool. At the top you will notice that once you select the Freehand Selection tool that it appears across the top ready for you to make adjustments to the setting. See area 3.
- Make your setting match
- Selections type: point to point
- Mode: Add (shift)
- Feather: 0
![]()
4 Now that you have your Freehand Selection Tool selected. Left click all round your sign until you come to where you started and then right click. You will now have marching ants around your sign.
- 5 Go to Selections (a word up at the top) and click a submenu will come up.
- Choose Invert
6. Hit Delete on your keyboard. There you have it your sign is now cut out.
7. Go to Selections ( the word across the top) and choose Select None form the drop down menu.
8 You can now either add another layer and flood fill that by choosing Layer ( a word across the top) New Raster layer and flood filling it with the color of your choosing. Remember to go to your layers area and drag the sign on top of your flood fill color so you can see your sign. Go ahead you can do it. The layers can be moved around simply by left clicking on your mouse while on the layer and moving it up or down
9. Or you can copy and paste the sign to a new image. Go to Edit ( a word across the top) copy and then paste to whatever image you want it to be on.
10. Your done. Show us your finished picture.