| Assembly ... |
| Give this page time to load - There may be more photo's than time allows - Patience... :) |
| < PREV |
| NEXT > |
 |
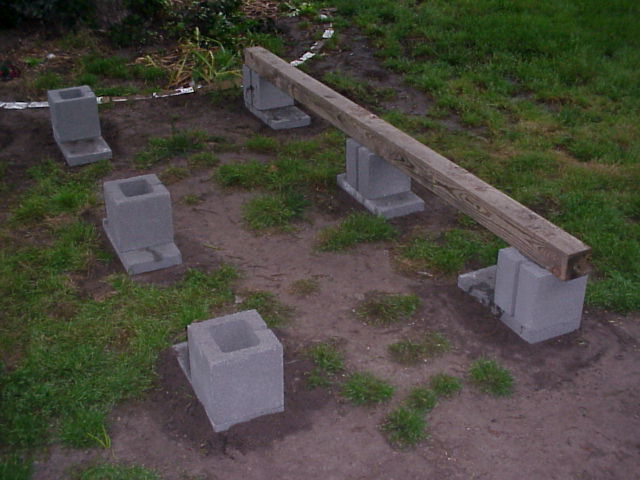
| As we pick up the story, it's almost 2-years since the kids left, and Aunt Nyla and Uncle Mike are evicting the doggies from our screened-in porch to their own yard area, where they can chew, eat or destroy anything they want - of theirs that is... So first, you need a good foundation. This is my idea, mainly due to if they need more space, they will have room underneath once completed. |
 |
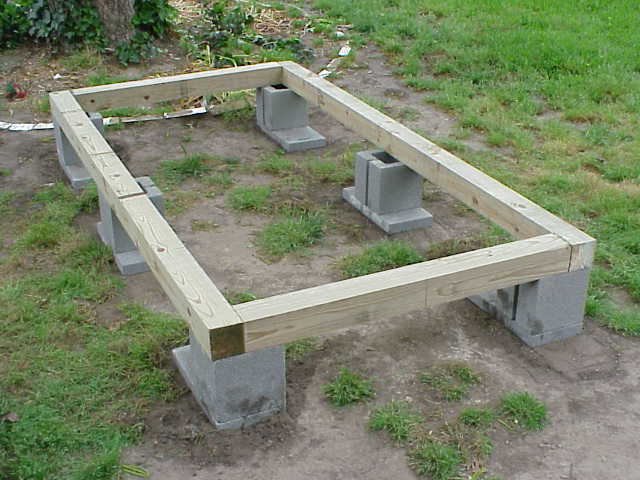 |
| Just simply get some treated 4x4's and construct a perimeter foundation for the dog house. If you don't do this, or only use the 4-corner supports, then you risk the base "sagging" over time. It may not show it, but it will. And, if you intend to get inside and clean it, then that's another petite 200-pounds-ish added to it ---- okay, maybe 225 but not more. Man, I gotta lay off those doggie biscuits and treats my wife gives me... |
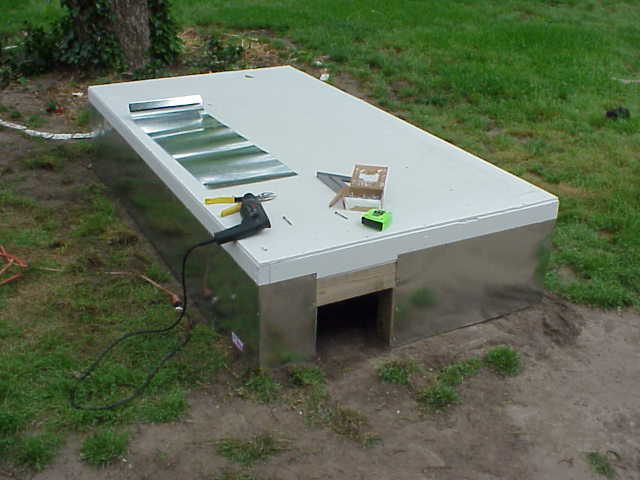 |
| Here's the base, primered and painted top and bottom. To seal the surface mainly, but to make clean-up and disinfecting a breeze. Use a semi-gloss or gloss. I then took roofing "flashing" (18" wide) and used it for skirting the base of the doghouse to make it less unsightly and give it a more finished out look. Notice the little door/opening I left the doggies to get underneath. |
 |
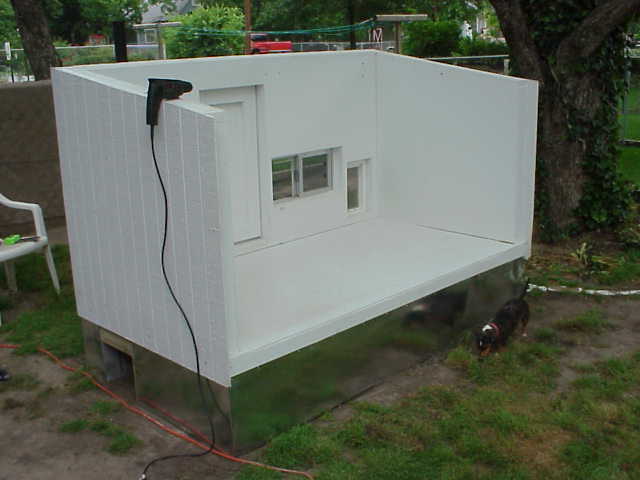
| Now we install the front wall and a side wall for fitting everything to make sure it goes together just right. Starting to take shape... Remember how the walls had that big overlap of material? The base is now overlapped with the overage and hangs down 4-inches over the base, so water can not get inside or under the walls. |
 |
| Here's the back side with the third wall. Since this is free standing, you must have other walls in place to hold the other walls until all 4 are in place. Next will come the wall with the Air-Conditioner... |
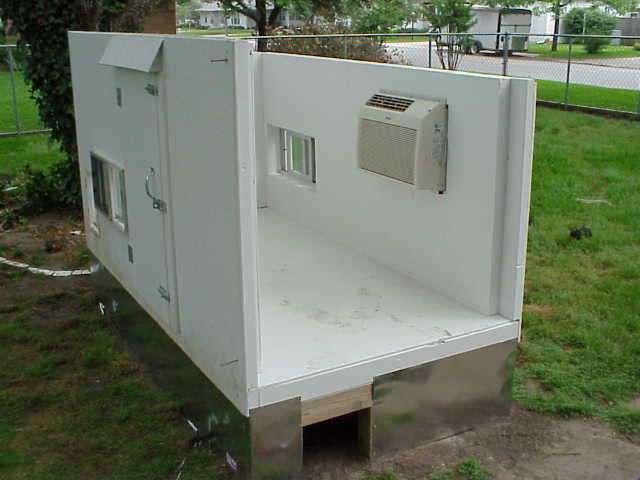 |
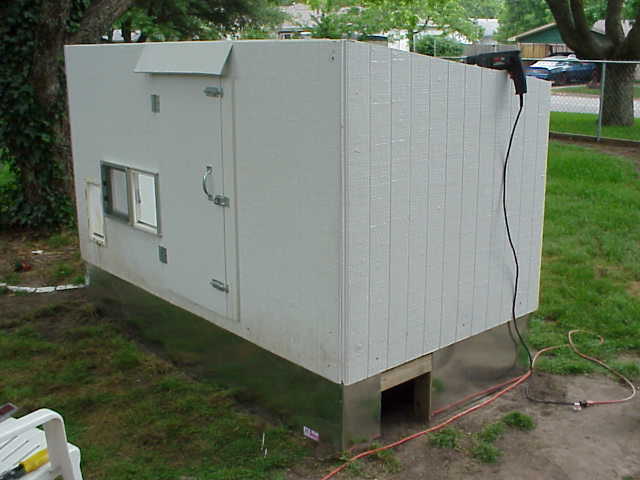
| And just like that, you have an air-conditioned dog house. I took this wall off to place the back wall and install the a/c unit. I now have screwed these three walls together at the corners and at the bases to secure it in place. We don't want it blowing away, do we now? |
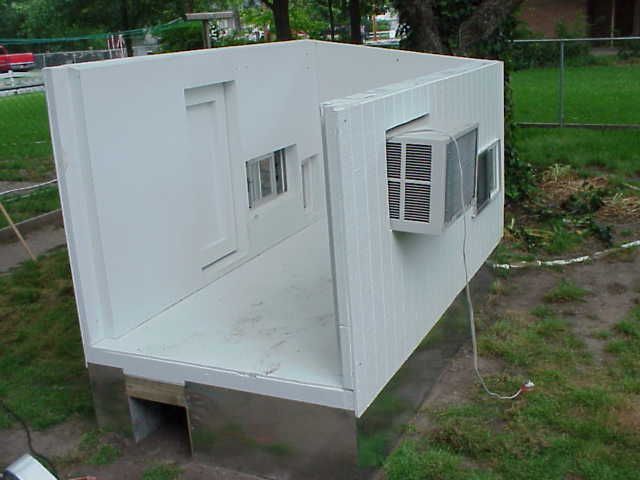 |
| Here's another look from the back. For now the electrical will be temporary until I run conduit in the ground and mount a waterproof outlet on the back side of the dog house. That will be another day on another web page. |