


Day Three: Stickers Suck.
Preparation :
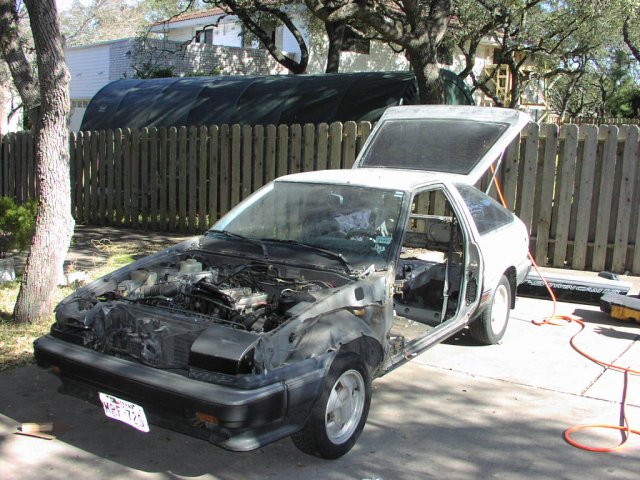
We gathered up the sand paper off the garage floor, and setup the compressor and sander. There wasn't much prepartion that needed to be done, except for rolling out the car onto the driveway along with the doors, and hood.
The Work :
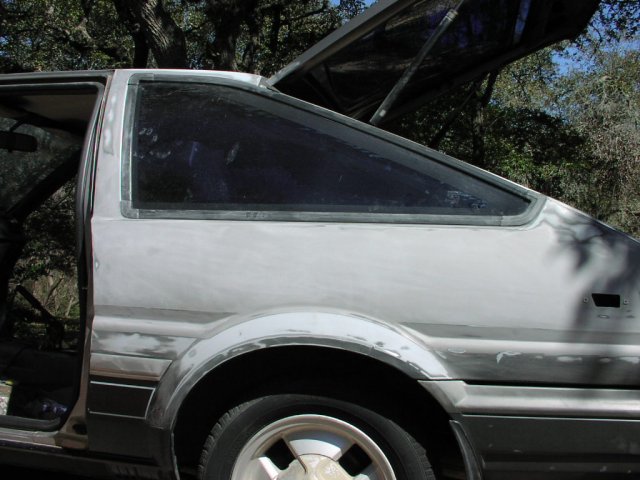
Day Three just consisted of A LOT of sanding being done. When day three began, all we had sanded was the roof, hood, and the tops of the doors, besides that everything was still the original silver paint. Even though these were large areas, they didn't require nearly as much work as the parts we sanded today. So the entire day consisted of sanding the door jams, the hatch area, rear & front fenders, everything that had some of that silver or black paint on it. The door jams and hatch area took quite some time to sand down as there were many nooks and crannies that had to be done. Oh yea, we also had to take care of those pain-in-the-ass stickers on the side and rear of the car. The little pink sticker that read 'kill ratio' (whatever that means) came off quite easily. We sprayed some WD-40 on it, then used a razor and scraped it off. It slid off easily, all in one piece. After that was removed, it was all uphill from there. We tried the same technique of WD-40 and then scraping with the huge 'GT-S TWIN CAM 16,' on the side, and the 'Toyota Corolla' sticker in the rear, but that was no use. The stickers didn't even budge as it was baked on there. They came off in little pieces every now and then, but that would just take us forever. So we went out and bought some adhesive remover and sprayed that on. After letting it sit for a minute or two, we tried to scrape that off with our razor. That was no use either. Being puzzled, we went to our last resort... the Dremel Rotary Tool. So we took that out, and started cutting the little pieces off. The doors, side, and rear looked nasty after that, cause there was just patches of bare metal everywhere. Oh well, at least it got the job done! After slicing those stickers off, we went back with some coarse 120 sand paper and smoothed out the areas where the stickers once stood. After they were smooth, we then went back with some finer 220 sand paper just to touch it up. It might sound easier than it really is, cause once we couldn't remove those stickers with the WD-40 and adhesive remover, we were just plain stumped. And Dremel-ing the stickers off took quite some time. After the entire car was totally sanded down, we called it a day and cleaned up and went to sleep.