


Day One: Cleaning and More Painting.
Prepartion :
We gathered up A LOT of bottles of 409, that all purpose grease remover that basically works on everything. That stuff rocks. We basically used it on everything we wanted to get clean, and it does wonders. A lot of paper towels and terry towels were also collected to dry and wipe off everything. We also got the compressor going for the air hose, because that also served well as a drying mechanism. The entire interior was rounded up (plastic panels mainly) as well as the rubber sealers that went around the doors and hatch. We also collected any nuts or bolts that were covered in dust and other nasty stuff so we could give them a wipe down.
The Work :
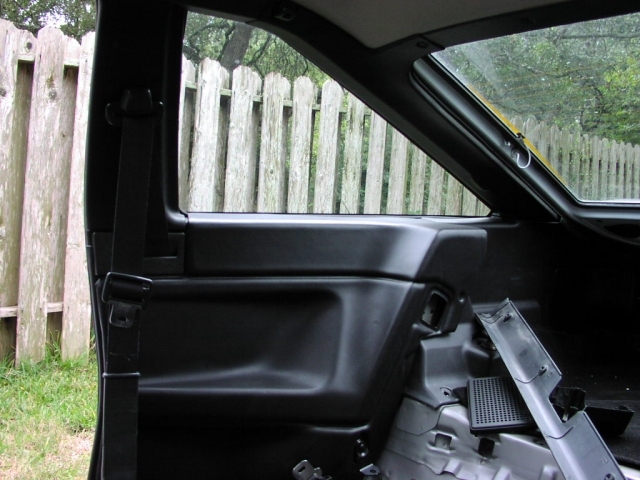
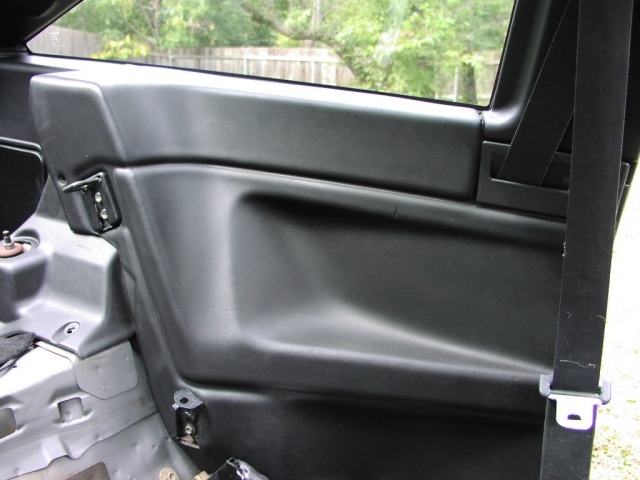
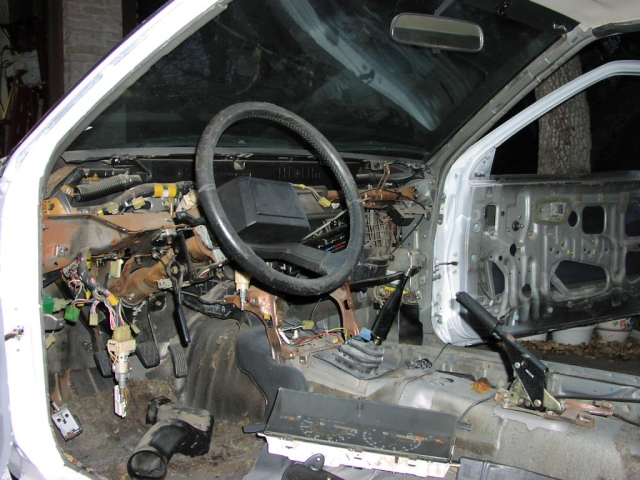
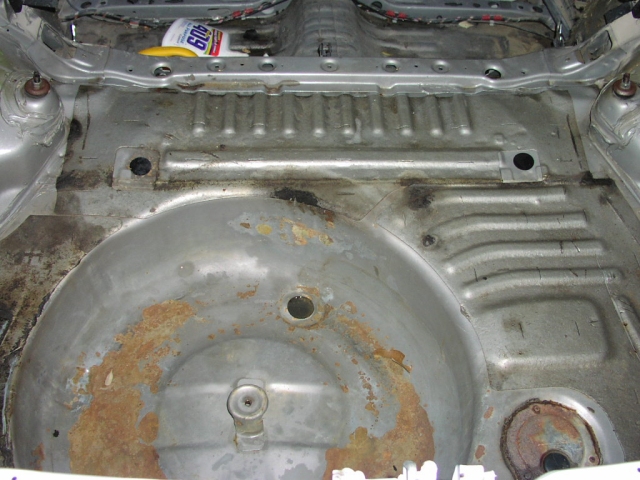
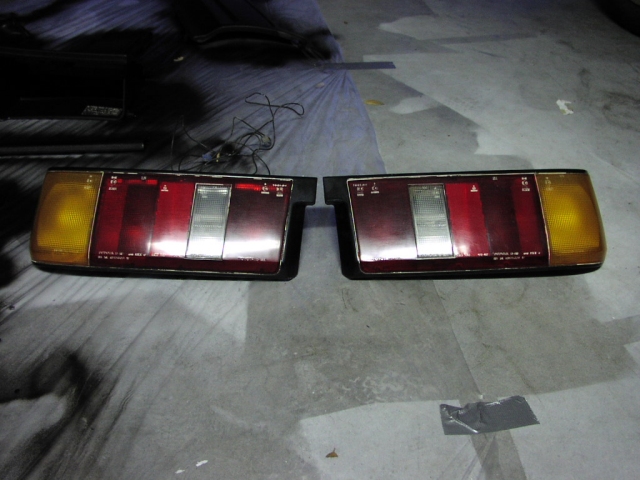
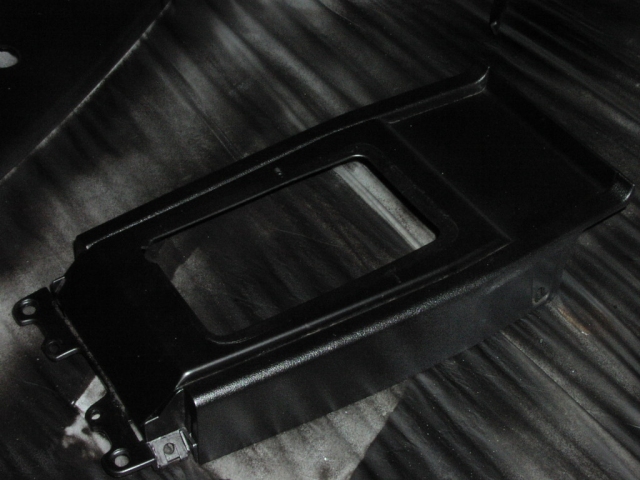
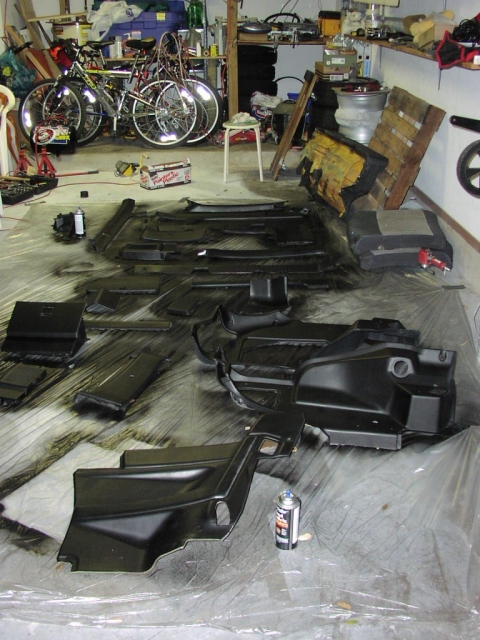
As the title stated, day one consisted of mainly of surface rust removing as well as cleaning and re-spraying the interior. We started off the day by removing the entire dashboard and all of its components first. Wasn't too hard. Make sure you keep everything organized, and don't lose track of any nuts and bolts, because unfortunately we lost some of ours. After that we gathered all of our plastic panels together from the interior and took out some brushes and a massive amount of 409. We cleaned each panel thoroughly along with any bolts and nuts that were dirty or rusted. Each panel got a nice soaking of 409 before we brushed and wiped away the residue. I also bought some used rubber seals for both my doors and the hatch since mine were all worn out and torn. I also gave my new rubber seals a soaking of 409. Cleaning all the panels, seals, and nuts & bolts took a good half of the day away from me, which left me little time to work with. After thoroughly cleaning the panels and such, I laid out a sheet of plastic in my garage and got prepared to re-spray all my panels in flat black. I forgot what kind of spray paint I used, but I bought it at Wal-Mart also, so it shouldn't be something hard to find. If you look closely at the last picture on this page, you might be able to tell what brand and what kind of spray paint I used. That stuff did stink a lot though, so I would recommend putting on your respirator before doing this. After we got all our panels set up the way we liked them on the plastic, we sprayed a good two to three solid coats on each panel, making sure we got all the tough spots and hidden areas. We let that sit in our garage for a couple of hours, making sure everything would dry correctly. In the end, the panels turned out great, as you can see in the pictures. As we let those sit, we went and cleaned some other components of the 86. Somebody recommended this cleaner which does wonders on any plastics, in this case my rear lights. I think the stuff was called Blue Magic Plastic Cleaner, something like that. The bottle was white and light blue and had some pictures on it. I bought it at Wal-Mart, so it's an easy product to come across. So I applied a good coating of that plastic cleaner stuff on my lights and let it sit for a couple minutes to really let it soak in. Wiped away the stuff, and it was like magic. I wish I had some before and after pictures of the lights, but if you want to see what they looked like before I cleaned them, just go back to the 'Paint Job' section and take a look at the lights in 'Day One.' After the cleaning of the lights, we aimed at removing all the surface rust and other nasty junk from the spare wheel well. Once again, we just sprayed a massive amount of 409 in the areas of rust and other junk and let it sit there for a good five minutes. We took very big brushes with thick bristles and put our muscles to work on the surface rust. There was a lot of residue from the torn-out carpet that was stuck to the metal, so that took lots of time to take out as well. In the end, we must have used about two or three bottles of 409 in that area, but it looked sparkling clean once we were finished. After our arms felt like they were going to fall off, we decided to call it a day and go in to get some much needed rest. Onto day two!