


Day One: GT-S in my Hands
Preparation :
Well, the first day was fun... and tiring. There were many things that needed to be purchased, including the car itself, along with A LOT of tools. We purchased the essential tools for re-painting a car, along with some other minor parts. The essential tools included: air compressor (5.5 HP, 150 PSI max, 20 gallon), HVLP paint gun, dual action sander, loads and loads of sandpaper (80, 120, 180, 220, 1500, 2000 grit), and most importantly sanding dust masks so we don't get lung cancer. Remember to always wear these when sanding or if you are in an area with lots of dust! We also purchased items that prepared us for the painting itself of the car: plastic drop cloths, shit load of masking tape, and some other stuff that I can't think of off the top of my head. Day one involved a lot of interior stripping, as when we got the car back home, it was already getting dark.
The Work :
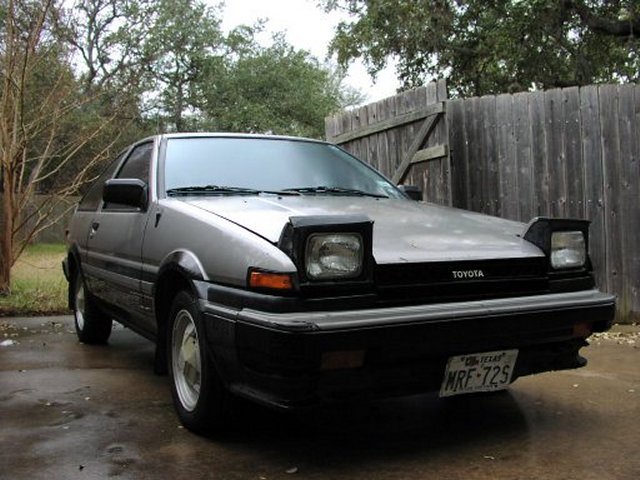
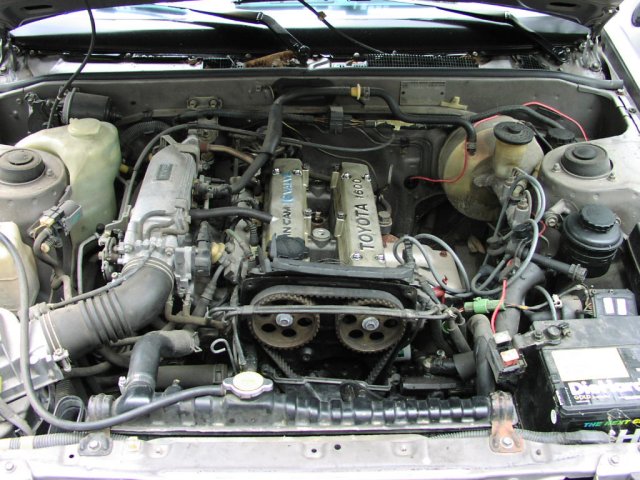
As soon as we got the car trailered back home, we got to work right away... after a full stomach of course :) We started off but just taking a closer look at the car, and searched for dents, rust spots, etc. There were many small dents on the doors, fender, etc., just take a look for yourself at the pictures down at the bottom of the page. After the scavenger hunt, we planned on stripping the interior, doors, and hood before the night ended, so we got to work immediately. First off, we opened up the hatch and saw the destruction. Fun stuff. We removed the spare tire and all the little tools which were hidden back there. Removing the carpet and panels back there would come later. We then focused on removing the driver side and passenger side doors. After removing tons of bolts (about half a sandwich bag full), both doors were finally removed. Next came the hood, which was easy enough to remove, just a couple of bolts here and there. With the doors and hood removed, we moved onto the interior, which looked like hell at the time. Removal of the seats came first (front two, and rear), and then the all the plastic panels up in the front section (up front as in not the hatch area) of the car. As mentioned in the 'Background Information' area, the carpet was a total wreck, and it was causing the entire car to stink up. So, we had to remove that right away. We stripped the carpet all throughout the car, including the hatch area. We didn't remove the carpet at the really front of the car at this point, as it looked like it was in pretty good shape. We were wrong. But, removing the carpet caused A LOT of dust to be thrown up in the air, so I suggest wearing those masks when doing this. We forgot to until the last moment, which really didn't help us much at all. Oh well. Oh yeah, we also removed the front fender on the left side of the car which had a gigantic dent on it. We plan to use that for our testing pad for sanding, and painting. It's nice to have something to test on before you do it for real, for the first time. By the time we had all this finished, it was getting late (I would say a little later than midnight), and we wanted to get a good early jump on the car the next morning so we decided to go to sleep. We took a few pictures, and here they are: