


Day Five: Let the Painting Begin
Preparation :
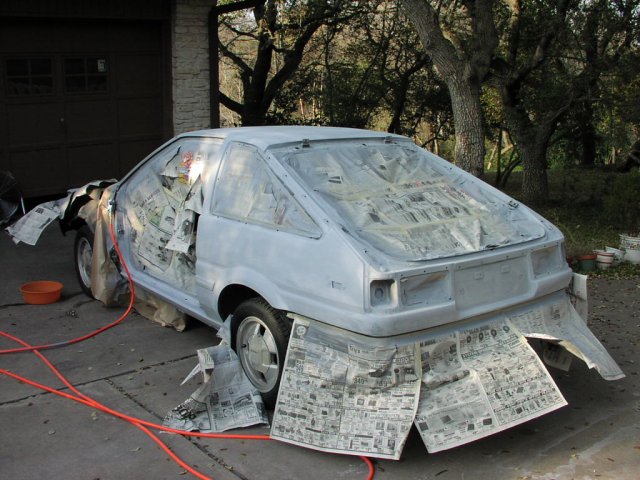
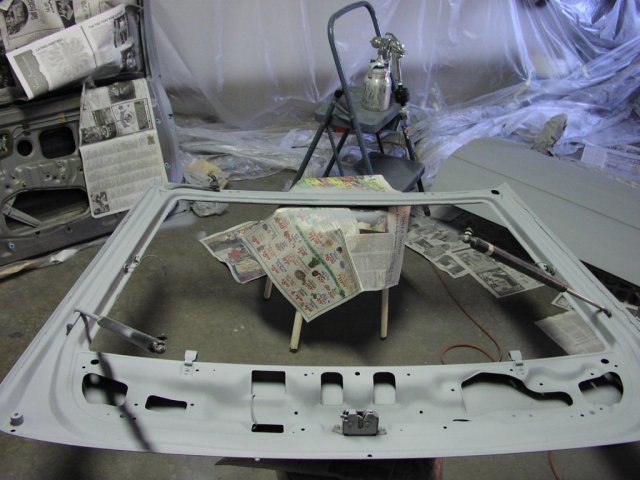
Well today, we gathered all the tools needed (HVLP paint gun, compressor, respirator, paint, etc) to spray the layers of primer onto the AE86, and prepared the Painters Plastic that was setup in our garage. We also gathered all the newspaper and masking tape that we could find in order to mask off the areas on the car which didn't need to be primed/painted. REMEMBER : always wear your respirator when painting.
The Work :
We started the day off by gathering newspaper and masking tape in order to mask off the areas where we didn't want to get primer/paint on. We masked off where the doors used to be, underneath the doors (side skirts), rear and front bumpers, empty spaces where the rear and side lights used to be, the hatch area, the windshield, and up front where the hood use to lie. After many rolls of masking tape and plenty of sheets of newspaper, we finished off the masking. We then got our spray painting tools ready, and mixed up the primer. We rolled the car back into the garage, then I let my brother do his work. He sprayed the first coat of primer on the body, which turned out quite nicely. We waited about a good 30 minutes for the first layer to become dry enough to let us spray on the second coat. We then proceeded to spray on the second coat onto the body of the car. Again we waited the flash time needed to dry the primer, and then sprayed the third coat. In the process of drying the third coat, we encountered several dust particles on the roof of the car. Thanks to the person who sold the paint to us, we knew how to properly remove such obstacles. We took some 400 grit sandpaper and used the corner of it and lightly dabbed off the dust particle without leaving any streaks or smudges. After the body was fully primed, we went and sprayed the doors and hood, which didn't take too long. We waited a couple of hours for the primer to settle down into its hard, gritty texture. Then came even more sanding (yippee!). We took some 400 grit sandpaper and then proceeded onto sanding the hood and doors. We ran into a quick problem as we accidentally sanded the hood with a little too much force leaving streaks behind. So we were forced to re-prime the hood which would not be ready until tomorrow. The doors and the rest of the body came out well, thanks to the little experience we had with the hood. We went with our same technique as always, my brother using the sanding block, and I went back with my little piece of sand paper and sanded the little nooks and crannies along with the spots he had missed. After the sanding was completed, we decided to go ahead and put on the primer sealer on the body. We mixed up a batch of primer sealer (which was white), and then my brother went and sprayed a nice thick layer on the body. Wow, this changed everything. The car looked twice as good, as if we had already sprayed the layer of Super White on there. I was amazed :) Just take a look at those pictures below! Anyway, after the primer sealer was sprayed on, and after a couple minutes of marveling at my 'new' car, we decided to pack up and spray the rest of the sealer on the doors and hood tomorrow. A pretty good day, except for that hood incident.