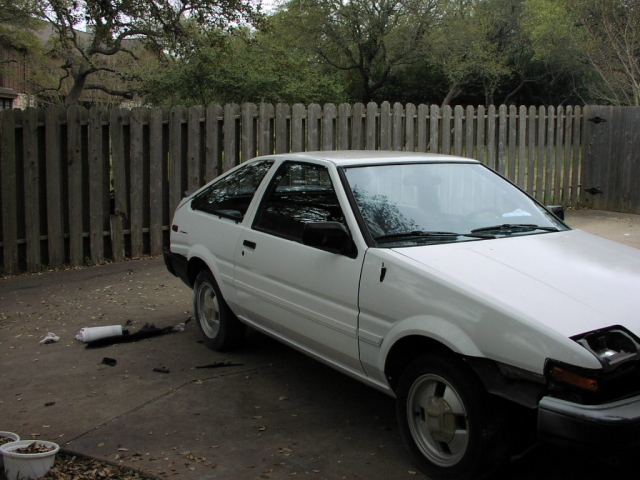


Day Six: The Final Product
The Preparation :
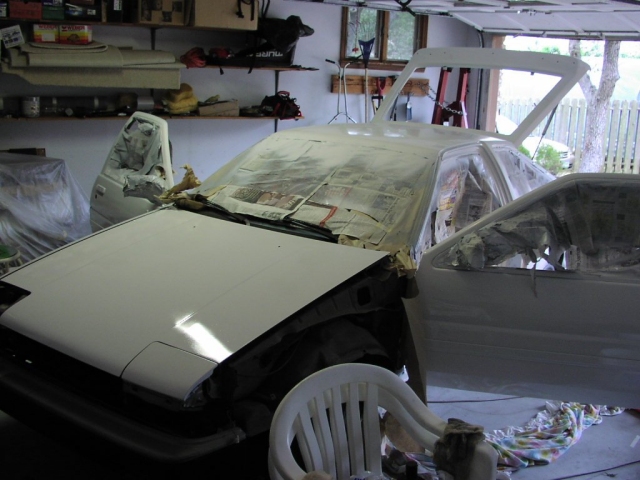
Well, it's time for the final paint job. To get started, we got our required materials out again, the paint gun, paint, compressor, respirator, the nesscessities for painting. Thankfully, the primer sealer was dried, and the car was ready for it's final three layers of Toyota Super White II.
The Work :
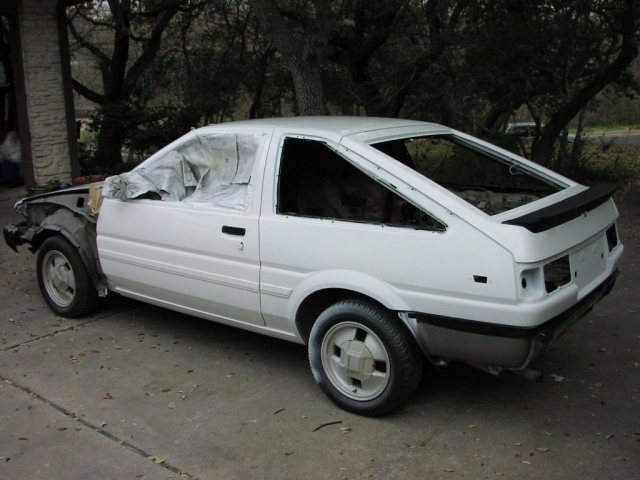
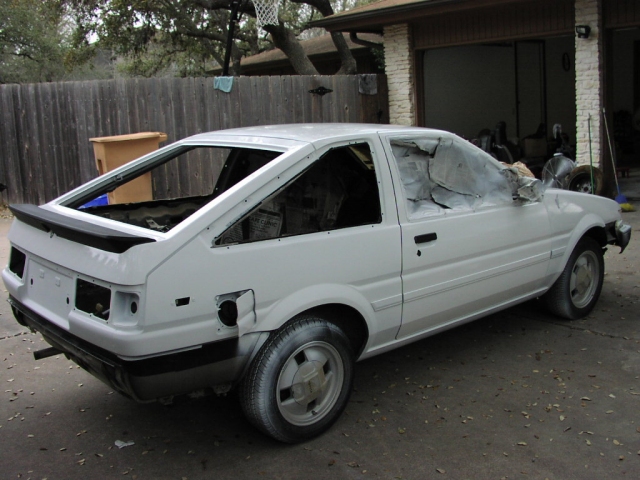
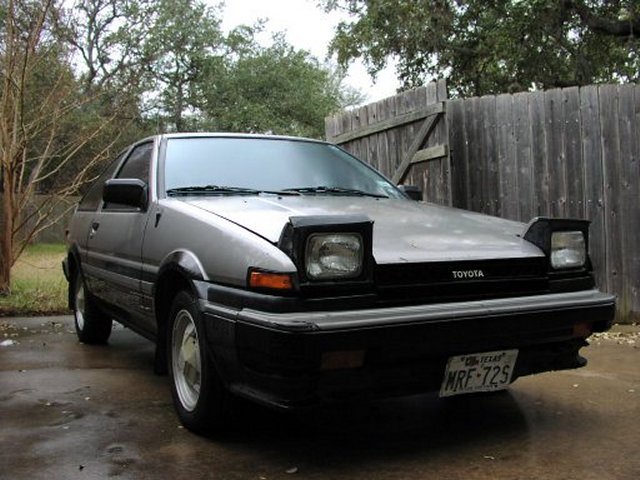
We decided to spray the components first, so we moved the car out onto the driveway, and made a big bubble-like cover on the car of that painter's plastic. After that, we set up the hood, doors, and hatch back on the chairs and stools, and had them angled so that none of the paint would run or drip. When we did this, we made sure that the items were placed fairly high off the ground, so we could reach the harder spots to get on the sides or the back side (such as door jams). We sprayed the first layer on there. This layer was a thin, simple layer, just to get the paint started on the primer sealer. Don't go too heavy on the paint on the first layer, make sure it is just a light quick coat. After we did that, we waited the appropriate flash time (I think 20-30 minutes?) and then applyed the second coat. We continued this process until the components each had a good three thick layers applyed. We went back and added some paint to the areas where we thought there wasn't enough, such as the sides of the doors, or where there were curves or bends. We let those dry, which took a good 5-6 hours, and then moved them outside and moved the car back into the garage. When set the doors and other parts under the giant painter's plastic air bubble, to keep all the dust and harmful particles (like those leaves that keep dropping from our trees) out of the way. We basically did the same process for the body, adding a light coat for the first time, and then coming back and adding two more thick coats of paint onto it. We added some extra paint onto the rear fenders, as they had the look of too little paint on there. After the painting was over, we carefully moved the parts we had outside back in, and packed up for the night. We woke up anxiously the next morning to see how everything turned out, and boy, it turned out well. For it being our first time ever re-painting a car, I would have to say my brother and I did a pretty damn good job. Yes, there were some mistakes here and there, but it was our first time ever doing this, so there was bound to be some. After we marveled at my new looking car for a while, we attached the hood, doors, and hatch back onto the body. After this, we began the process of wet-sanding. We took a large bucket of water, sponges, and 2000 grit sandpaper. We soaked down the area in which we were going to sand with the sponges, and then dipped out sandpaper into the water. We lightly sanded the entire body, repeating this process of wetting and then carefully sanding. We ALWAYS kept our working area soaked with water, as if you let it dry, you could possibly leave streaks on the body. After this was completed, we took some wax//buffer and buffed down the entire car. We did this using those circular buffing discs and our hands. We tried a machine buffer, but the job it did was pretty bad, so we just decided to use our hands instead. It turned out better with our hands, and we returned the machine buffer back to the place where we bought it :) The waxing and buffing were completed, and the car looked almost like new. We also clean the rear spoiler with some Armor-All Vinyl stuff, and it made it look like new. So we attached that back on the body too. Have a fun time marveling at those pictures below this. Up next is interior work, which should be fun.