


Day Two: Carpet Removal and More Cleaning.
Preparation :
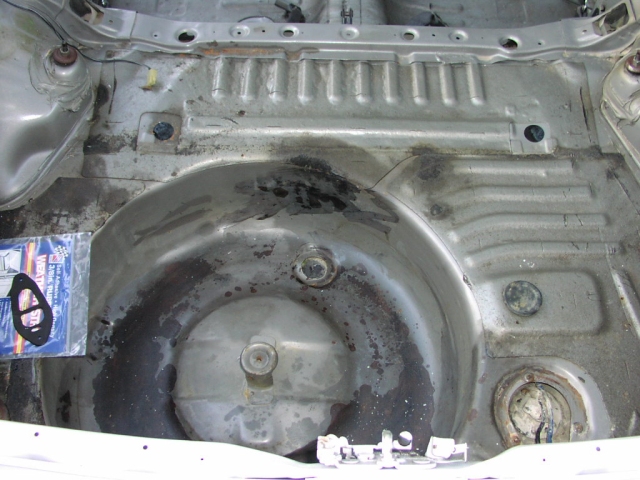
Still more bottles of 409 and big heavy-duty brushes. Also, a razor blade scraper that we bought from Home Depot as well as some tint removing stuff we bought from Wal-Mart. We also got some stuff that turns rust into paintable primer for the spare wheel well... I think we bought that from Home Depot or some place like that as well. And some sticky weatherstripping we bought from Home Depot... if you look closely at the spare wheel well picture below, you can see that bag of weatherstripping we bought.
The Work :
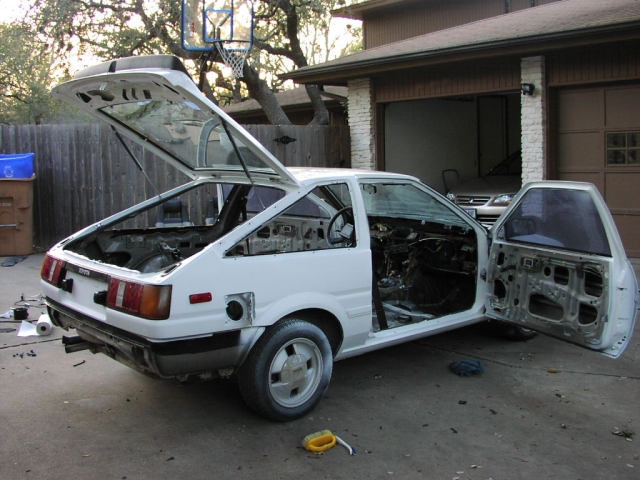
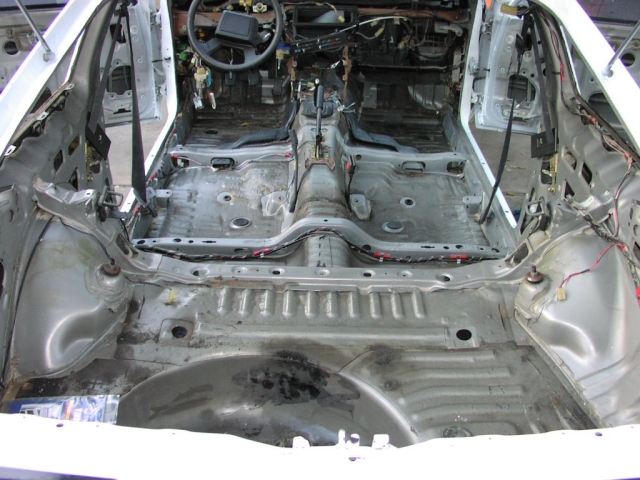
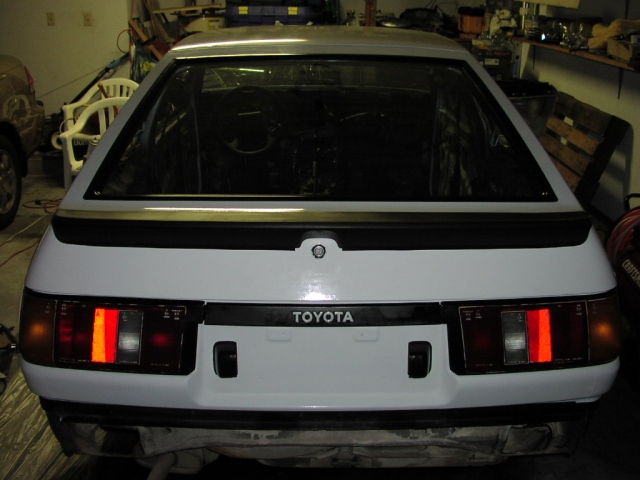
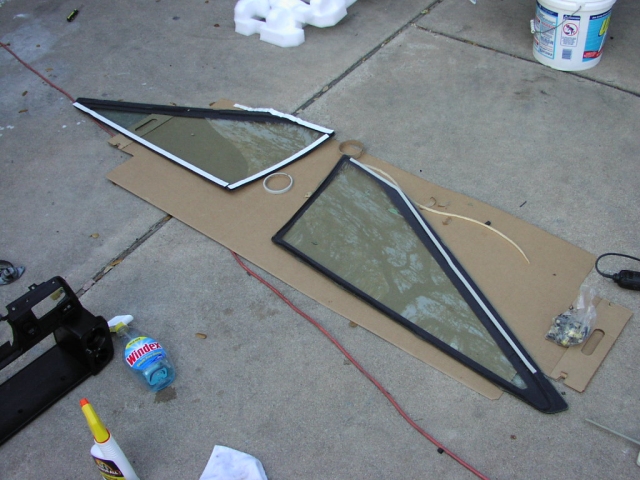
So we started the day off cleaning the spare wheel well area again, and made sure all the residue from the carpet that we removed back there had be gone. We used more 409 and brushes and scrubbed as much of the dirt and junk away as we possibly could. After we made sure everything was clean, we focused on the rust that had been building up in that area. Sorry, I don't have a picture of the original rust that was in the spare wheel well. But, we used some of this stuff we bought that would turn rust into paintable primer, and followed its directions and applied it to the rust infected area. We let this sit and went off to do other things. Our second objective of the day was to remove the interior carpeting. We put on our dust masks and started tearing away at the carpet. There really wasn't any certain way that we approached removing the carpet, we just found a good spot to start and started to yank away and ripping it out. If you want, you could get a razorblade and cut a big slit somewhere, which would give you an easier approach on ripping it out. When we started removing the carpet, a lot of dust went everywhere and it also left a lot of fuzz on the metal. No worries though, as this would come off later with more 409 and more brushing and cleaning. Well like I said, after we removed the carpet, it left a lot of nasty stuff on the bare metal which we wanted to remove as well. So we whipped ou the 409 bottles and the brushes once again and scrubed away. After a couple hours of that, the interior looked nice and spotless. We hooked up the air hose to our compressor to dry clean the interior after we had finished cleaning it with the 409. Look at the picture below this to see what I mean. So what else to do? We decided to remove the rear triangular windows and scrape the tint off them, because the tint itself was already peeling off and looked like crap. So using the tint remover we bought and a scraper, we went to work. Tint is hard to get off. It took us a good couple hours of scraping and cutting ourselves before we removed all the tint off those damn windows. After we let the windows dry off a bit, we took our weatherstripping and stuck them on around the edges of the windows... look at the picture below to see what I'm talking about. With nothing else to do, we began to piece the car back together. We took our newly cleaned tail lights and put those back on. We also took the rectangular red lights and gave them a clean with the Blue Magic stuff and put those back on the car as well. The interior cleaning and tint removal took up a lot of our time, so by the time we had completed all of this, it was getting pretty late and so we packed up and headed back in.