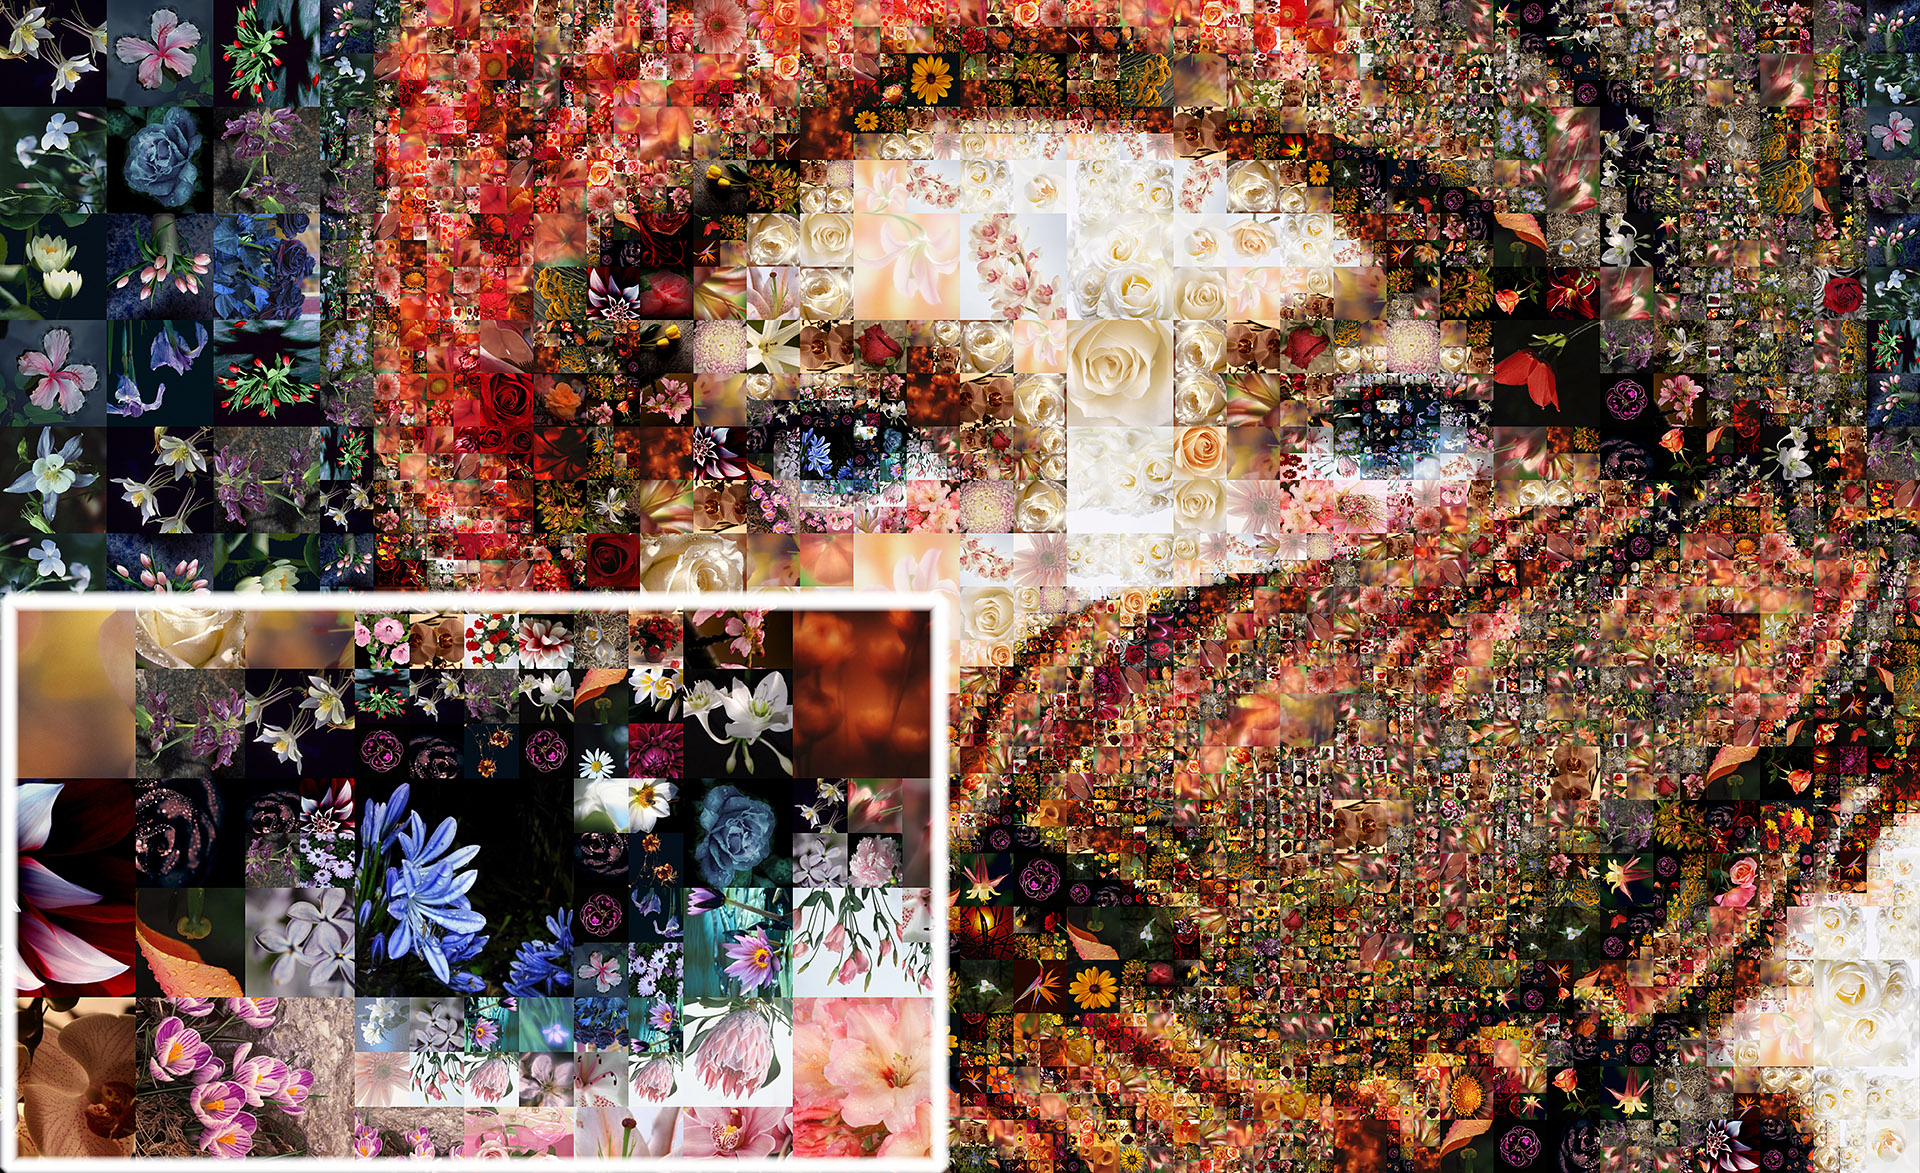
Collage Making!
to you, especially when visiting malls or studios

Well this is the aim of this lesson, To allow you to create
a collage using photoshop. This was our project in school and we had printed
in a photo paper and framed it. If yours turns out good, then you can frame it too!
1
Open Photoshop CS2 and then open twenty or more photos you would like to use for your
collage. Make any adjustments and do any touchups you desire on these photos and resave
them. Select "File," then "Save As" and save each image with a new name. (You can switch
between photos by either clicking on the photo itself--if you can see it beneath another
photo--or by selecting "Window" and then scrolling down to the bottom of the pop-up menu to choose the desired file.)
2
Decide which photo you want to be your background photo (as much as possible a solo
picture of yours). Select "File," then "Save As" and save that image with a
new name--whatever you want to call your collage project.
3
Select the first photograph you want to use as an inset into the background photo. Make
sure it is the active photo that is open. Then select and copy the entire photo. (Click on
"Select," then "All" and you will see a marquee appear around the entire photo. Then
click "Edit," then "Copy").
4
Select the background/collage photo again and paste the inset photo into the collage file.
(Click on "Edit," then "Paste.") The photograph will likely be just as large as the
background photo, so you will need to resize the photo. The easiest way to do this is to
use the Transform feature and then drag the photograph down to the size you want.
(Click on "Edit," then "Transform," then "Scale"; then hold down the Shift key while
you grab one of the corner boxes and drag the photo down to a smaller size. Release
the Shift key when the photo is at the desired size. Then hit the "Enter" button.)
5
Move the inset photo into its final location. (Hit the "V" key on your keyboard to activate the "Move Tool,"
then drag the photo to the place where you want it in the collage.)
6
Repeat Steps 3, 4 and 5 for each additional photograph you want inserted into the collage as
an inset into the background. Feel free to overlap some of the photos to create a pleasing composition.
7
Add text to your collage. (Click on the "Text Tool" to select it. Then look at the top of your
screen, where you will see a toolbar showing the active font, font size, font color and other
font attributes, including the justification (whether text lines up on the left, right or is centered).
Click on any item in this toolbar to change the desired font, font size, font
color and other attributes. Click anywhere on the collage and drag the mouse to create
a text box of the size you want. Then type your text.
8
Hit the "V" on your keyboard again to re-activate the "Move Tool." Then left-click on your
mouse and drag your text to its desired location.
9
Save the collage project file with all the layers intact. (Click "File," then "Save"; then click the
"Save" button in the pop-up menu. Make sure "Format" is set to "Photoshop *.PSD *.PDD")
This will enable you to make changes to the project later if you wish.
10
Flatten the image, then save it as a .jpg file. (Click on "Layer," then "Flatten Image." Click
"File," then "Save As"; then click the "Save" button in the pop-up menu. Make sure "Format"
is set to "JPEG" this time. )