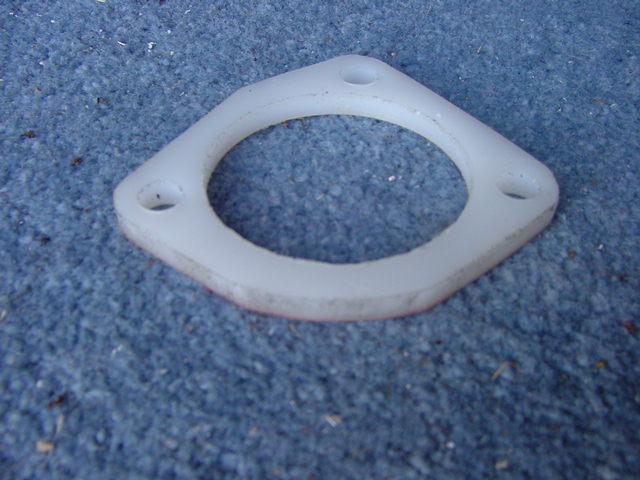
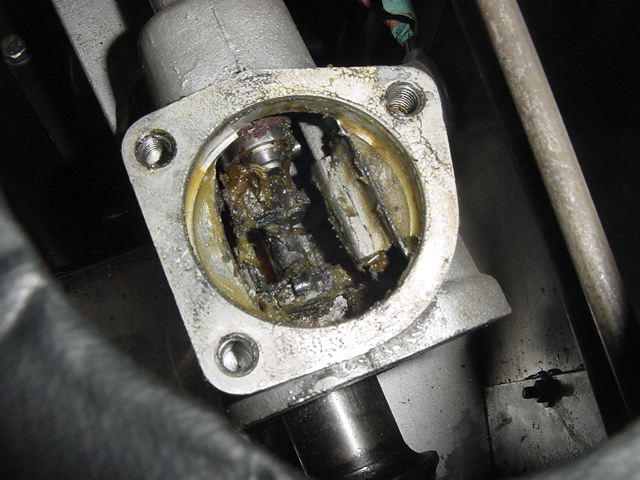
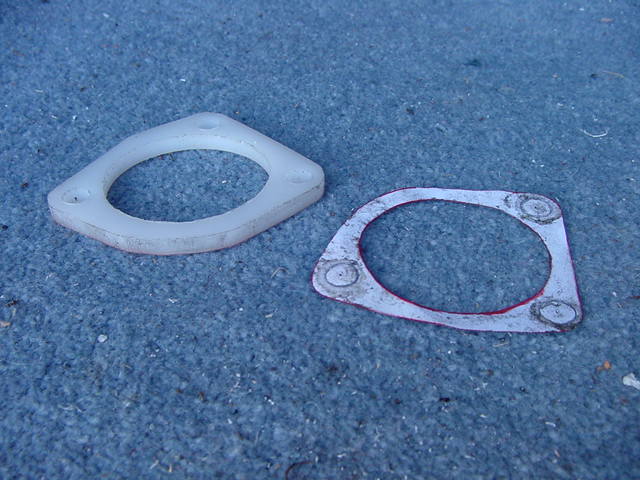
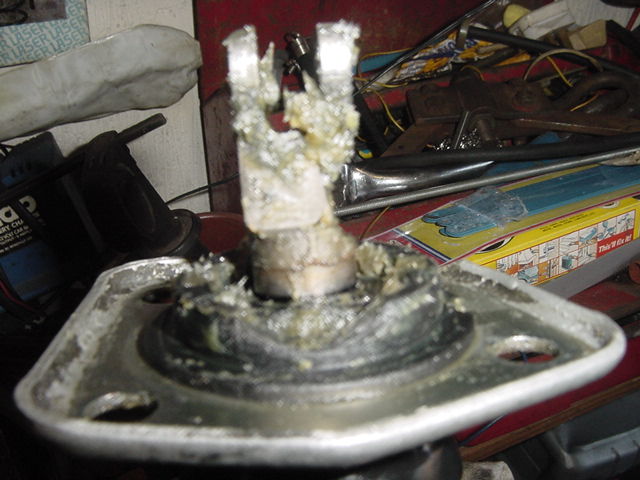
Instead of using nuts as spacers and filling in around them to prevent muck getting in to the linkage I decided to make up a plastic spacer to do the job. I first measured the diameter of the plasic ball ring on the bottom of the gearstick mounting plate which was 56 m/m, I then used the lid off a small spray can (57 m/m) to draw a circle on a piece of paper and cut out the circle, after putting a smear of grease on the top flange around the gearbox selector I lined up the circle in the paper with the circle around the gearbox selector and pressed the paper down onto it to get an impression of the shape of the flange and mounting holes. After cutting the shape outlined on the paper I used it as a template to mark out on some plasic sheet and cut/drilled the plasic to shape. I then knocked the gearshaft through the pivot ball by the same amount as the thickness of the plastic (6 m/m)to ensure that the fork on the end of the gearstick ended up in the same position in relation to the selector rod then cut 5 m/m off the top of the rubber spring to relieve the extra tension. Using a smear of sealant to both sides of the plastic spacer it was positioned on top of the gearbox flange and the gearstick fitted using longer M8 bolts to secure.