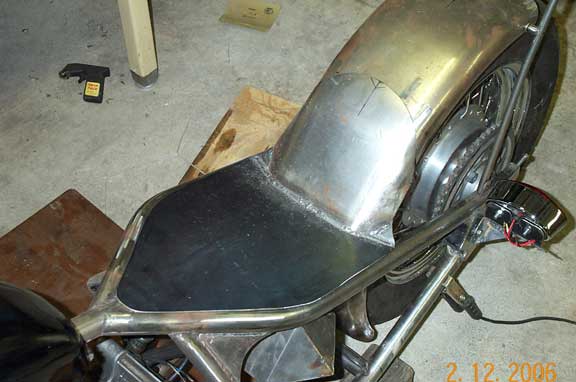
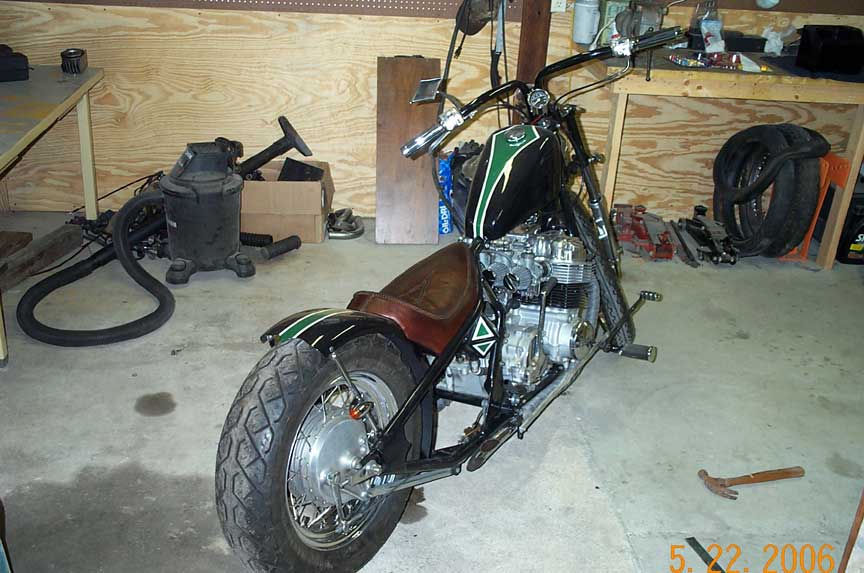
The seat or saddle or whatever you want to call it is something that is usually farmed out; however, since this is a "low cost" chopper, I will be constructing the seat myself.
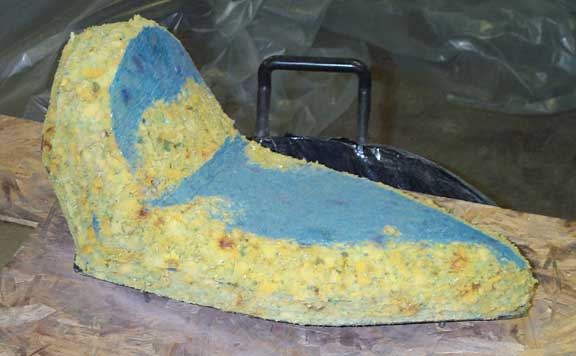
First I started with the seat pan as detailed in a previous section. Then, I went down to the local carpet store and picked up some 1/2" carpet padding (cheap stuff). It was about 3' x 5'. I used all purpose spray adheasive and stacked about 4-5 layers to build up the seat cushion. I then took an electric knife and trimmed the foam to the rough shape I wanted. Finally I used a angle grinder with a flap disc sanding wheel to smooth it to the shape seen.
Leather:
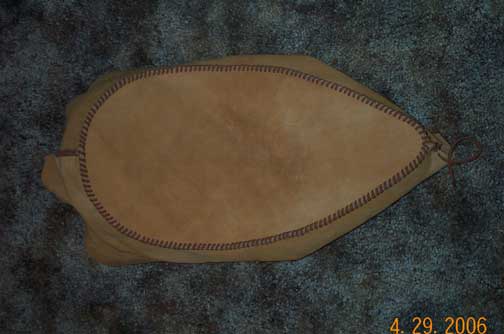
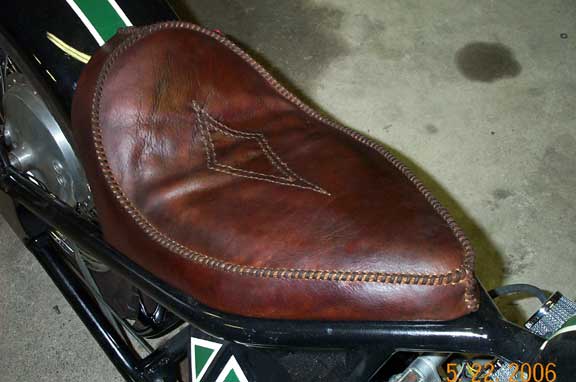
Using some simple tools and some time I put together a leather seat cover.
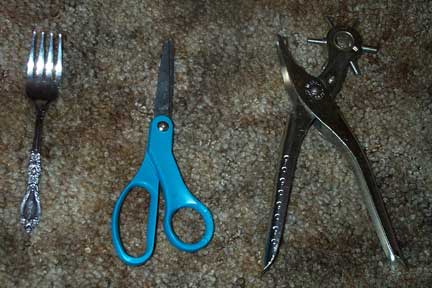
Tools - Regular scissors, hole punch and a dinner fork (used for hold spacing)
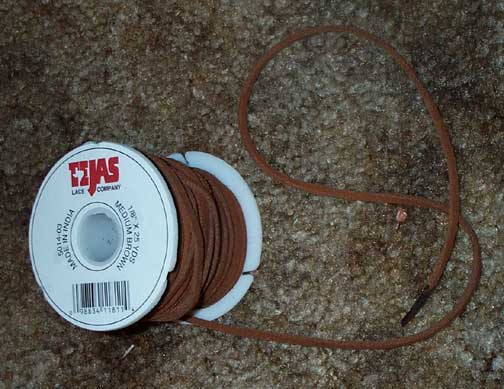
Materials - Leather, lacing, wax thread (for detail stitching).
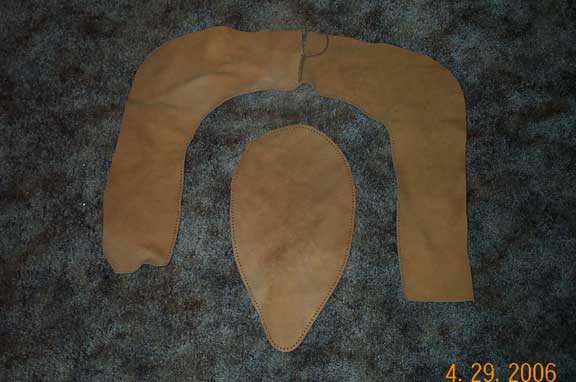
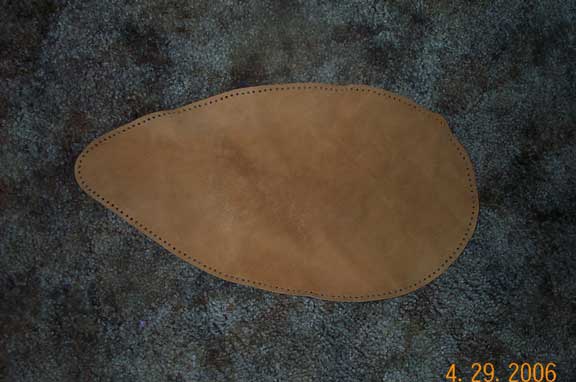
Let me start by saying I have no experience doing leather work so this may or may not be the "proper" way of doing this. First I started with a pattern cut form freezer paper. I then cut out the leather to the shapes seen. Next I used the fork to make equally spaced indentions in the leather to reference where the holes need to be punched. I then punched the holes (alot of holes). Finally I used the lacing material and simply stitched the pieces together. You can use super glue on the tip of the lacing material to make it stiff which makes it easier to lace it thru the holes.
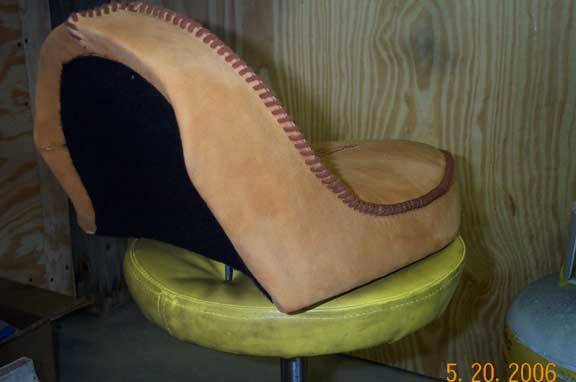
After lacing it together I decided to give is some detail. I stiched a couple of diamonds in the center of the seat. I just used an awl and punched small holes in the pattern I liked. I laced some course thread thru the holes to make the design.
Next, I fastened the leather to the padded seat pan using contact adhesive. I then covered the entire bottom of the seat with black felt. I again used contact ahedsive.
Finally I stained it using standard brown shoe polish. after allowing the polish "soak in" I sprayed the seat with a silicone water repellant.
|