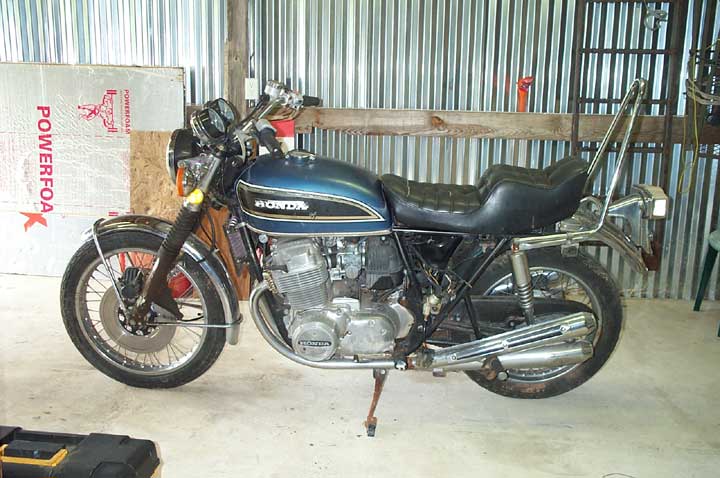
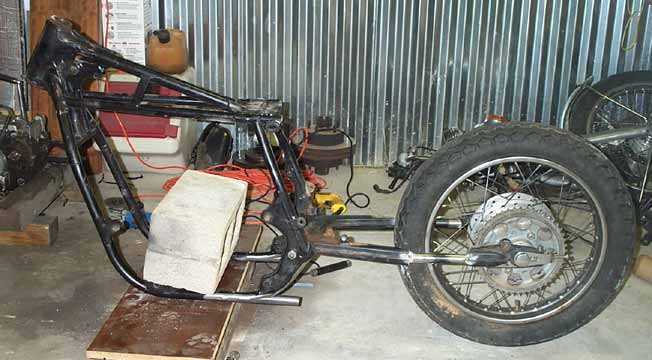
Well this is what the project is all about, the chop. I started with the doner bike discussed earlier. I disassembled it, taking care not to damage any parts that I plan to reuse. The hardest part of this was the engine. It is a heavy beast.
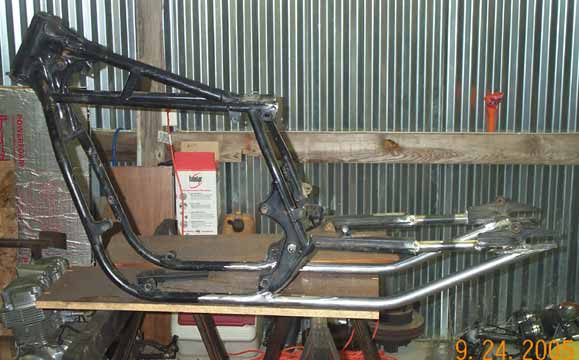
Next I chopped the rear section off of the frame. That wasn't too difficult; I just used a cut-off wheel and lopped it off. There is a good article describing the process of hardtailing a Jap bike on the Iron Horse webpage. I pretty much used the process they described.
I stretched the swing arm by cutting and extending it. I used a piece of black iron pipe to do this since it is going to be cut out later anyway. I am 6'-4" so I extended the swing arm 6" to make it more comfortable.
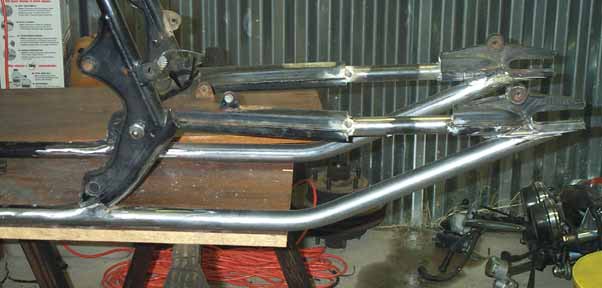
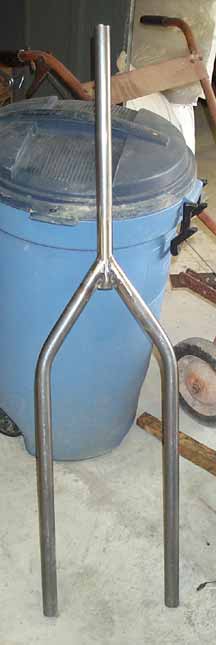
The next task was marrying the bottom rails to the existing frame. That was fairly tough. It took alot of grinding and fitting to get it just right. I used a piece of 1 x 0.120 ERW steel tube for the slug. As you can see it turned out to fit and look really nice.
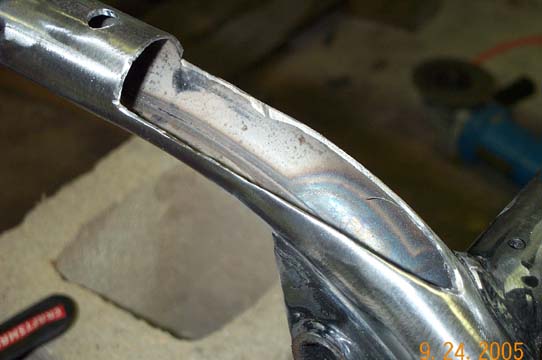
Notice the drilled hole in the tubing. This is for a plug weld to better hold the slug in place, and make for a much stronger joint.
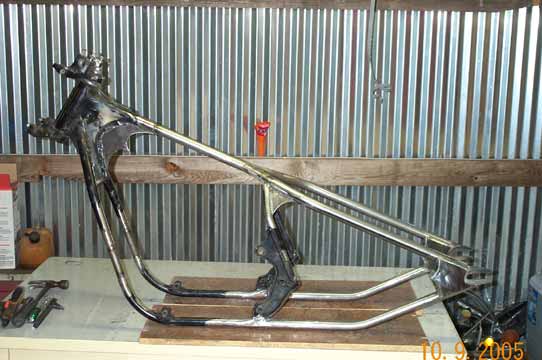
I'm sure you will notice that I ground some of the welds where they joined the existing frame. Those areas were fillited to ensure proper penetration. That along with the plug welds I felt I could grind those smooth for the sake of cosmetics.
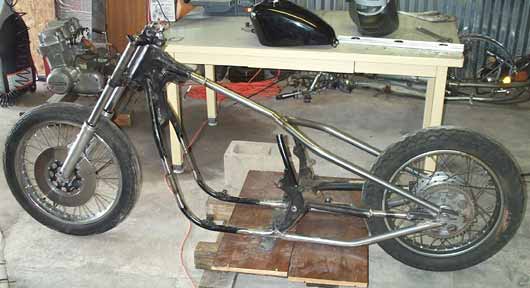
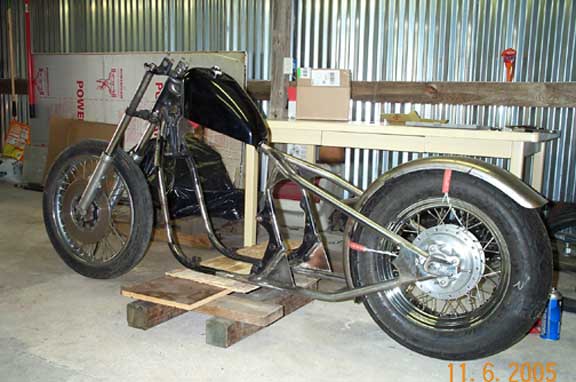
The next step was to assemble the front end and put it back on the bike. This is necessary so the neck could be raked just a bit. With a six inch ride height I was able to rake the neck out to 32 degrees (from 27) with stock tubes. You can see from the pictures I cut out the front motor mounts and extended the frame up about 1.5 inches.
The top rails and backbone was the next item to put in place. I assembled the rails and back bone out of 1.25 x .120 ERW. The joints were cut to fit properly and welded to gether on the table. The assembly was then fit to the frame as seen in the pic.
The seat posts were cut and modified to mate with the backbone. This took alittle guesswork but turned out to look fairly good. Next, the swing arm was cut out and some axle "boxes" were fabricated to cover up the ugly. I also added some gussets for support and cosmetics. |