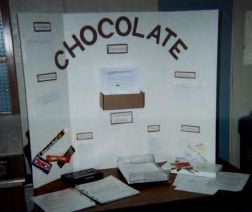
Chocolate Scientific Method

Each student gets a small paper plate and a plastic fork or knife. I make up my own work sheets for them to use with the method on the top for them to follow. I buy a box of assorted chocolates, enough for everyone to have one of their own. A good time to do this is after Valentine's Day when boxes of chocolates are on sale.
Before the day of this project, we have discussed the scientific method, it's purpose etc.
First they find a purpose for this experiment. Then, we work as a class to find one question to answer. ("What is in this piece of chocolate?")
Next, we write on whiteboard (research) all we know about assorted chocolates and copy to individual papers (or you can do research in the library about chocolates.)
Then we develop a hypothesis (guess) for our question.
Next we design an experiment to test our theories. For this part, I give them each a piece of chocolate -- no one gets to pick their own. They must observe, tell what they see, sketch it, and think of six words to describe it.
Then they can dissect the chocolate using their fork or knife. They must record data on what they observe, how it looks, smells and tastes and they sketch it again. They also must think of six words that describe it AFTER the dissection.
Lastly, they come to a conclusion. What did they discover? What did they learn? Write why their hypothesis was correct or incorrect.
At the end, I ask them, "What were the variables in this experiment?"
We do this together so that each student can learn and apply their knowledge of each step in the scientific method to their own project. Each student plans out their own science fair project, getting the topic approved with me first so they all have varied projects.
[HOME]
[BIO]
[RESUME]
[CONNECTINGCLASSES]
[KLESSONPLAN
[1LESSONPLAN]
[2LESSONPLAN]
[4LESSONPLAN]
[PRIMARY]
[INTERMEDIATE]
[MI]
[WORKSHOPS]
[PHOTOS]
[PHOTOS2]
[PHOTOS3]
[PHOTOS4]
[WEBSITES]
[ACTIVITIES]
[ACTIVITIES2]
[ACTIVITIES3]