Home
Articles
Awaiting Surgery
Chat
Crafts
Current Events
Fashion
Friends and Family
Fun Stuff
Mailing List
Polls
Profiles
Prostheses
Search
http://flattops.webs.com/
Make a Mastectomy BraIt's Economical and Easy!Mastectomy bras are expensive. And they may not be all that comfortable. However, you can make your own bra by adapting one purchased from just about any department store. Before getting into the instructions for making your own mastectomy bra, it's important to note that this bra is not an official mastectomy bra. If your prostheses have a warranty, you may void it by using them with a bra that is not purchased via medical prescription. If you are not concerned about making the warranty null and void, this is not an issue. If you are concerned, be sure to check with the prostheses company before proceeding. You will also want to make sure you have been cleared for wearing bras again. What to Look ForYou'll need to start with a bra that meets all the following criteria. This is the hard part, since bras are like fashions, and once you find the perfect one, it may be changed. If you end up finding a bra that you just love, you may wish to purchase multiples of it and save the extras for future use.So, now that we have all that down, look for a bra that: Here's the type of thing you're looking for: 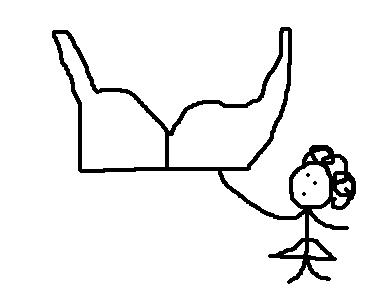 Getting StartedBring the bra home and run it through the washer and dryer, and try it on to make sure it still fits. Once you have one that fits, it's time to get down to business! Get Out the ScissorsDo you wish you had been a rebel in the '60s? Here's your chance . . . although it comes a few decades late.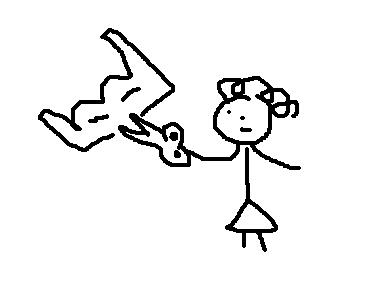 Custom TailoringIf the bra already houses your prostheses to a T, then you're all set. But, chances are, the cups might be too large, causing the prostheses to be able to shift around. It's time for some custom tailoring.Don't worry--not having a sewing machine and sewing by hand is fine, but be sure to use a stitch that is strong (like a backstitch) and stretch the fabric as you go, so the thread doesn't snap or break under pressure. If you're using a sewing machine, a zig-zag stitch is best to allow for stretch. Sew along the inside middle, on either side, using approximately a 1/4" seam allowance from the center seam. This will keep the prostheses from joining together in the center as a uniboob. If you are larger busted, putting the extra space in the center like this may not look as natural and you may wish to just do the next stitching. Experiment and know that stitches can always be removed. These extra stitches are shown in red below. 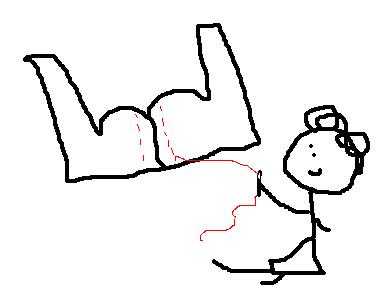 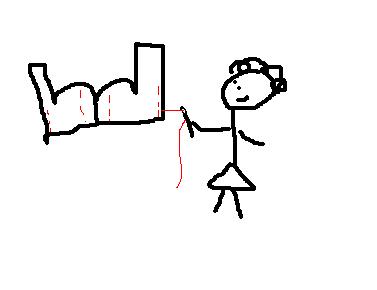 Security and Peace of MindAll of us have probably heard horror stories of prostheses flinging themselves about outside of one's clothing. To be extra discreet, you can hand tack the prostheses into the bra.Wait! Don't under any circumstances tack the prostheses themselves in--only sew the fabric of the slit you made on the inside of the bra. Turn the fabric slightly in, reconnect the two edges that were originally cut from one another, and use a quick stitch, being extra careful not to poke the prostheses. It doesn't matter if this stitching is loose and sloppy, because any time you wash the bra (take those prostheses out!) it will need to be redone, anyway--plus, it's on the inside. This tacking is used merely to close up the holes so that the prostheses are now basically a part of the bra. Let's Be LazyYou were probably told when you got your prostheses that they needed to be stored in the box in order to have a longer lifespan. So, prop the boxes open and place one prosthesis in each one . . . while they're still in the bra.Finally, take a nap. You deserve it. 
� October 2008 |