| Twisted Spine |
 |
| 6. This step and the next are optional. Suits people who prefer to cut along a drawn line and first timers. (a) You will need to draw a line from the bottom spine mark to the first mark on the 2cm line. This line should be at approx. 45degree angle from the spine. (b) The second line (and the rest) will be parallel to the first. However this time you will only need to mark it to the 1cm line (c) Repeat a. &b. all the way. (You will have a long line and then a shorter line at 45 degree angle all the way up the spine.) 7. With a sharp craft knife or sharp pointed scissors cut along the long and short lines. 8. Erase any unwanted lines and open card right side up. 9. From bottom fold first cut V section up. Skip the next V and fold up the third one. Continue up the spine. 10. Tuck each folded V under the non-folded V above. 11. Decorate front as desired. |
| Variations: Glue a contrasting paper insert into the card. Colour/ink the interior of the card to create a contrast Use coloured Kromecote card. Most have a white reverse side and this adds a lovely contrast. Alternately use double sided card where the reverse of the card is a different colour. Add an paper insert at the initial folding stage (Step 1). You can also vary the thickness of the V�s Try cutting them only .5cm thick. |
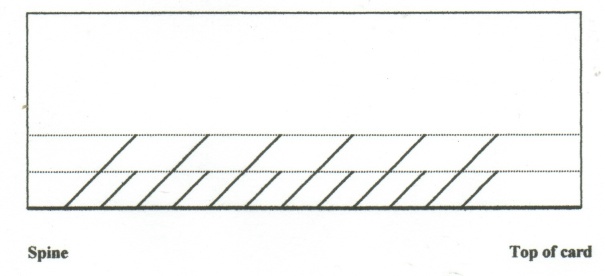 |
| A very pretty edge to cards that is quick and simple to do, once you have understood the instructions. 1. Take a standard (21x15cm) card and sharply fold it in half. Use of a scoring bone or the blunt edge of a knife run along the edge will help produce a good sharp fold. 2. Open the card and fold it inside out. 3. Using a pencil as lightly as possible, draw 2 parallel lines. First line is 1cm from the centre (the spine) and the second is 2cm from the spine. 4. Next you will need to mark along the 2cm line every 1cm starting from 2.5 cm from the bottom and the last mark being approx. 2.5 cm from the top. 5. Now mark 1cm intervals on the spine fold starting at .5cm from the bottom and finishing with the last mark being approx. 3.5cm from the top edge. |
 |
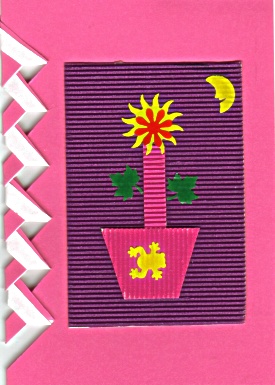 |
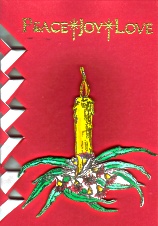
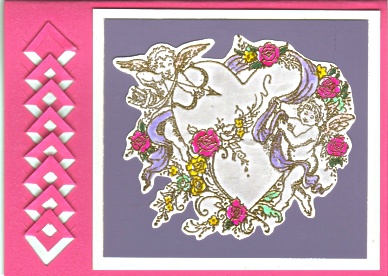
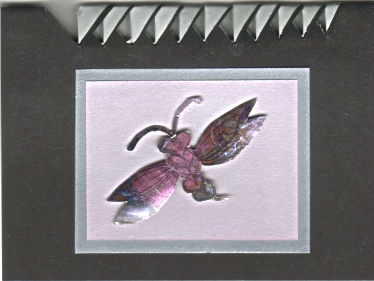
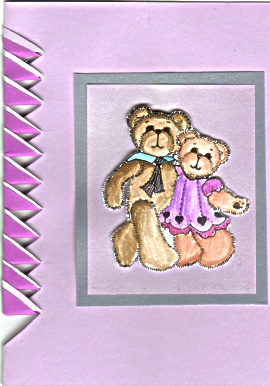
| All these samples have a paper inserted before cutting. I'll endeavour to include some variations soon. Click on them if you wish to see a larger image. |
| Some samples are on the extreme right side of the page. The samples are possibly outside the print area. |
 |
 |
 |
 |
| Another idea I saw one time was the reverse of the card was prestamped before cutting and this added a lovely contrast when twisted back to the front. Let me know any other variations and I'll write them up here. |
| Would you like a sample? Then send $5 & a SAE to The Stamping Ground PO Box 385 Unanderra, NSW 2526 (Australia). |
| Instead of cutting on the spine, try cutting the front of the card. |
| There is also a pattern for a circle cut on the front. Sample to come soon. |
| Michelle's Stamping Ground |
| Home Gallery Basic Stamping Instruction Other Crafts Christmas 2000 Projects Layering Tags Shaker Cards Tea Bag Folding Twisted Spine Cards Coluzzle Acetate Reinker |
| Fast Links Home Latest Madness Latest Project Next Project |