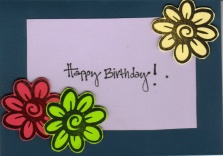
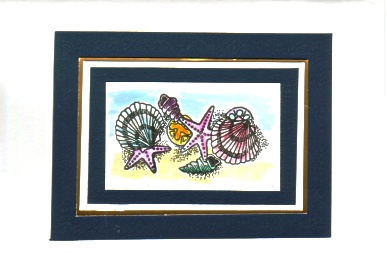
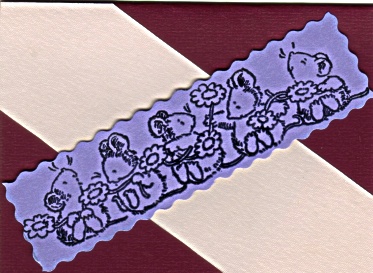
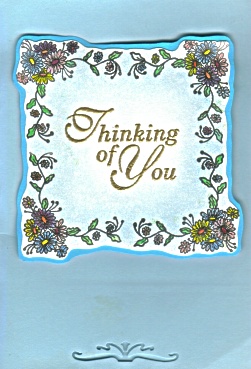
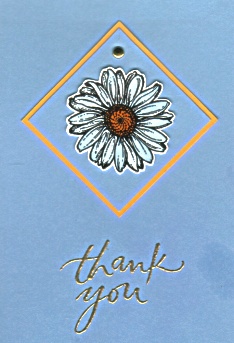
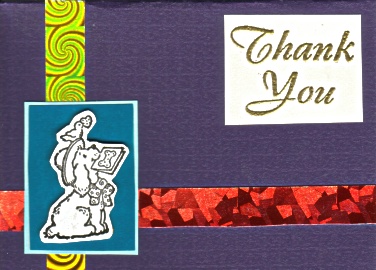
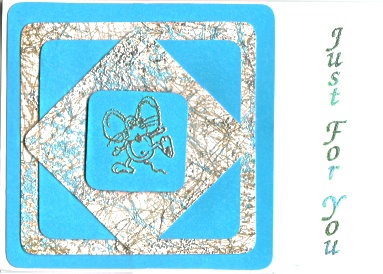
One of the fastest & easiest cards are made by stamping your image onto paper and then layering it onto the card base often with a coordinating paper/card or two in between. This system is guaranteed to create good looking cards.
To work out colour combinations maybe you want to start by choosing the colour of card that you will use for your card base that will show off the image you have (or will) stamp. You may contrast or co-ordinate the colours. I tend to play with the image cut and try them on various coloured cards and papers. I do not cut anything out at this stage. It is purely to see what colours look good . Take this opportunity to trial other colour combinations. Nothing ventured, nothing gained. You might even surprise yourself with your new creativity.
Instructions
When you have decided on your layers
1. Cut your stamped piece to the size you want it.
2. Put DSS onto the back, remove backing and then place it on the card/paper that you want on the next layer down.
3. Cut your mat to size using a paper trimmer (or you can use a craft knife and metal ruler) or craft shaped scissors.
4. Stick this layered piece onto the next piece of card/paper that you want to layer onto.
5. Repeat steps 2-4 as many times as desired.
Hints:
? A word about adhesives, I prefer to use double sided sticky tape (DSS). If you need more maneuverability for lining the layers up straight then I suggest you use a quality glue stick liberally. You can also use a Craft glue, make sure to use it sparingly as it is a moist glue and can warp the card with the moisture, especially the lighter weight c cards.
? I keep a shoebox (or two) of remnant card stock left over from other jobs. Some are also from lolly wrappers, Gift wrap, cut outs from magazines etc I found that stampers are great environmentalist, we recycle everything.!!! I once also had a lovely soft white embossed tissue that I found in a McDonalds�s baby changing station. LOL It was terrific. I haven�t found any more since then.
? The deckle edged scissors are the quickest and easiest scissors to use as they do not need to line up the pattern whilst cutting for continuity.
? If you wish to draw a line to cut along then be sure to draw on the reverse side of the card. This way you will not have a pencil line to erase.
? A fantastic way of getting creative is to make a time to get together with some friends and have a card layering morning. Tell them to bring prestamped images plus some base cards and stacks of scrap card and papers to share. You will be stretched creatively in ways you never would have dreamed.
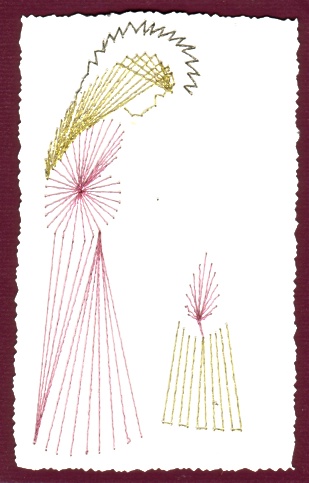
? Remember to be adventurous. You don't need to keep to squares and rectangles. Try ovals, circles, freeforms, octagons etc. The many stencils and frames available for Journaling and Scrap book crafts are also available from the Stamping Ground. Coluzzles especially are just fantastic. |