 |
| Tea Bag Folding |
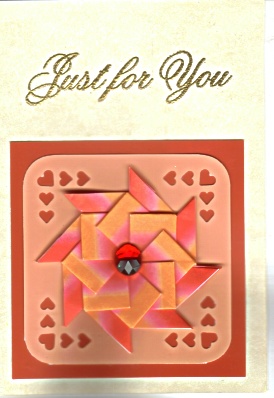
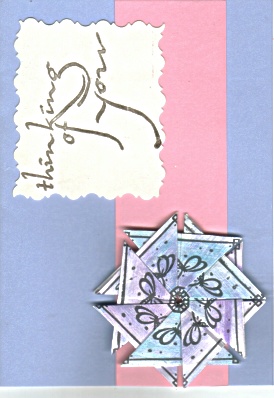
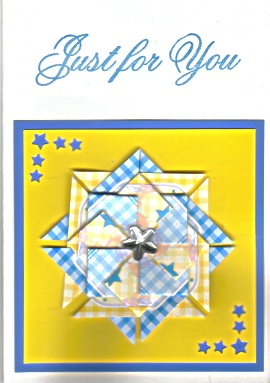
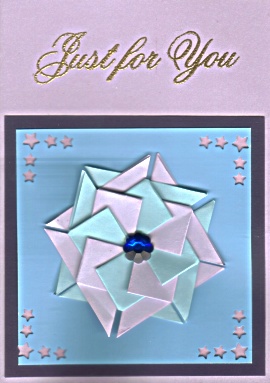
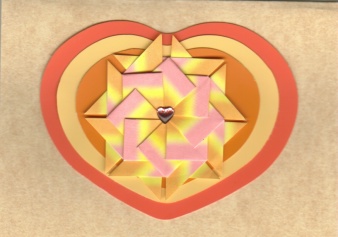
| This is wonderfully easy to do. Teabag folding is similar to Origami. Usually worked with eight squares of the same pattern, folded in such a way that each fold slides into the other to produce a rosette with a kaleidoscopic effect. The same print fold the same way except starting from a different corner can create a totally different effect. Try a different fold for even more variety. Another bonus I appreciate is that the folds can be done whilst watching tele or as a passenger in the car. |
| Like a sample? Then send $5 & a SAE to The Stamping Ground PO Box 385 Unanderra, NSW 2526 (Australia). |
|

|
 |
 |
 |
 |
|
 |
 |
| A little history trvia... The story goes that Teabag folding began when Tiny van der Plas of Holland needed to make a birthday card for her sister. As she was having a cup of fruit tea she was playing with the printed envelope that she had taken the teabag out of. She cut the front of it into a square, then emptied seven more envelopes, fitting them together in a circular fashion to form a rosette - thus, the art of teabag folding was born and the rest is history! |
| For this easy tea bag fold you'll need 8 squares of paper eg 2 inches square. Fold the squares corner to corner, wrong sides together, into a triangle. Open and fold the opposite corner to corner. Open paper and turn the paper over. Now fold paper in half to form a rectangle. Open it out again & turn it over. Now this may be tricky to understand but if you place your finger in the centre of the paper from underneath, the folds will peak and will lend it self to being closed into a peaked roof shape. See Fig 1. Now fold top layer of corner A down to bottom centre corner to create a smaller triangular flap. Repeat with corner C. That's the end of the folding. Your paper should now look like Fig 2. Do same fold for all 8 squares. Now lift flap C a little & apply glue behind it on the first piece. Slide Flap A on the second piece under flap C on the first piece. (Point B of the second piece will go behind point D on the first piece). See Fig 3 for clarification. Fig 4 will show you how the first 2 papers will look when they are glued together. HINT: If working with a patterned paper, make sure to have pattern facing same direction when starting each square. |
 |
 |
| Fig 1 |
| Fig 2 |
| Fig 3 |
| Fig 4 |
| Michelle's Stamping Ground |
| Fast Links Home Latest Madness Projects |
 |
 |
 |