 |
3. Inserting Nodes
Once you have made your missions and planned the order in which they will be played, actually creating the campaign file to make this happen is relatively straight forward. When using the campaign builder, the first thing that you must realize is that it is not a tool that was designed to be released to the public. Although it is functional, it has a number of quirks that one would not expect in a commercial product. Remember that it is not a commercial product but a tool that was designed to be used only by the development team for F/A-18. That it was released with the game at all is something that we should be grateful for.
To avoid problems with your finished campaign, you should never attempt to create a campaign file from scratch. Instead, you should start with a template. Once again, we have Matt Wagner to thank for providing us with a campaign template.
First, open the campaign builder by pressing 'F1' from the F/A-18 tools screen. Once the builder is open, press the 'open file' button:
|
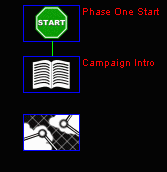
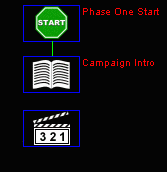
When you find and open the template, the campaign map will be displayed. It looks like this:
 |
The campaign template.
Your first task is to insert the node in the campaign that comes after the introductory text. This will usually be the first mission of the campaign.
1. Click on the 'new node' button:
 |
2. Click on the campaign map where you want the new node to be placed. This is not final. Once the node has been placed, it can be moved around by clicking and dragging.
3. The information window for the new node will open automatically.
4. If you want to change the node from a mission node to a different type, click on the drop-box at the upper-right corner of the window.
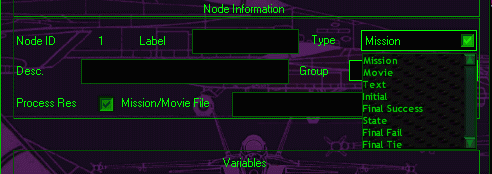 |
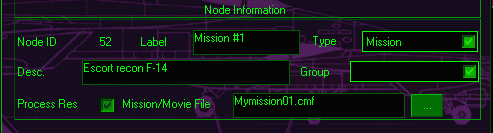
5. Enter the details for the new node. Type the name of the node into the 'label' box. This isn't strictly necessary, but it is recommended. Not only will it help you to keep track of which node does what, it will also make it easier to provide global links to the node. The node label appears in red next to the node on the campaign map.
What you type in the 'desc' (for 'description') box does not appear on the map. This is only seen when you open the information window for the node. It's a good idea to put a brief description of which mission this node is for. In a complex campaign, it will help you make sure that you have the right links going into and out of the node.
The 'group' box should be left blank. Campaign groups are a feature left over from F-15 campaigns and are not used in F/A-18.
The bottom box in the top panel is for the filename of the object (mission, movie or text file) that this node is for. Type the FULL filename of the object in this space. This might be 'mymission01.cmf' for a mission, or 'mytext01.txt' for a text file. You must know the name of the file that the node is for. The button to the right of the box that looks like it will let you browse for the file doesn't work. It is important to include the three-letter extension of the filename. Not only will the campaign not work without this, but the campaign builder can assign a VERY high ID number to the node if you don't.
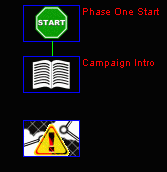
If you fail to type in a filename for the node, you will see something like this:
 |
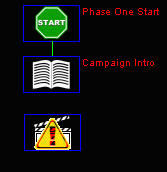 |
| No filename has been entered for this mission-node. | No filename has been entered for this movie-node. |
Failing to enter a filename in a node can mess-up the campaign file. If you do this, I recommend that you start over. If you enter a filename, you will see something like this:
 |
 |
| A mission-node with filename entered. | A movie-node with filename entered. |
Entering a filename doesn't mean that you have entered the filename correctly. Before proceeding, check that the ID number for your new node is normal. To open the information window, right-click on the node. The ID number on the node should be around 50. If it is in the millions, you should start over.
 |
The ID number of this node is in the normal range.
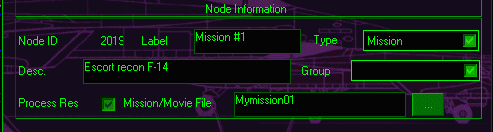 |
The ID number of this node is 201984280! I recommend starting over if this happens.
If the new node looks OK, save the file. Click on the 'save-file' button:
 |
As you have not yet entered any links to connect your new node to any others, you will get a warning message like this:
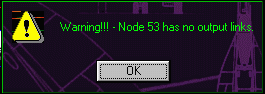 |
Don't be concerned by this. Nothing has gone wrong. Your file has been saved. This warning is telling you that the campaign file you just saved won't work if you try to play it. This is OK, as you haven't finished it yet! If anything goes wrong at a later stage, you can always return to this file. I recommend saving your campaign file under a new name frequently.
Summary
To add a new node, click on the new-node button. Click where you want the new node to go. Type the relevant information into the spaces provided in the node-information window. Make sure you enter a full filename for an object like a mission, movie or text file.
Questions or comments should be directed to [email protected]