Leaded Glass
Goal:
The student will create their own,
original idea and present it via the leaded glass medium.
Materials:
9” X 12” newsprint
pencil
crayons
clear tape
9” X 12” black paper scissors
tissue paper
white glue
student provided miscellaneous tissues
Steps:
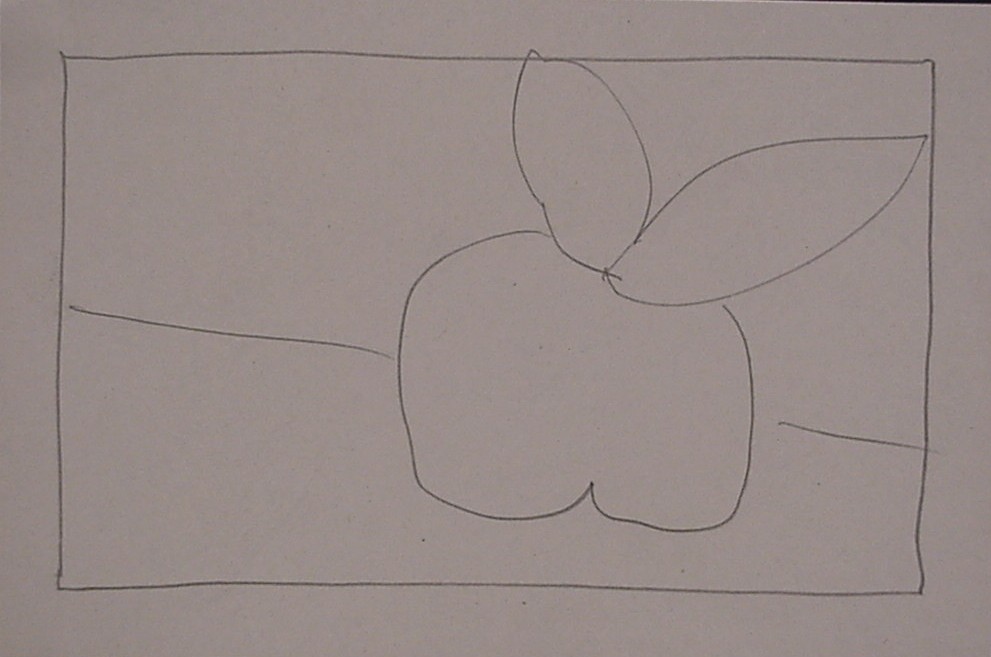
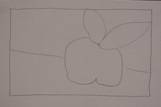
1. Design 4 to
5 ORIGINAL thumbnail sketches quickly to get started. Design an
idea that is both creative and pleasing to the eye. Be sure to
include bold imagery.
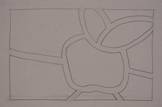
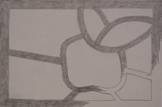
2. Draw a ½” margin
around the paper’s edges and then draw your selected design full sized.
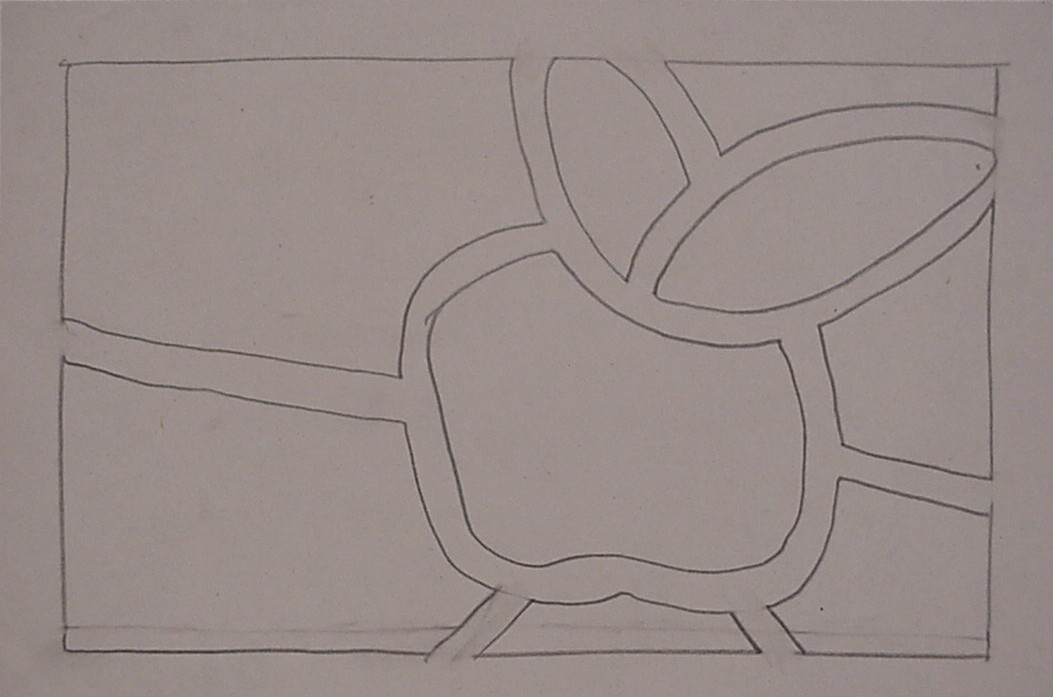
3. Thicken each line
of your design to a fat ¼”. Keep each interior shape
“simple”. It is not to have narrow areas. If in question, draw that
shape on another paper and look at it. Remember that a leaded glass
design is a close approximation of a real leaded glass window. Because
each piece of glass must be simple, or it will break, the student is to
keep each area of color simple: no complex shapes can be used.
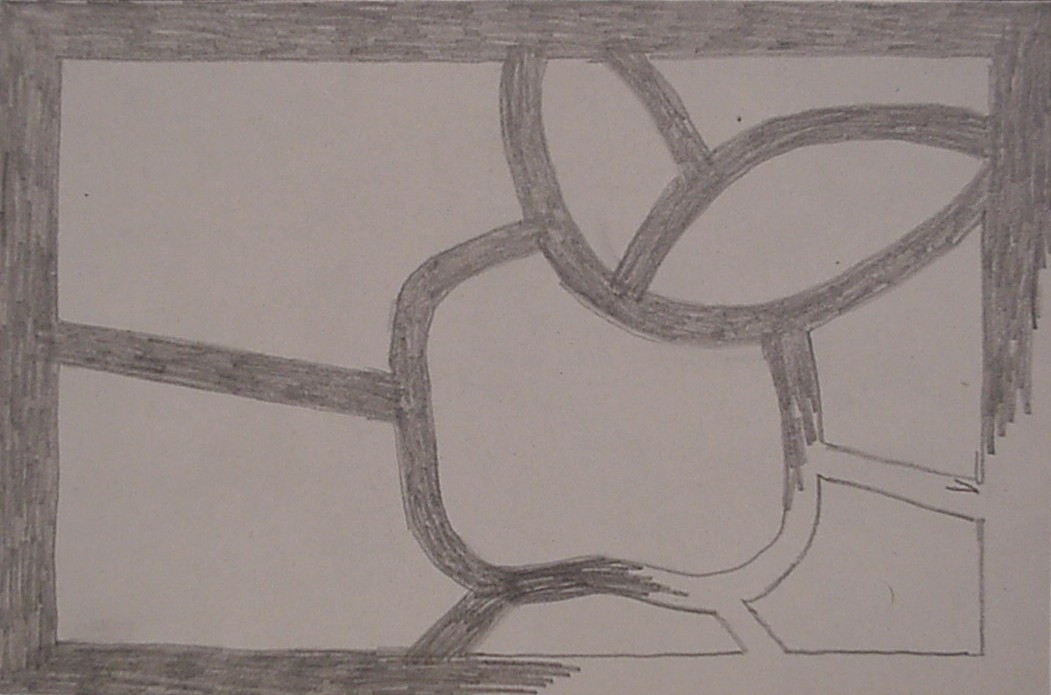
Use the pencil to “color in” the lead lines.
Keep the design
simple!
NO LETTERS OR NUMERALS ARE ALLOWED, PERIOD!!
Be sure to have a picture of "someTHING, someWHERE".
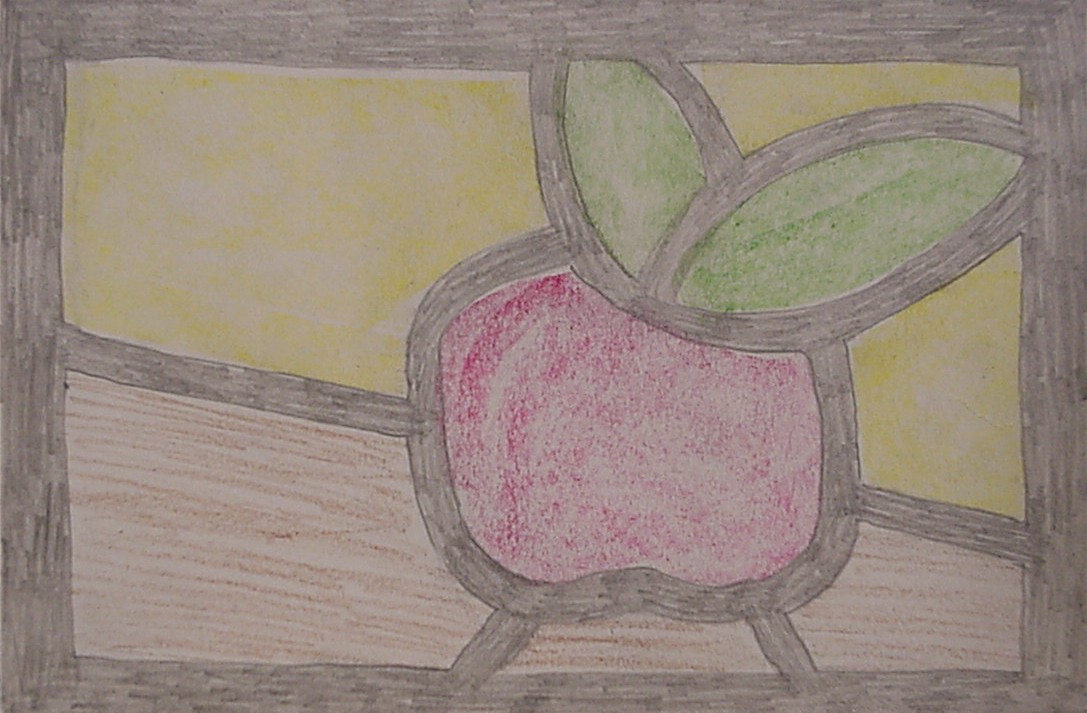
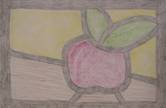
4. Color the
design lightly and neatly with crayons or colored pencils.
5. Transfer
one area at a time from your idea to THE BACK side of the black paper by
tracing it through that paper. Then draw along the dent with your
pencil. Carefully cut 1 area out as you refer to the
demonstration in your mind; start with the center of interest in your
picture.
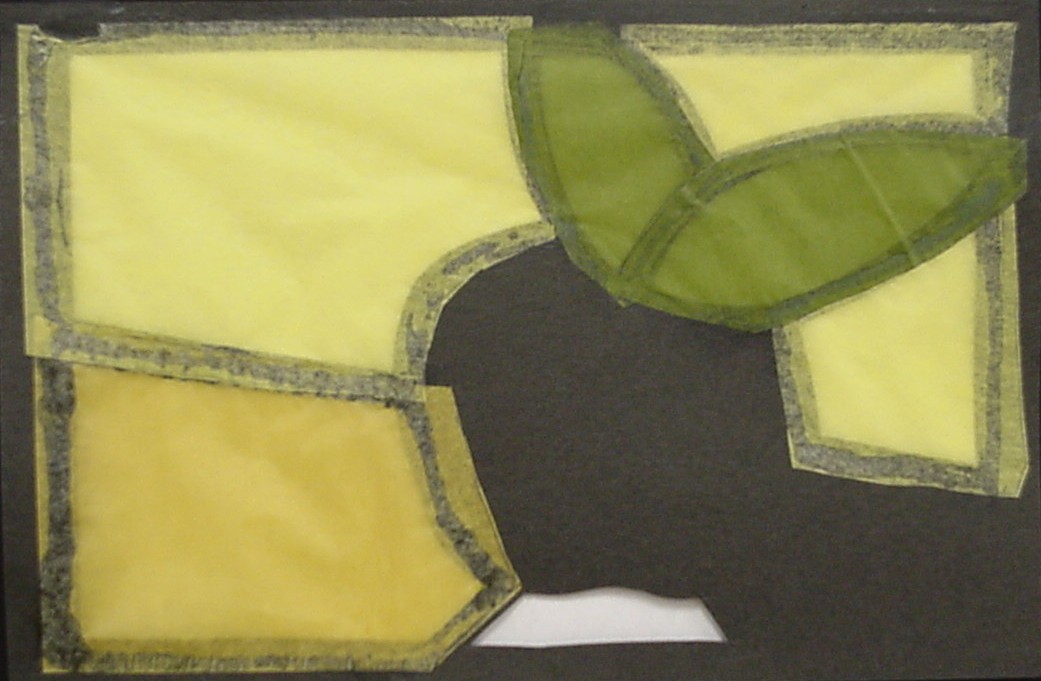
AS EACH
PIECE IS CUT OUT, CUSTOM FIT THE TISSUE AND GLUE IT NOW.
CUT 1, AND GLUE 1 . . . CUT 1, AND GLUE 1
. . . CUT 1, AND GLUE 1
. . . CUT 1, AND GLUE 1 . . . CUT 1, AND
GLUE 1 . . . CUT 1, AND GLUE 1 . . .CUT 1, AND GLUE 1. Use clear
tape to repair “accidents”
6. Once
the same color is completed, it is time to do the next color. Do this
process until your picture is complete. Your entire visual appearance
is what the grade is based on, so be careful!
Use clear tape to repair “accidents”
Ideas to keep
in mind are:
Be original
Keep the edges about
1/2" in size
Keep a consistent 1/4" lead line
Keep it neat and clean
Keep
colors highly contrasting
No
overlapping of tissue pieces
No
pencil lines should show
Glue from only 1 side
Conserve tissue paper by sharing it with a friend
cut 1, glue 1:
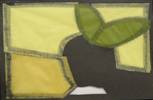 (this
is the back side) (this
is the back side)
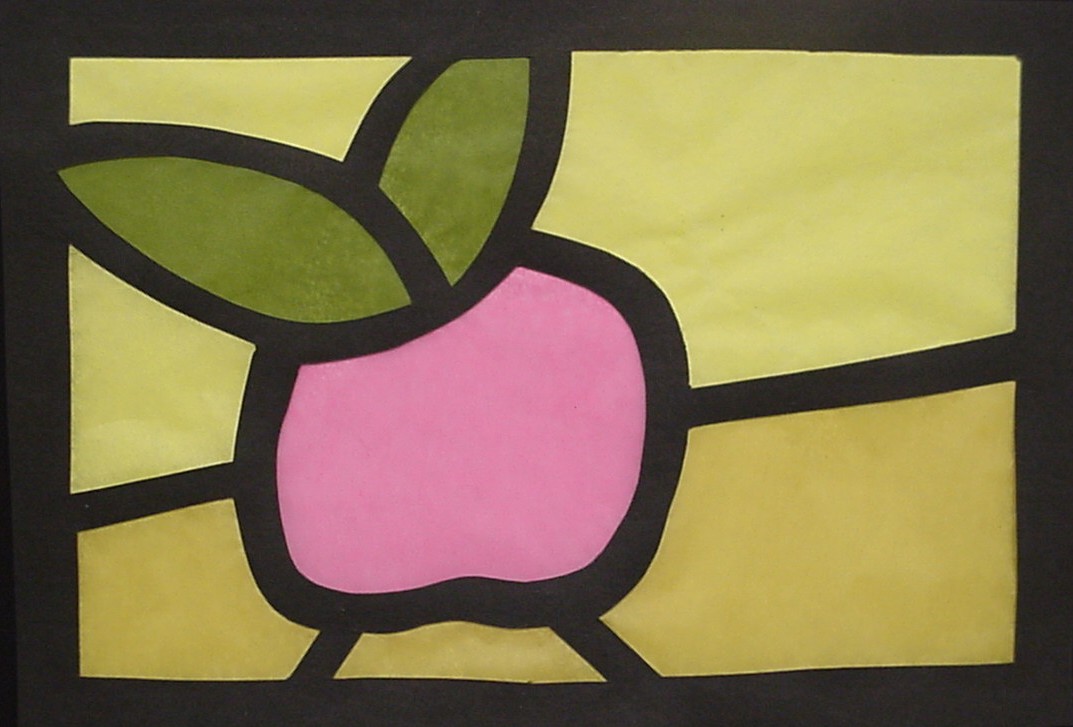
The final product:
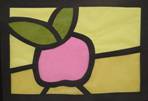 (this
is the front side) (this
is the front side)
Planning carefully and DOING NEAT WORK
gives you art that you may be proud of!
*Don’t forget to put your
first and last
name, then date, and THEN period number on the lower, back, right-hand corner to
EARN your full grade!! Yes, you may spread it out along the outside
margin of the paper in a straight line due to the smallness of the area
that is left. –Mr. Myers
Grading Guidelines
A
= The idea is original, neat, complete, and a wise use of time.
Sketch also turned in.
B
= As above, but maybe not quite as neat, or some wasted time or ??
Maybe no sketch?…
C
= “Average” work, but nothing great. Some sloppiness, all done, an
attempt to do as asked
.
. . maybe something's missing?
D
= Below average work, wasted time, little done, sloppy, but some of the
project was correct.
Continue to "work" like this
and you are SO fired!
Fail
= Little to no attempt at producing what was asked for, nor is there
evidence that time was wisely spent. The failure here is in
attitude, and the product backs it up. Yes, you may re-do and
improve your grade within the next 5 school days. Why work SO hard
and earn nothing? Work just as hard at success and you will
succeed! Try it.
back to top
Updated 13 October 2008 |