Sierra Middle School
Riverside, California
(951) 788-7501
Mr. J. Myers
Art Teacher
[email protected]
http://www.rusd.k12.ca.us/ourschools/sms/
7th Grade
Also look at:
Clay and Kiln Use page
| Home |
| Parent Letter and Information |
| Classroom Rules |
| Grading |
| Extra Credit |
| Links of Special Interest |
| 7th Grade |
| 8th Grade |
| General Class Objectives | Syllabus | Worksheets | Work to Date |
|
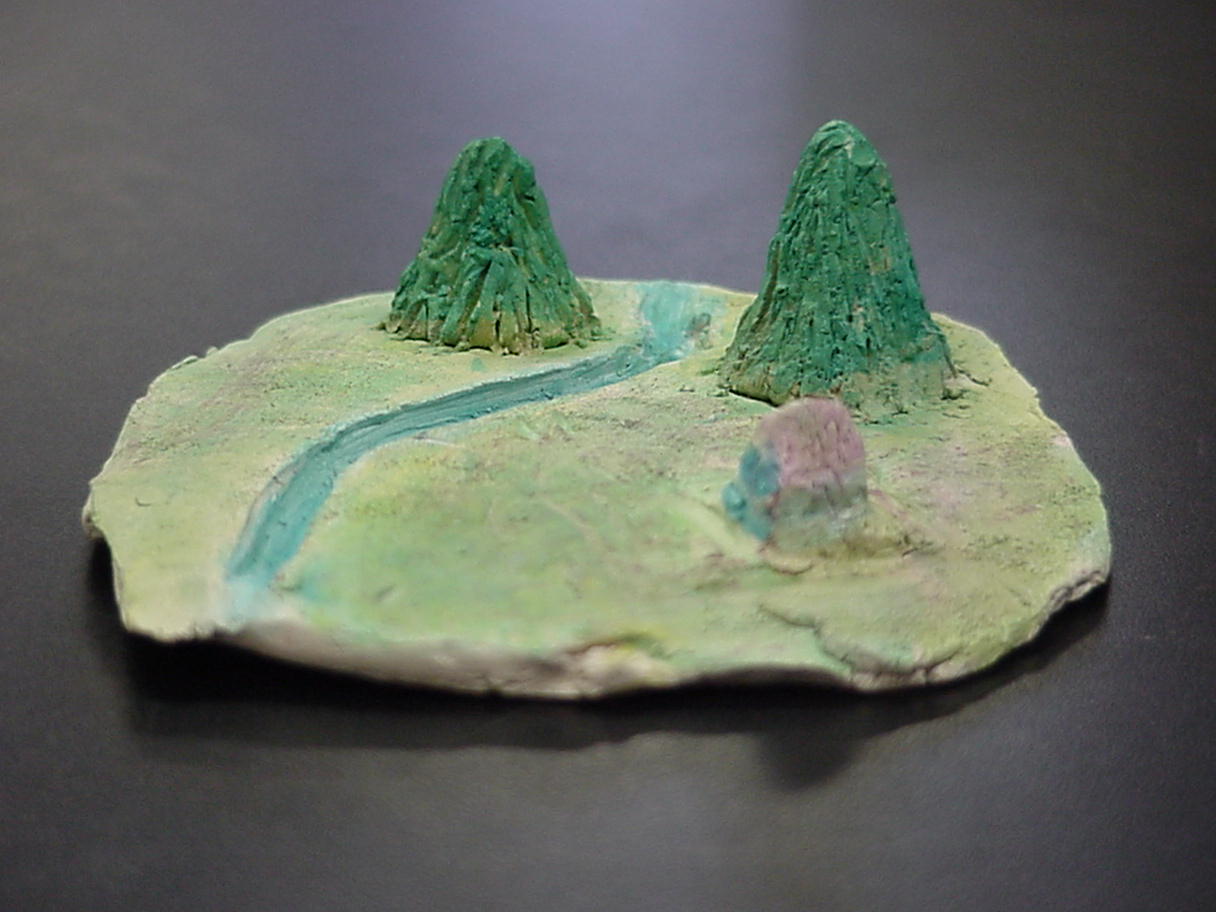
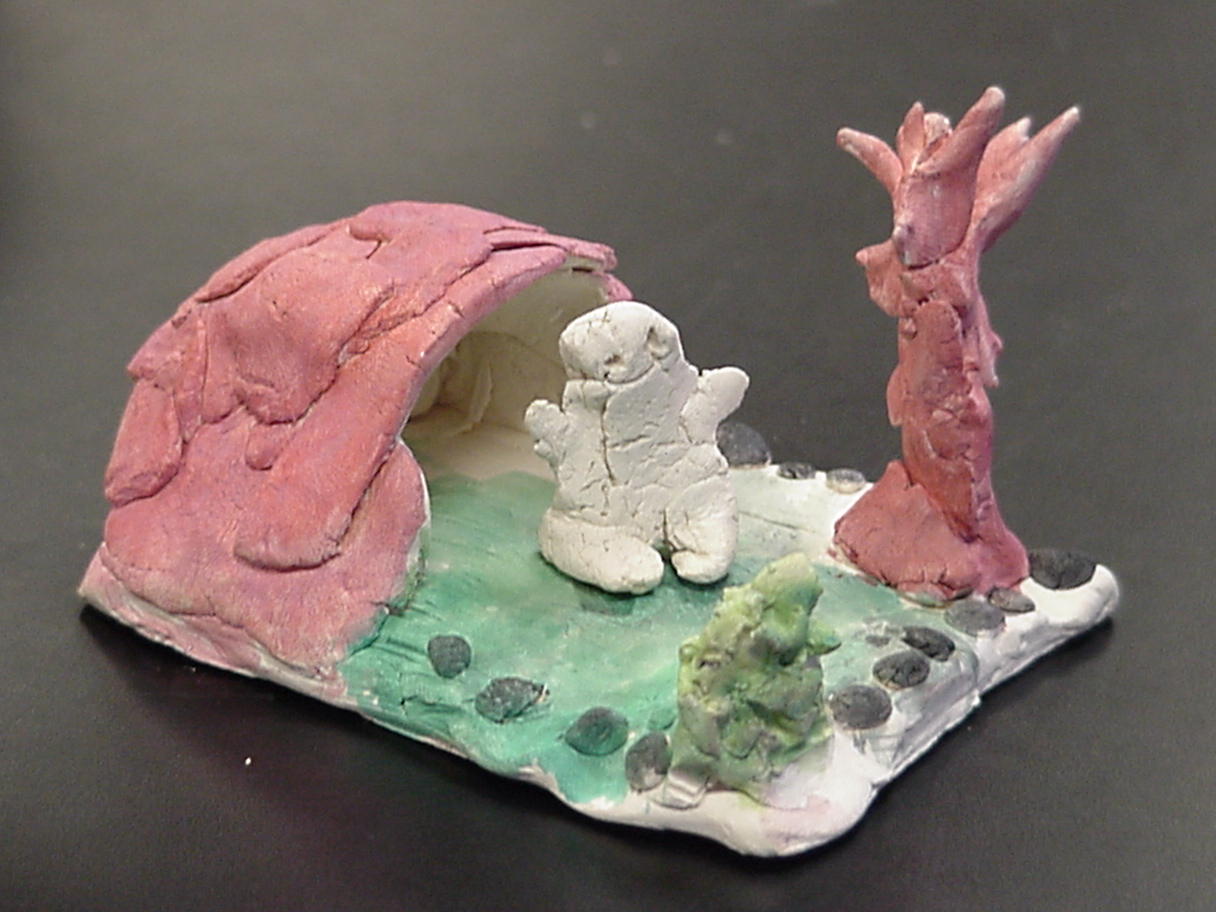
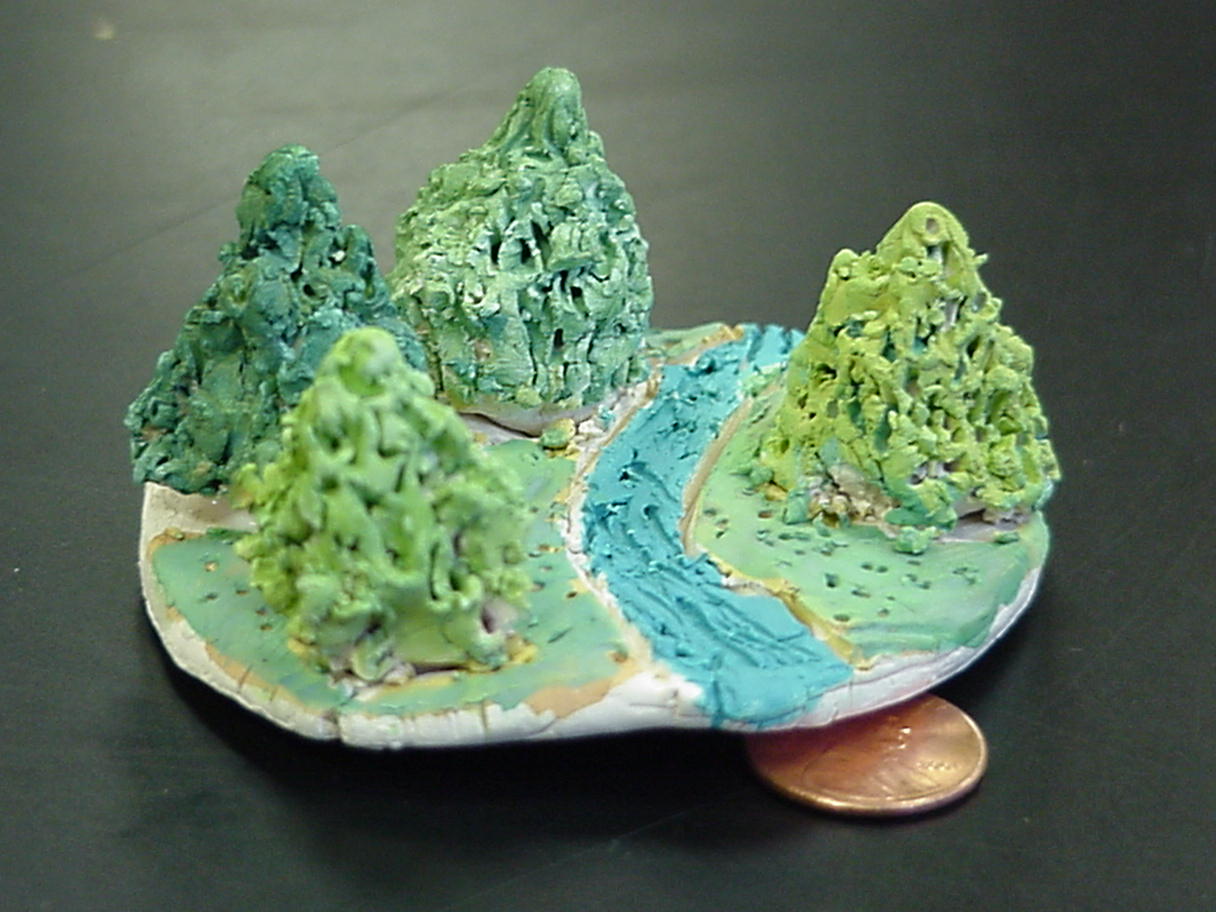
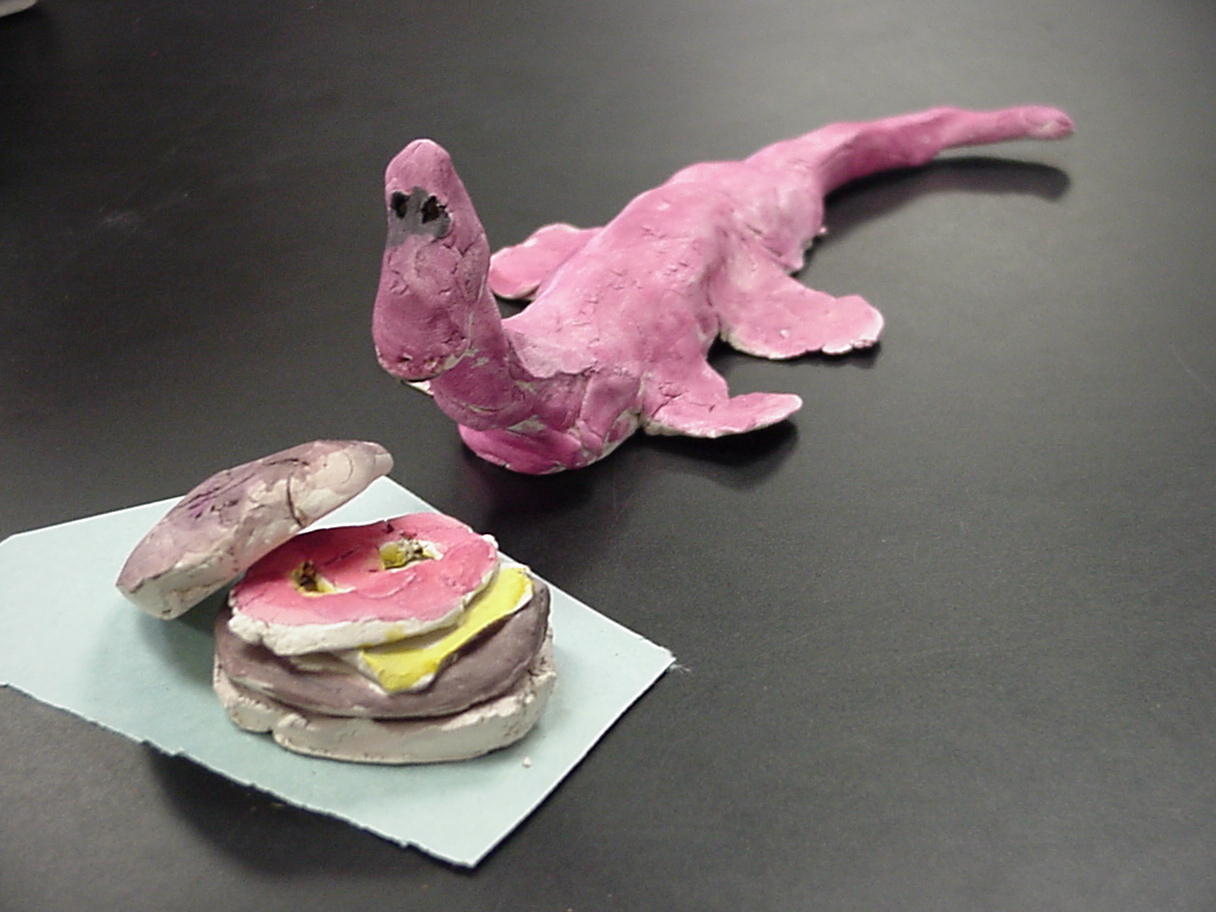
Objective:
Materials: Steps: 1. Decide on which “house” you are going to do. You may decide to do a human structure. From which era is your idea? Cave times, middle ages, pioneer days, or when? Where? Why people, why not make believe beings? Now that you are thinking of make-believe, why not dragons, unicorns, hortas and so on!? Mammals, reptiles, fish and worms are all likely subjects for your project. Little dudes, medium sized friendly creatures, huge fearsome things. Your imagination is the limit! 2. Splat the small lump down and pull out of it the main structure. Add other rocks, trees, bushes and sticks. Add the creature or not. It is your choice. 3. Decide on surface textures. A smooth surface has to be just right, whereas a scuffed surface lends more to the imagination. Draw in grasses, bark, scales and details. Avoid drawing in LINES. Real life doesn’t have them! There are color differences, and surface textural differences. 4. Now that the creation looks pretty nice, turn it to see how it looks from other angles. Don’t forget that sculptures have to look “right” from all views! Add or subtract items as needed. 5. Done? You must have your FULL name on it and the date. Otherwise I may decide to toss it into the recycle pot! I do this often; you must learn to value your work. 6. Be sure that there is not thick areas of clay or it may explode. I will toss it for that reason too! No thicker than ½”, please!! 7. Place it on a plaster bat and leave it alone until it comes out of the kil.
Items to
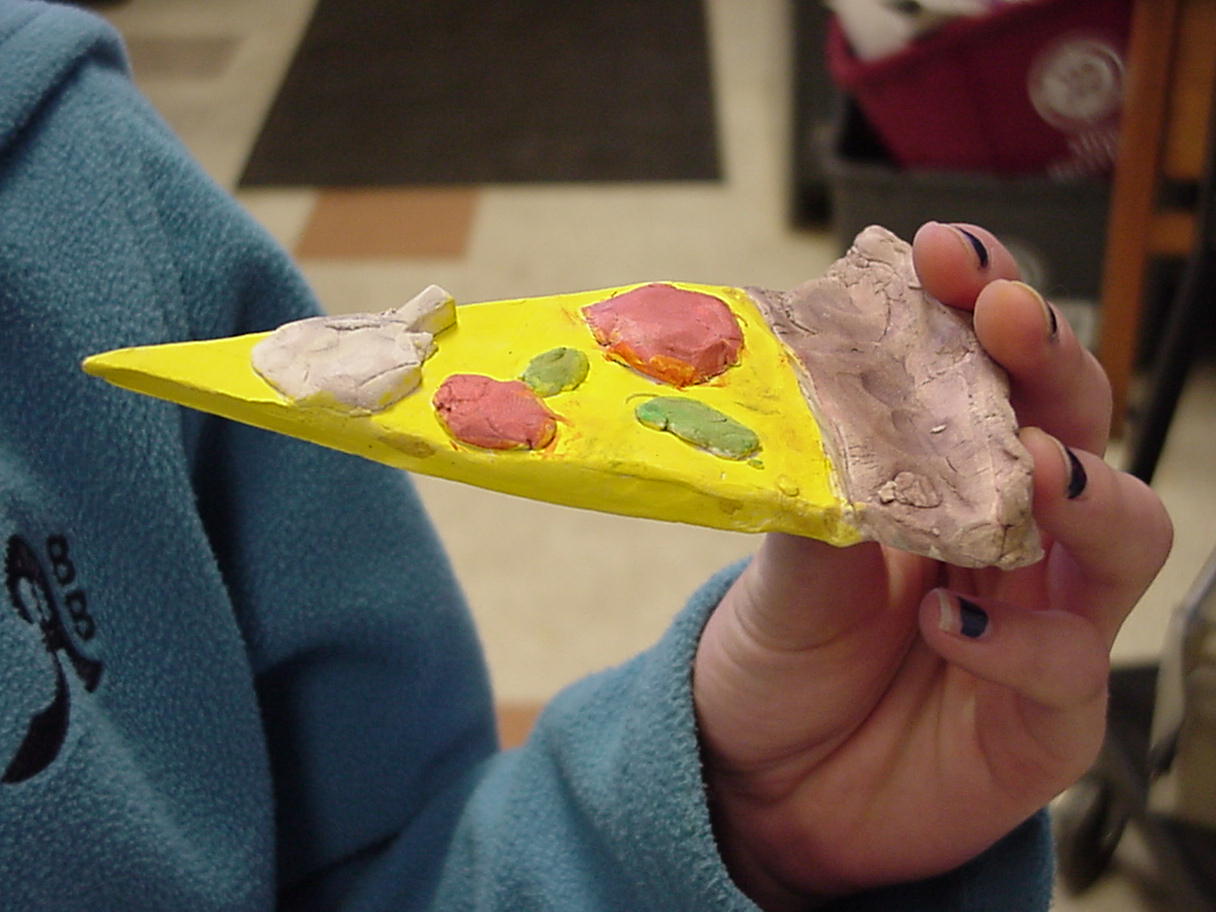
remember: Here are a few examples:
Grade: |
|||