I do not lay claim to being the originator of all the ideas found on
this page.
I merely implemented some of the ideas submitted to the RV-list.
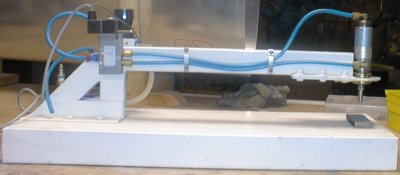
Following are pictures of my pneumatic dimpler which was build out of
material collected from various scrap piles at local junk yards.
I received a lot of help from my local chapter 18 president, Erik Andersen
This picture shows a full side view
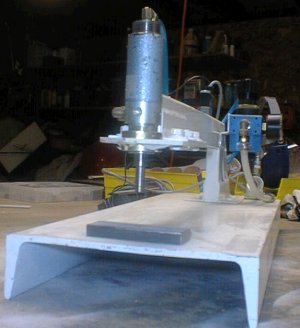
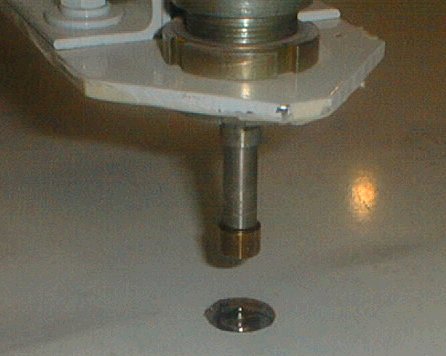
The frame was made out of 1x2 square tubing. We welded several smaller pieces together to make the deep throat. The picture shows the business end.
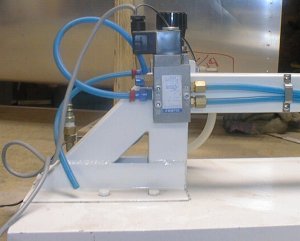
This is the regulator. When we set out we had no clue as to how much pressure we were going to need. We found that, propably due to the small internal size of the cylinder, we did not need the regulator.

Here you can see the solenoid we used. It is a Festo solenoid. Any old
solenoid probably would do. We found a Festo and the price was right ;-)
The nice thing about this solenoid is that it gives powered down and
powered up.
The coil is a 12 volt ac coil. Paid a whopping $1,- for the transformer
at the local Science & Surplus store.
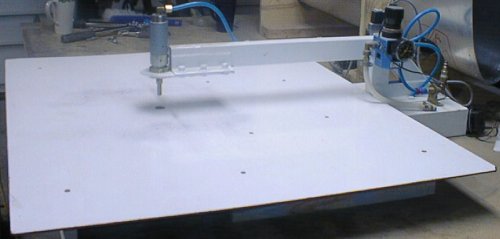
I made a 'table' to put the flat sheets on. This way the sheet is alway perpendicular to the die. I made it so that the male die is just a hair higher than the top of the table.
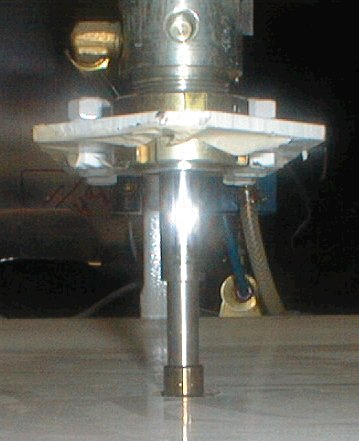
Here's a picture with the #40 dimple dies with he cylinder extended.
No, the shaft is not bend, that's an optical ilusion.
I use the two big nuts at the bottom of the cylinder to adjust the
height of the cylinder. This way I can set the height so that the dies
just hit each other with minimal deflection of the C-frame arm. It takes
2 whacks on the thinner outboard wing skins and 3 whacks on the thicker
inboard wing skins.
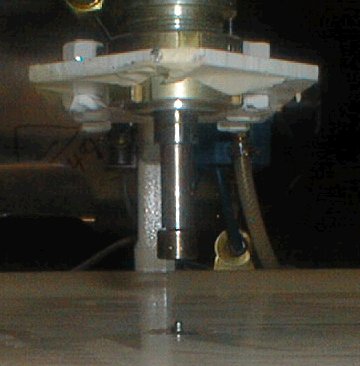
The next two pictures, show the cylinder in the retracted position.
Pneumatic Dimpler
Various hints and tips
Rear seat throttle quadrant
Front seat, Tall man's option
ANDAIR fuel valve installation
Rudder pedal modification
Do-it-yourself anodizing