Do It Yourself Anodizing
Being one not to shy away from trying different things, I
decided to make my own knobs for the DeLuxe Quadrant from Van's. My
quadrant came without the fancy anodized knobs that are sold nowadays.
I had some aluminum laying around and so I made my own set. Probably not
as pretty as the new ones, but oh well.....
I fancied giving anodizing a try but thought it was too complicated to do
at home, Guess I was wrong. After searching the wonderful world of the Internet,
I found several web sites which described the anodizing at home process.
If you want to know more go to ANODIZING ALUMINUM by Ron Newman
This is my story and I am sticking with it.
_____________WARNING_____________
The anodizing process uses battery acid.
Please use all necessary precautions.
Definitely use at your own risk, the following is for educational demonstration purposes only
You will need sulfuric acid, commonly known as battery acid. You can buy
the premixed battery acid at your local friendly NAPA store.
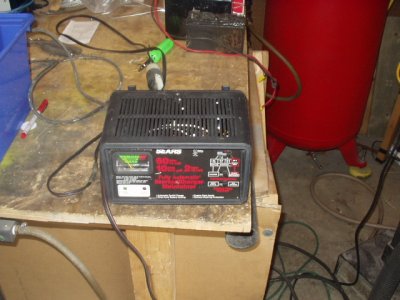
You will need a power supply, I used an old SEARS charger in manual start mode.
You will need a chunk of lead or some 6061 as a cathode, that's the negative side, folks.
My setup consists of a cooler, yup the same one I have dragged to Oshkosh
for many years now. The cooler is loaded with ice and water.
The anodizing process uses anywhere from 5 to 50 amps, depending on how large
the pieces are you want to anodize. I try not to use more than 5 amps. anyway,
the sulfuric acid will warm up, when that happens, the current increases
and the pieces to be anodized could start pitting.
In the cooler I have a plastic 3 gallon tub which contains the acid. This
way the ice will cool the acid. Seems to work pretty well for my work pieces.
The pieces to be anodized need to be squeaky clean. Also, anodizing magnifies
blemishes and scratches. you will have to have the parts top shape BEFORE
anodizing. I used scotchbrite pads to random scratch my pieces, I then left
them in alumiprep till they were shining. From here on wear gloves, Don't
handle the pieces by hand anymore, if not you will find your finger print
back after anodizing.
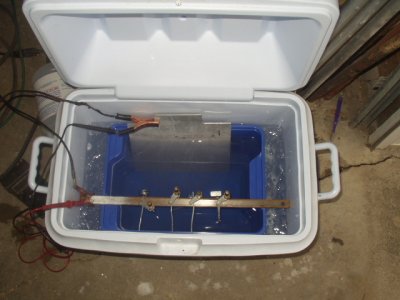
Here's the cooler, one can see the ice around the blue tub holding the acid,
next to it is the old SEARS charger. I used a scrap piece of 6061 as cathode.
the work pieces are hooked up the the positive side, the anode, hence the
word anodizing.
There is a fancy formula to calculate how long the pieces need to be in the
acid. however, I left mine till they got a slight yellow or golden sheen
to it (for 6061).
for example, that took several hours at 5 amps for the rudder pedals.
After the pieces are anodized, you can color them if you wish. There are
anodizing kits and dyes available, I found that a good fabric dye works also.
However your mileage may vary as the result heavily depends on the size of
the dye particles. Also, the anodized layer is translucent, the color will
be lighter than you expect. Try on scraps first before using your work pieces.
However, if all fails, anodizing can be removed with a light lye solution
like Red Devil.
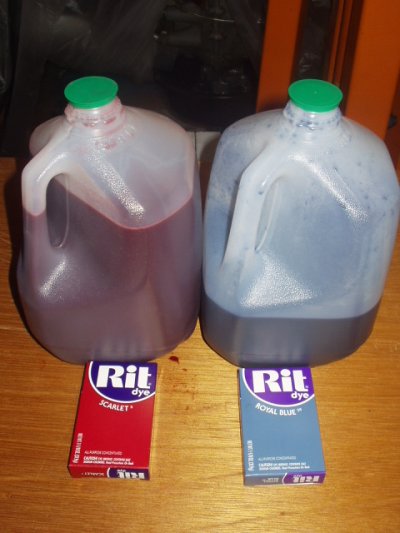
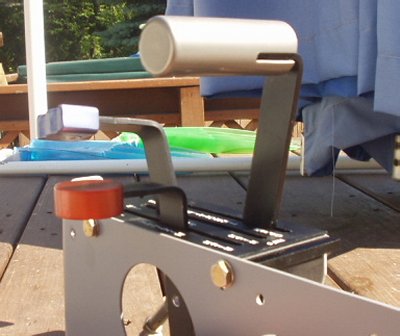
So now the piece is anodized and you want to color it....I used RIT, only
costs 2 dollars a packet. I increased the concentration. Normally a packet
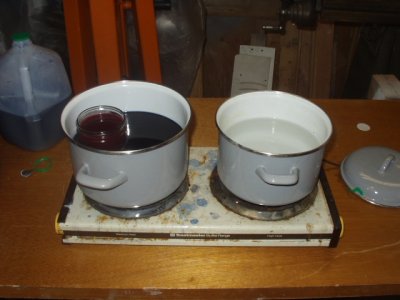
makes 3 gallons, I used it to make one gallon. I used an old, old electric
cooker as it will also change color in the process. The pan on the right,
the clear one will be used later to seal the dye in the anodized layer.
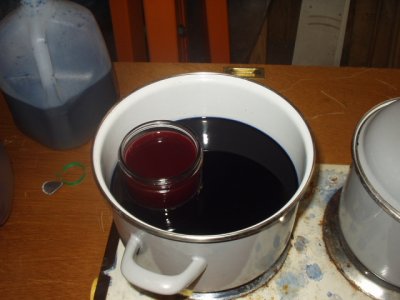
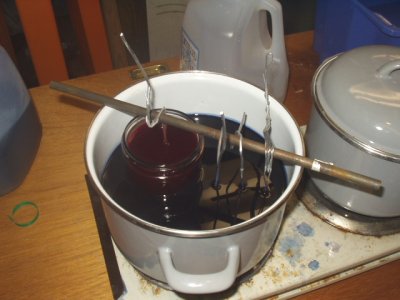
Just being lazy, I have two dyes going at once. The blue dye is in the pan,
the red dye is in the glass jar in the pan. I now slowly raise the temperature
of the dye and continue till the pieces have the desired color and then some.
Don't forget, the final color will be paler.
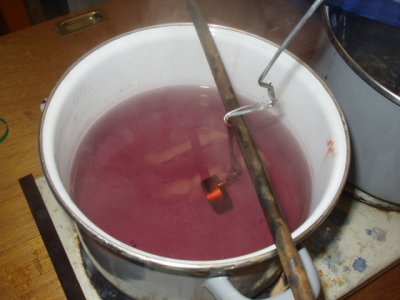
When the piece has reached the desired color, you need to seal in the dye.
This can be done by hanging the work piece into boiling water for say an
hour or so. this will close the pores created by the anodizing process and
effectively seal in the dye and make the piece corrosion and wear resistant. You can see the color leached out a little bit.
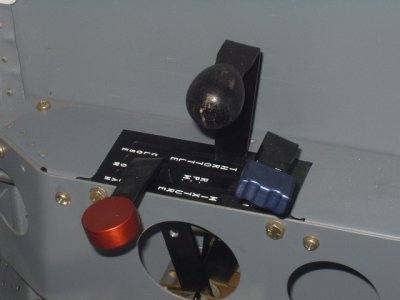
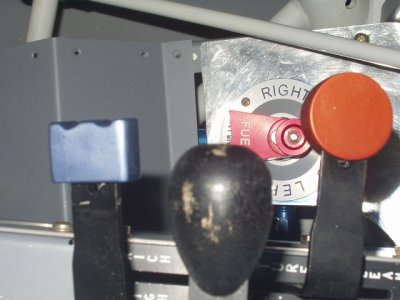
Here are the knobs I anodized, the black knob is still the original wooden
one. I will replace this with a piece of round stock when I have time to
putz with it.
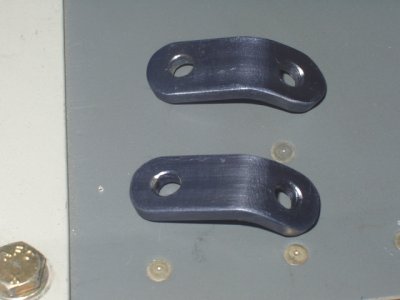
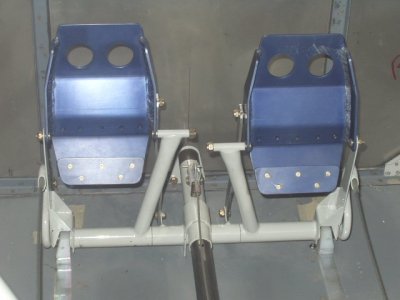
Here's some other pieces I anodized, two small brackets which will hold the fuel line
to the main gear weldments and the rudder pedals
with the extensions.
Well, there you have it, you can do it too. just remember, try coloring scrap
first to get a feel for the tint you will end up with.
Here's a quick update to the quadrant, I made a new knob for the throttle.

I left the 6061 barstock in a little longer in the anodizing solution, hence
the slightly darker tint, then boiled it without adding any dye.
the result is an almost varnished finish.
Pneumatic Dimpler
Various hints and tips
Rear seat throttle quadrant
Front seat, Tall man's option
ANDAIR fuel valve installation
Rudder pedal modification
Do-it-yourself anodizing
You can Email me off-list at [email protected]
or go through the normal RV-list channels.