Home
My Airplanes
Where I used to fly
R/C Sukhoi 26mx
Other People's Sukhois
Download
View Guestbook
Sign Guestbook
Copyright notice
Links page
About Me
Stuck in someones frames? Click here to escape.
Website maintained by Erik Middeldorp
 | The tailplane after the elevators are removed. |
 | The fin/rudder before sheeting. |
 | The fibreglass landing gear setting on the mould. |
 | The landing gear removed from the mould/former. |
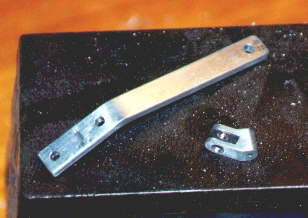 | I made a tailwheel bracket out of aluminium. |
 | The tailplane being glued in place on the fuselage. |
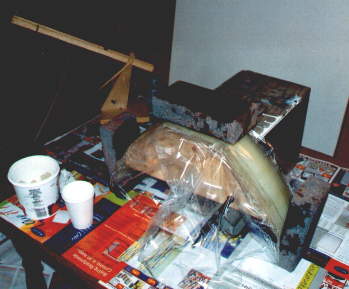
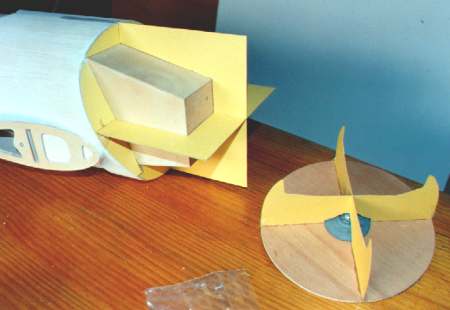 | Beginnings of the cowl plug. |
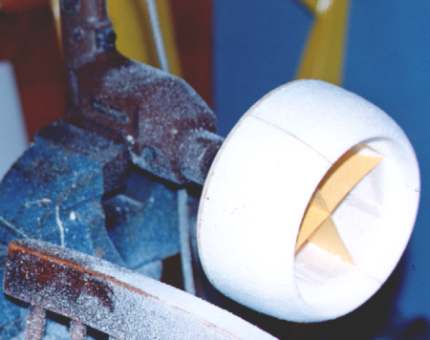 | I sanded the front of the plug on the electric drill to get it round. |
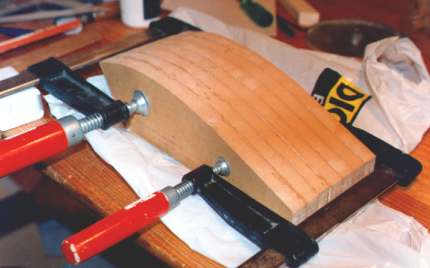 | The customwood canopy plug being glued together. |
 | I made the control horns out of fibreglass. They all just glue into slots in the control surfaces. The rudder was originally going to use closed loop but because the servo was so close to the rudder I used a single short pushrod instead. |
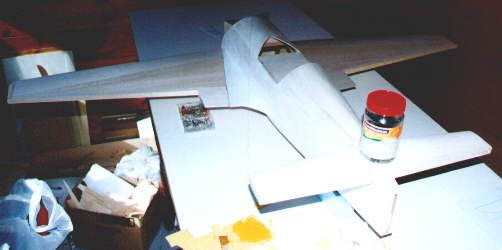
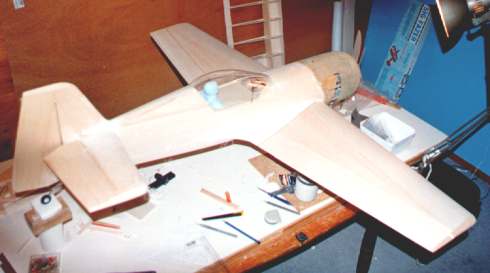 | The sukhoi, almost ready to cover. |
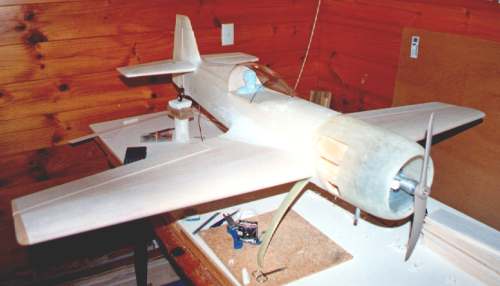 | See above. |
 | With the help of a friends dad (he did the welding and suggested where to get the aluminium) I was able to make an in cowl muffler. |
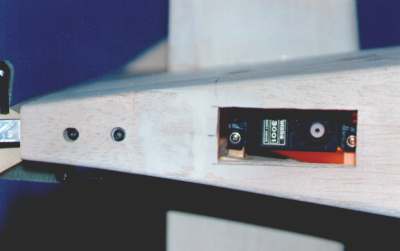 | After assembling the airframe it was decided to move the rudder and elevator servos as far back as possible to avoid having to add lead to the tail. The rudder servo was mounted upside down under the tailplane. |
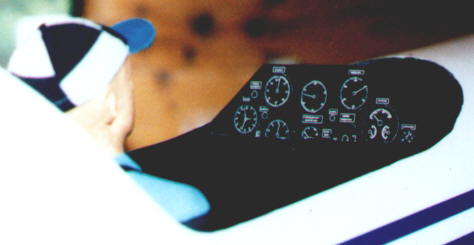 | The instrument panel was printed out and I cut out some rings of cardboard to surround the individual instruments. |
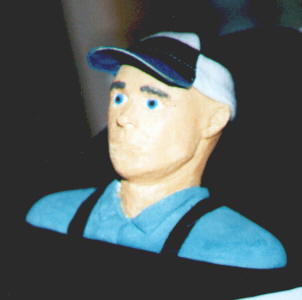 | The pilot was carved out of blue foam and painted with Tamiya acrylic paints. |
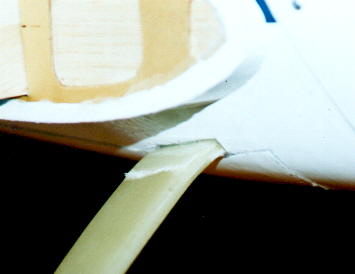 | This is the crack in the landing gear that resulted from a bad landing in a cross wind. |
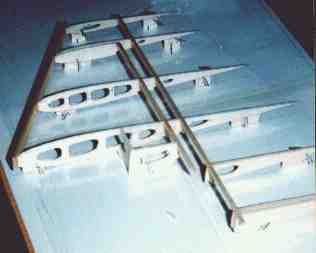
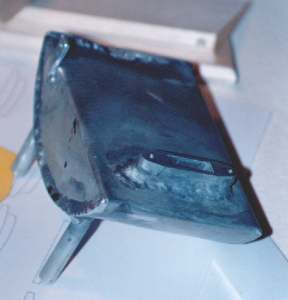
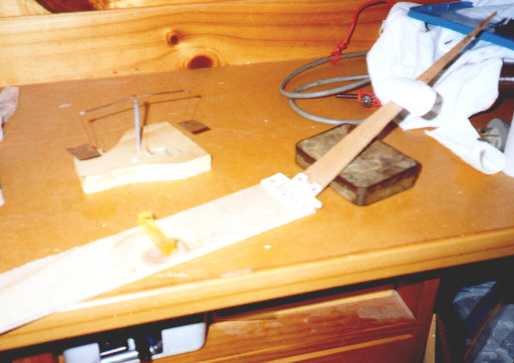 | I made the louvers (cowl vents) myself. Each individual louver was moulded in the mould thing in this photo. I used two layers of 3oz glass cloth sandwiched between some solarfilm backing, and then the whole lot was squished into a louver shape in the mould thing. The top of the mould is plaster of paris, and the bottom is epoxy (not for any particular reason). I hinged the two mould halves so that they would stay lined up properly. The little scales in the background were used to measure the correct amount of epoxy for each louver. There might be a quicker way to do this but this is how I did it and it worked for me. |
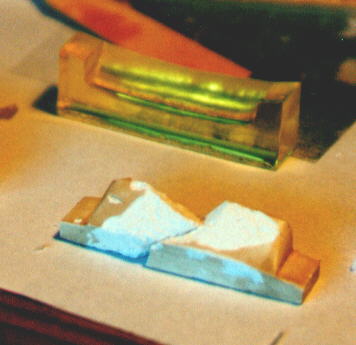 | The bottom epoxy half of the louvre mould. The cracked plaster of paris louvre thing in the front is what I moulded the epoxy half of the mould from. |
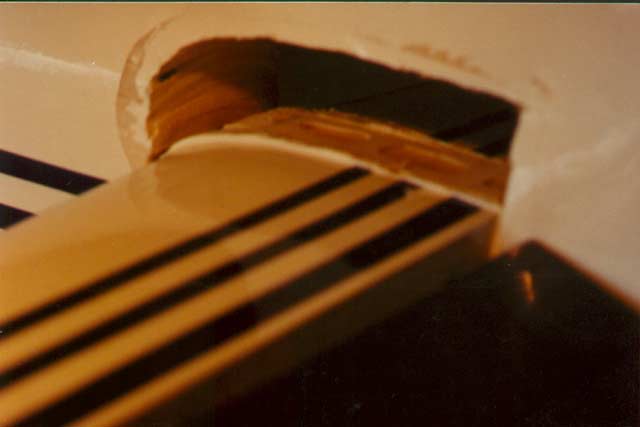
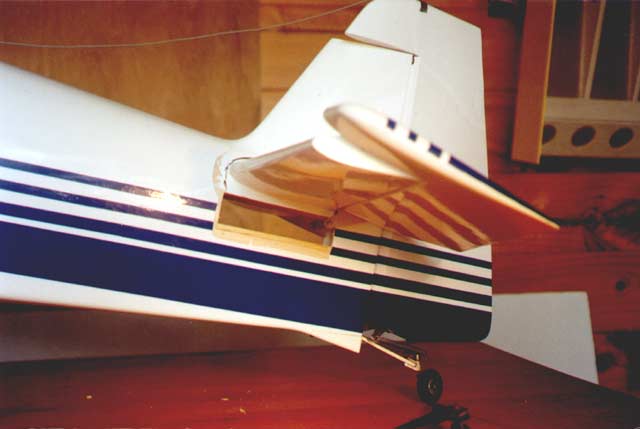 | In an effort to reduce the rudder to elevator coupling (to stop the plane from pitching nose-down on rudder application) I lowered the tailplane. I cut a hole beneath the tailplane, and reinforced the inside edges of the hole with 5mm balsa. Next I used a fretsaw blade to cut the tailplane free. |
 | This picture shows the tailplane cut free and lowered. |
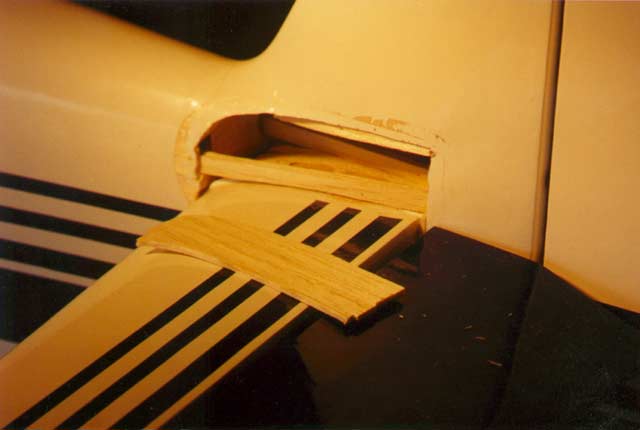 | Because the upper fuselage longerons were cut through when I lowered the tailplane, I added short pieces of 6.5mm balsa above the tailplane to strengthen that area, before sheeting over the hole. |
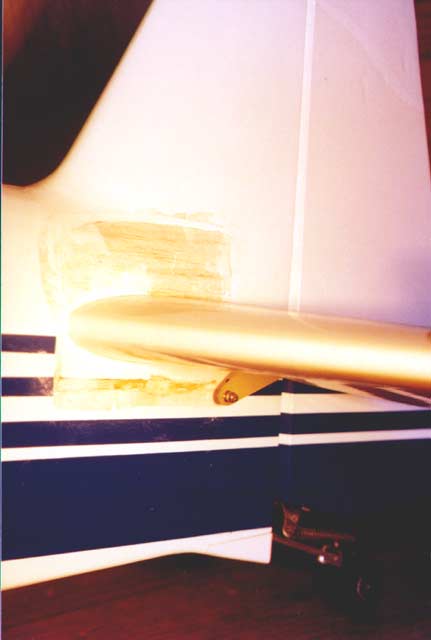 | The tailplane has been lowered and is ready to fuel proof and cover the altered area. After flying the plane with the new lowered tailplane, I was disappointed to find that the pitch coupling was still just as bad as before. Lesson of the story: Don't bother lowering the tailplane on this sukhoi to try to reduce the rudder/elevator coupling. |