
| |||
|---|---|---|---|
| | | | | Lesson 1 Lesson 2 Lesson 3 Lesson 4 Lesson 5 Lesson 6 Lesson 7 Lesson 8 Lesson 9 Lesson 10 |

Welcome to the third chapter of my HTML tutorials. The third chapter is also about tags. But in this chapter, it is highly recommended that you use notepad to try the codes out since the first two lessons are just lectures. If you are going to put your research study on a webpage, then you are required to use bold and italic in order to emphasize some terms such as the scientific term and others. Look at the image below. 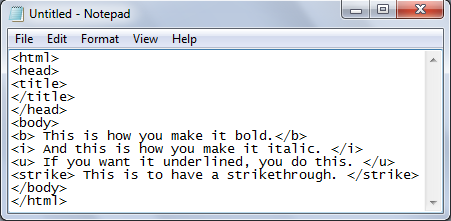
Not only that, you can also customize the text's size, font style, color, and many more. Here is how: The tag "font" is used to edit the font color, size and style of a text.
Look at the output of the code above here . Notice that it is only written in one line. How can you separate it? That is the time when you use "Space Tags." 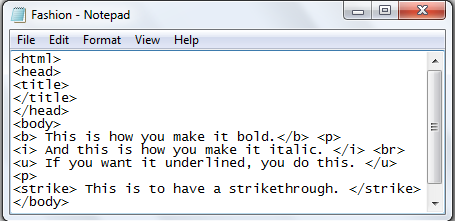 The tags "p" and "br" is used to add space. The difference between these two is that "p" has a larger space than "br." Since "p" means paragraph and "br" means breakline. It will depend on you which will you use. Lesson 3 is done! Are you ready to move on to the next lesson? Click Here to move on to the next lesson.
|