|
| | This all started a couple of years ago when I had a flange cut using
the O2 sensor housing as a template. It sat and sat until a friend had some
spare time to design the piping and weld it all up. The design was based on information in Corky Bells book on turbos. The feature that sets this pipe apart
from the rest is that the waste gate is
dumping about a foot down stream from the turbo outlet instead of a couple inches, like other O2
eliminator down pipes. Hopefully this along with
porting the hot side of the turbo will take care of boost creep. Total cost
about $150 (half of that was the darn 3" flex pipe!). Yeah, I know, it
isn't stainless steel. So what? I live in central California. Last time I had to
replace an exhaust because of corrosion was . . . never.
The results of this effort?
- Much better throttle response.
- Slightly lower EGTs
- Very slight noise increase at idle, more at WOT.
- No boost creep, so far.
Things you should know:
- The oil filter should be relocated.
- We used a 3" Dynomax generic cat and home made 3" cat back
exhaust with a Dynomax UltraFlo straight thru muffler.
- The exhaust manifold, turbo, and down pipe were "do it
yourself" coated with some hi temp pant I got from Summit for $18.69(P/N
TLC-1104).
This is good stuff. I had it on my RX7s down pipe it held up very well.
- It's easy to install and remove the entire pipe assembly.
Things you will need if you want to do this yourself:
- (2) 3" 180° mandrel bent exhaust pipe
- 4 Feet of 3" 14 or 16 gauge straight steel tube
- (1) 1.5" 180° mandrel bent exhaust pipe
- 1 Foot of 1.5" 14 or 16 gauge straight steel tube
- Some ½" steel plate to cut the flange out of.
- At least one pair of three bolt flange 3" exhaust joints (two pair if
you are doing the cat also.)
- Mild steel O2 sensor bung. (We used an anti-fouling 18mm spark plug
adapter from the HELP section at Kragen. Worked great and only cost $4.00
for two of them. Just cut the bottom off, grind off the galvanizing and weld
it on the pipe)
- Lot's of time and patience. Just kidding. Using this page as a very rough
guide you should be able to do this in day as long as you have access to a
torch, welder, die grinder, and belt sander.
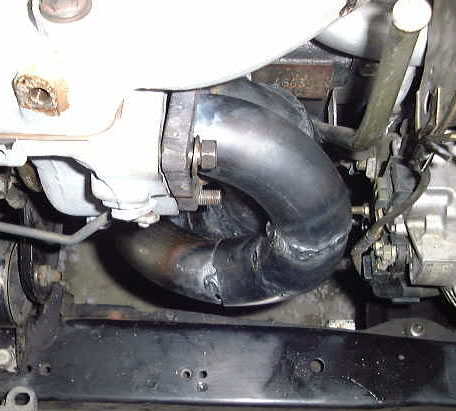
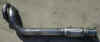
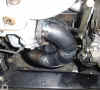 The first test fitting session. The stud had to be moved to the very bottom hole.
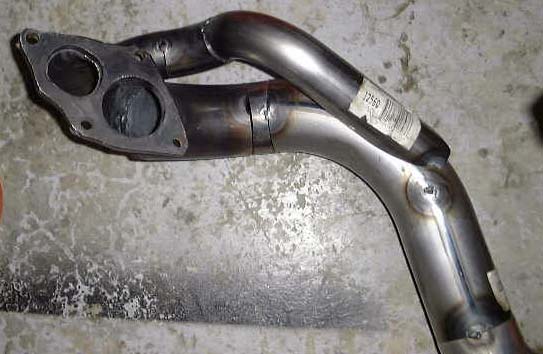
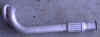
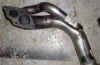 Better view of how the dump tube is re-routed back into the main pipe. This
is when it was still just tacked up.
Better view of how the dump tube is re-routed back into the main pipe. This
is when it was still just tacked up.
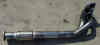
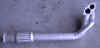
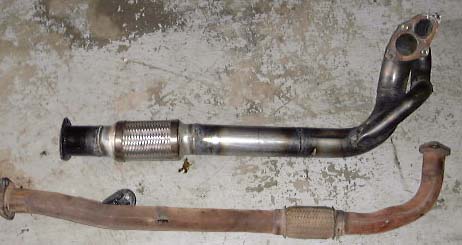
The
final product before and after painting. All shiny and pretty right before I
painted it with the hi temp paint. (My RX7 down pipe still looked perfect after
being in the car for nine months with this stuff on it, and it gets way hotter
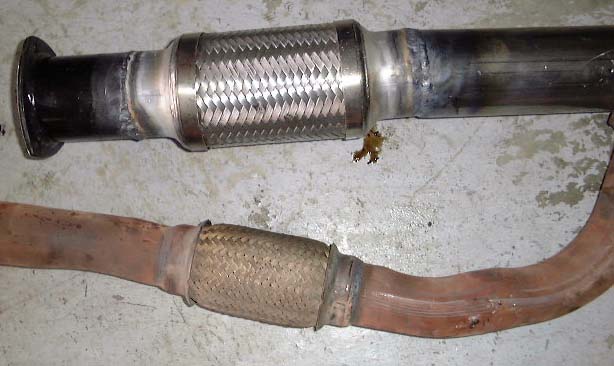
than this thing ever will.) Old VS New down pipe. The stainless steel heat shields have
been removed from the old pipe so you can see just how small it is. 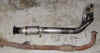

|