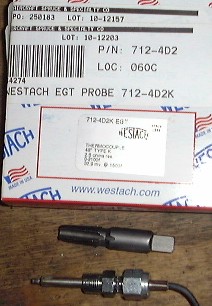
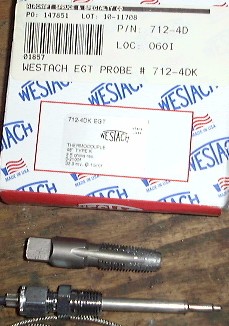
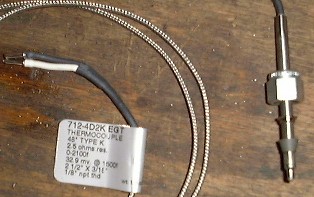
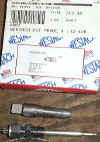
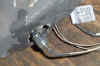
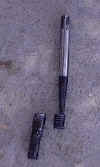
This is the Westach EGT gauge and Type-K thermocouple. The gauge does stick every once in
a while. A light tap sets it right.
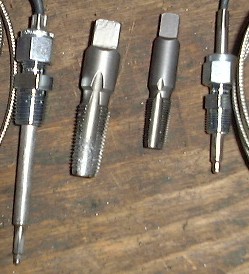
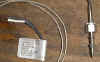
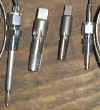 This is the first choice you need to make, 1/4NPT or 1/8NPT probe.
 I used the 1/8NPT probe. The 1/4NPT is pretty big and I did not want to drill a
hole that big in my manifold.
I used the 1/8NPT probe. The 1/4NPT is pretty big and I did not want to drill a
hole that big in my manifold.
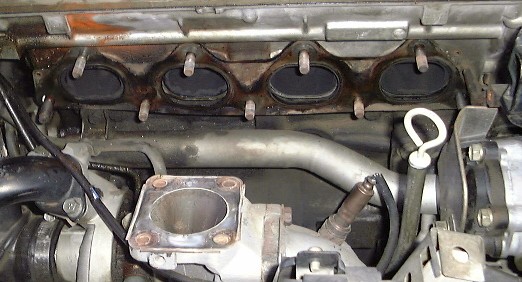
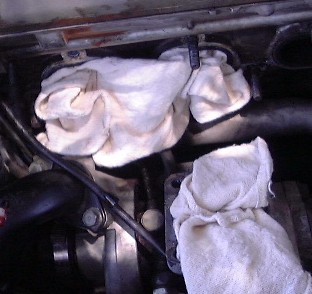
 Pull the manifold off. I do not like the idea of drilling holes in my manifold
while the engine is running, like some people.
Pull the manifold off. I do not like the idea of drilling holes in my manifold
while the engine is running, like some people.
 If you do not already have four bolts holding the turbo on the manifold, now is
a good time to change over. The one stud does nothing but make it harder to get
the manifold off, replace it with a bolt.
If you do not already have four bolts holding the turbo on the manifold, now is
a good time to change over. The one stud does nothing but make it harder to get
the manifold off, replace it with a bolt.
 Pick a spot to drill the hole. I'm told about 6" from the manifold base is
the ideal location.
Pick a spot to drill the hole. I'm told about 6" from the manifold base is
the ideal location.
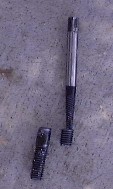
 Drill and tap the whole. Drill in three steps if you only have one manifold and
don't want to risk cracking your only manifold. Remember to tap only 1/4 turn at
a time before backing off to clear the tap. Do not just stick the tap in there
and turn until you think it's deep enough all in one shot. Do it 1/4 turn back
off, 1/4 turn more, back off etc. Do not tap all the way to the base of the tap,
NPT taps are tapered. Taping down between 1/4" to 1/2" down the tap
should get you enough threads for a secure fit. Go too far and it will never
seal, then you can weld or toss your manifold.
Drill and tap the whole. Drill in three steps if you only have one manifold and
don't want to risk cracking your only manifold. Remember to tap only 1/4 turn at
a time before backing off to clear the tap. Do not just stick the tap in there
and turn until you think it's deep enough all in one shot. Do it 1/4 turn back
off, 1/4 turn more, back off etc. Do not tap all the way to the base of the tap,
NPT taps are tapered. Taping down between 1/4" to 1/2" down the tap
should get you enough threads for a secure fit. Go too far and it will never
seal, then you can weld or toss your manifold.
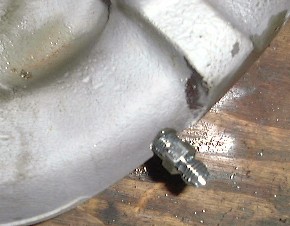
 Test fit the probe bung. Tap a little deeper each time until you are happy with
the fit.
Test fit the probe bung. Tap a little deeper each time until you are happy with
the fit.
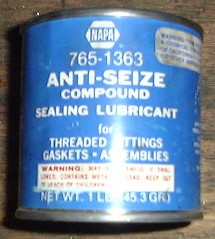
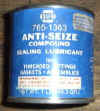 This stuff is great. Make sure you coat the bung with it when you install it. I
coat every single exhaust nut or bolt I touch with this stuff. The can has
lasted me for years and only cost like $5.00, I've never had a problem getting
any nut or bolt off that was coated with this stuff. Works good on brake parts
too.
This stuff is great. Make sure you coat the bung with it when you install it. I
coat every single exhaust nut or bolt I touch with this stuff. The can has
lasted me for years and only cost like $5.00, I've never had a problem getting
any nut or bolt off that was coated with this stuff. Works good on brake parts
too.
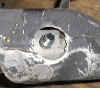 Mark and drill the heat shield. You can try for the one 1/4" hole. I did
not since I've seen other people try it and miss a few times and the heat shield
looks like Swiss cheese when they are done. I just drilled one big 1 1/4"
hole. The fit was just right.
Mark and drill the heat shield. You can try for the one 1/4" hole. I did
not since I've seen other people try it and miss a few times and the heat shield
looks like Swiss cheese when they are done. I just drilled one big 1 1/4"
hole. The fit was just right.
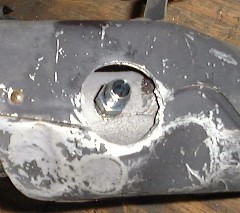
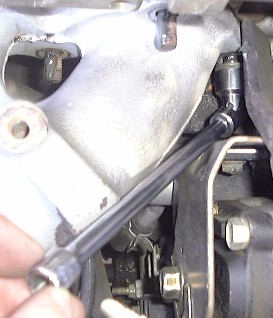
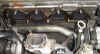
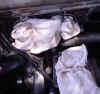
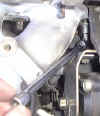
 Here is the probe test fitted in the manifold with the heat shield in place.
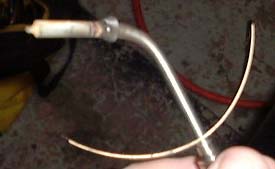
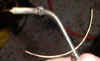
 This picture is provided in case you let the bushings on the probe fall off and
don't know how they go back on. Not that I would ever do that.
This picture is provided in case you let the bushings on the probe fall off and
don't know how they go back on. Not that I would ever do that.
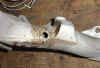
 Here is the unexpected twist in the story. Broken exhaust stud. These are fairly
common on these cars. Even though it broke off down in the head I was able to
get it out and replaced in less than 30 minutes. Practice, practice.
Here is the unexpected twist in the story. Broken exhaust stud. These are fairly
common on these cars. Even though it broke off down in the head I was able to
get it out and replaced in less than 30 minutes. Practice, practice.
 Get a hammer and punch and center punch what is left of the stud. Drill a pilot
hole with a tiny bit. Then drill it with a 1/8" drill bit about 3/16 in.
Use a hammer to lightly tap the Easy Out into the hole. Start working it
out nice and carefully.
Get a hammer and punch and center punch what is left of the stud. Drill a pilot
hole with a tiny bit. Then drill it with a 1/8" drill bit about 3/16 in.
Use a hammer to lightly tap the Easy Out into the hole. Start working it
out nice and carefully.
 Wasn't that easy! Okay now we can get the install over with. Don't torque the
new stud down. Finger tight is just fine.
Wasn't that easy! Okay now we can get the install over with. Don't torque the
new stud down. Finger tight is just fine.
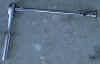
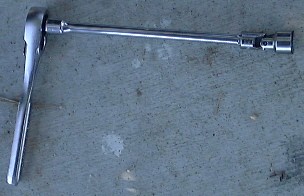
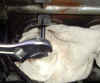
 Here is the trick to getting to this &*%# nut. 10MM 1/4" flex socket.
Makes it a piece of cake. I can remember spending more than an hour getting this
one nut out with normal tools. Major bummer.
Here is the trick to getting to this &*%# nut. 10MM 1/4" flex socket.
Makes it a piece of cake. I can remember spending more than an hour getting this
one nut out with normal tools. Major bummer.
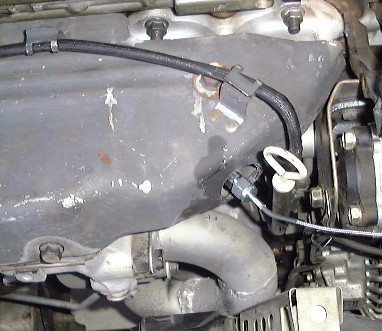
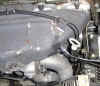 And here we are, the completed installation. If (when) the probe fails it will
be very easy to replace.
And here we are, the completed installation. If (when) the probe fails it will
be very easy to replace.
Readings you should expect to see with the probe in the O2 sensor housing.
- Freeway cruising at 80MPH 1250° to 1350°
- Around town in traffic 950° to 1150°
- Let the car idle until you see less than 800° before shutting off the
motor
- Readings in the manifold should be about 200° higher than these
I'll add the "in manifold" readings when I have some.
 The
old probe I had in the O2 sensor housing. The
old probe I had in the O2 sensor housing.
|