|
OK,
we have body, hair and face for our doll. Now we will make
clothes for her. It` the most interesting part of work. All
depends of your imagination. I will only give some advices for
you to have a general idea what to do.
This
is the image (three layers):
And this is several color schemes:
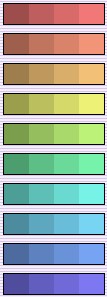
You
can choose colors yourself or find in Internet. There are a lot
of websites with color schemes. For example, I`ve got this
scheme at Josie`s
Dolls. I will use the first one.
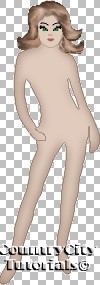
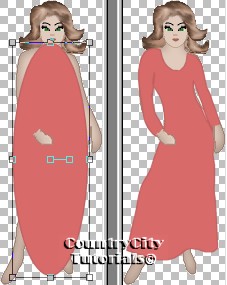
Our
image consists of three layers: body, lefthand and righthand (see
previous tutorials). Make BODY layer active. Choose Draw
tool (Point-to-Point, Width = 1, Antialials, Vector and Close Path
checked, Foreground Color - the second color, Background
Color - the third one). Draw the basic contour for a dress (new
layer will be added automatically):
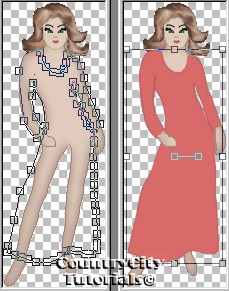
Or,
if you work with vectors confidently, you can choose Preset Shape
tool (Ellipse, colors are the same) and draw the ellipse. Then
choose Object Selector tool, right click on the image, choose
Node Edit option from menu and edit the dress lines.
After
you are satisfied with results - Layers/Convert to raster.
Name this layer as "dress".
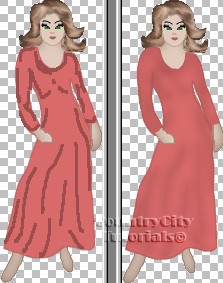
Now
add some shades.
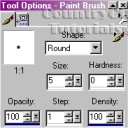
Add
new layer "dark shade". Choose Paint Brush
and the first color from the sceme as foreground color:
Draw
some dark shades like this. Don`t bother if you draw outside the
contour, we`ll correct it lately.
Blur/Gaussian
Blur = 5.
Go
to "dress" layer. Selections/Select All/Float.
Selections/Invert.
Go to "dark shade" layer and hit Delete once.
Add
new layer "light shade". Choose the 4th color and draw
some light shades.
Blur/Gaussian
Blur = 5.
Go
to "dress" layer. Selections/Select All/Float.
Selections/Invert.
Go to "light shade" layer and hit Delete once.
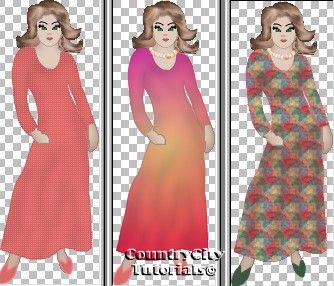
The
rest is at your opinion. You can add textures, use filters, fill
with fabric samples and decorate your doll any way you like. Besides
you can use any photos from fashion magazines as the sample for
clothes.
Have
a nice PSPing!
|
